Introduction to Pod Prop Making
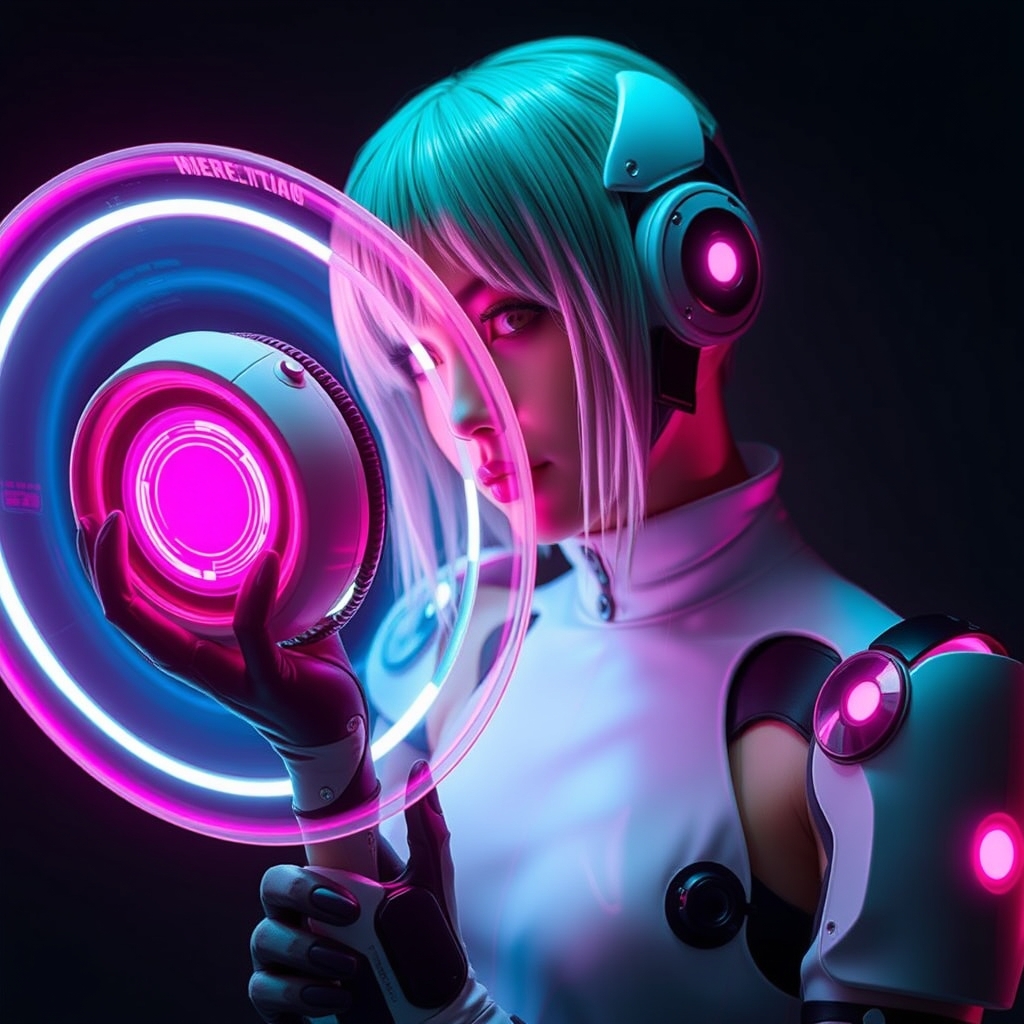
NieR: Automata, the critically acclaimed action role-playing game, has captivated players worldwide with its thought-provoking narrative and memorable characters. One of the game's most distinctive elements is the Pod, a robotic companion that accompanies the protagonists throughout their journey. For cosplayers and fans, creating a realistic Pod prop is a challenging yet rewarding project. In this guide, we'll explore how to craft an authentic Pod prop using recycled electronics and 3D printing, making it accessible and eco-friendly.
Design and Planning
Before diving into the crafting process, it's essential to research and plan your Pod prop design. Study reference images from the game, noting the Pod's shape, size, and details. Decide which version of the Pod you want to create, as there are several variants throughout the game. You can choose to create a basic Pod-042 or go for a more advanced model like Pod-114.
3D Modeling and Printing
To create the Pod's body and components, you'll need to design or download 3D models. You can use software like Blender or Tinkercad to create your models or find existing ones on platforms like Thingiverse or MyMiniFactory. For a more accurate representation, consider using official game assets or 3D scans as reference.
- Print the main body and components using a suitable 3D printing material, such as PLA or ABS.
- Apply a coat of primer and paint to achieve a realistic finish.
- Add details like screws, vents, or panels using a combination of paint, markers, or small accessories.
Recycled Electronics for Added Authenticity
To give your Pod prop an extra layer of realism, incorporate recycled electronics. Scavenge for old electronic devices, such as smartphones, laptops, or tablets, to repurpose their components.
- Use LED screens or displays to create the Pod's interactive interface.
- Repurpose old circuit boards, wires, and connectors to add a sense of complexity to the Pod's interior.
- Incorporate functional elements like buttons, joysticks, or speakers to enhance the prop's interactivity.
Assembly and Finishing Touches
Once you have all the components ready, assemble the Pod prop, ensuring a secure and durable construction. Use adhesives, screws, or other fastening methods to attach the parts together.
- Add a coat of varnish or clear acrylic spray to protect the prop and give it a glossy finish.
- Install the electronics and ensure they're properly connected and functional.
- Make any final adjustments or additions, such as adding a power source or control system.
Conclusion and Tips for Cosplayers
Crafting a realistic NieR: Automata Pod prop with recycled electronics and 3D printing is a fun and rewarding project. By following these steps and tips, you can create an authentic prop that showcases your creativity and dedication to the game.
- Consider collaborating with fellow cosplayers or prop makers to share resources and expertise.
- Experiment with different materials and techniques to achieve a unique look or add extra details.
- Don't be afraid to iterate and improve your design, as prop making is often a process of trial and error.
For more information on prop making and 3D printing, check out online resources like Thingiverse or Instructables.