Introduction
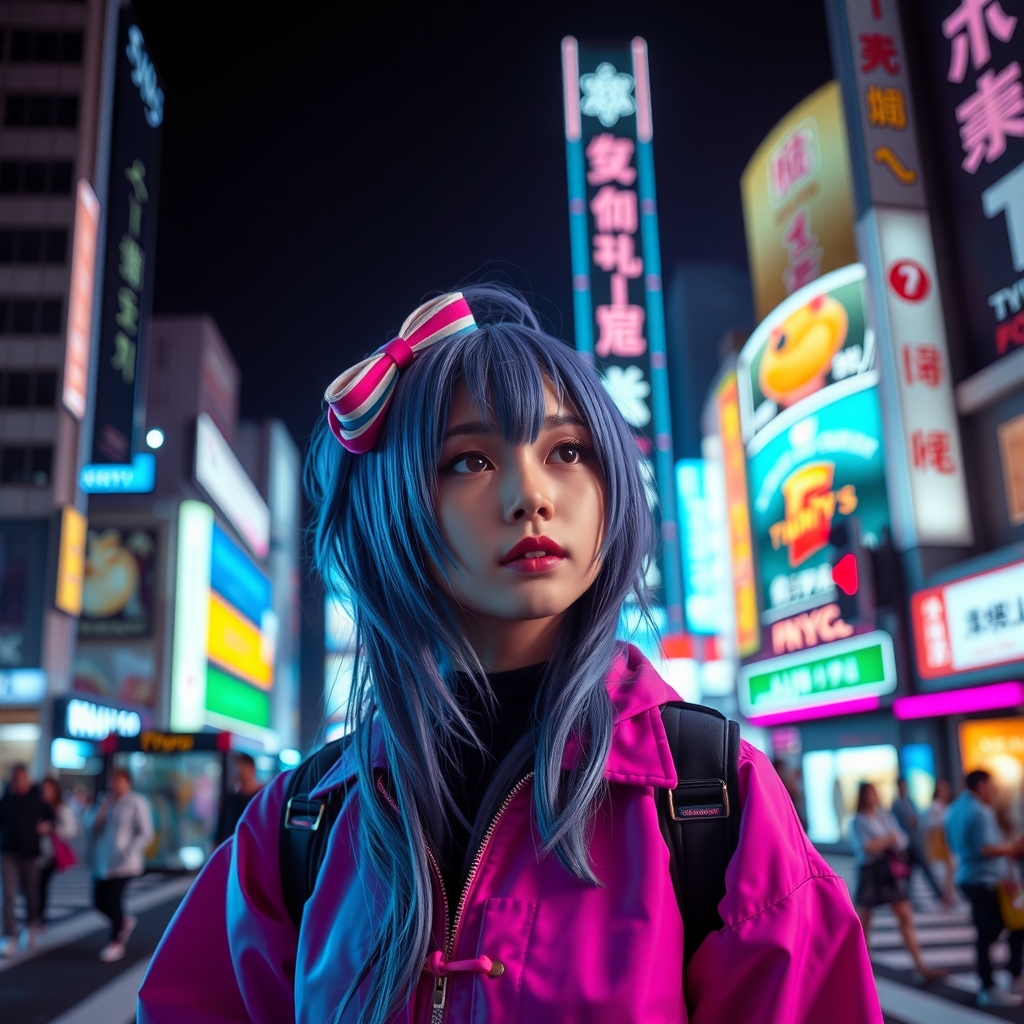
Shibuya Crossing, one of Tokyo's most iconic landmarks, is a popular backdrop for cosplayers and photographers alike. The scramble crossing, surrounded by giant video screens and neon lights, provides a unique and recognizable setting for capturing memorable photos. However, recreating this famous location can be a daunting task, especially for those without access to elaborate sets or special effects. In this guide, we'll show you how to bring Shibuya to life using cardboard, paint, and some creative problem-solving.
Planning and Research
Before starting your project, it's essential to gather reference images of Shibuya Crossing. Study the layout, colors, and details of the location, including the famous statue of Hachiko, the loyal Akita dog. Take note of the different elements that make up the scene, such as the scramble crossing, pedestrian walkways, and towering video screens.
Decide which aspect of Shibuya Crossing you want to focus on, as recreating the entire location can be overwhelming. Consider the space you have available, the materials you want to use, and the level of detail you want to achieve.
Materials and Tools
- Cardboard (large sheets or boxes)
- Paint (acrylic or spray paint)
- Paintbrushes (various sizes)
- Hot glue gun
- Scissors or a craft knife
- Markers or colored pencils
- Reference images
Building the Base Structure
Start by creating the base structure of your Shibuya Crossing backdrop using cardboard. Cut out large sections of cardboard to create the pedestrian walkways and scramble crossing. You can use hot glue to attach the sections together, creating a sturdy base.
To add depth to your backdrop, consider layering multiple sections of cardboard. You can create a 3D effect by cutting out sections of cardboard at different depths, allowing you to achieve a sense of perspective.
Adding Details and Texture
Once you have your base structure in place, it's time to add details and texture. Use paint to add color and vibrancy to your backdrop, focusing on the iconic video screens, streetlights, and advertisements.
To create a more realistic texture, consider adding materials like cardboard tubes, paper towel rolls, or even fabric. These can be used to create details like street signs, lamp posts, or building facades.
Painting and Finishing Touches
With your base structure and details in place, it's time to focus on painting and finishing touches. Use reference images to ensure accuracy and attention to detail.
Start by painting the larger sections of your backdrop, working your way down to the smaller details. Consider using a combination of acrylic and spray paint to achieve a realistic, urban look.
To add a final layer of realism, consider adding subtle shading and highlights. This can be achieved using markers or colored pencils to add depth and dimension to your backdrop.
Tips and Variations
To take your Shibuya Crossing backdrop to the next level, consider adding lighting effects. You can use string lights, LED lights, or even glow sticks to create a neon-like effect.
Another option is to add movable elements, such as cardboard cutouts of pedestrians or cars. This can add an extra layer of interaction to your cosplay photos.
Finally, don't be afraid to experiment and try new things. Shibuya Crossing is all about vibrant colors and bold textures, so don't be afraid to push the boundaries of your creativity.