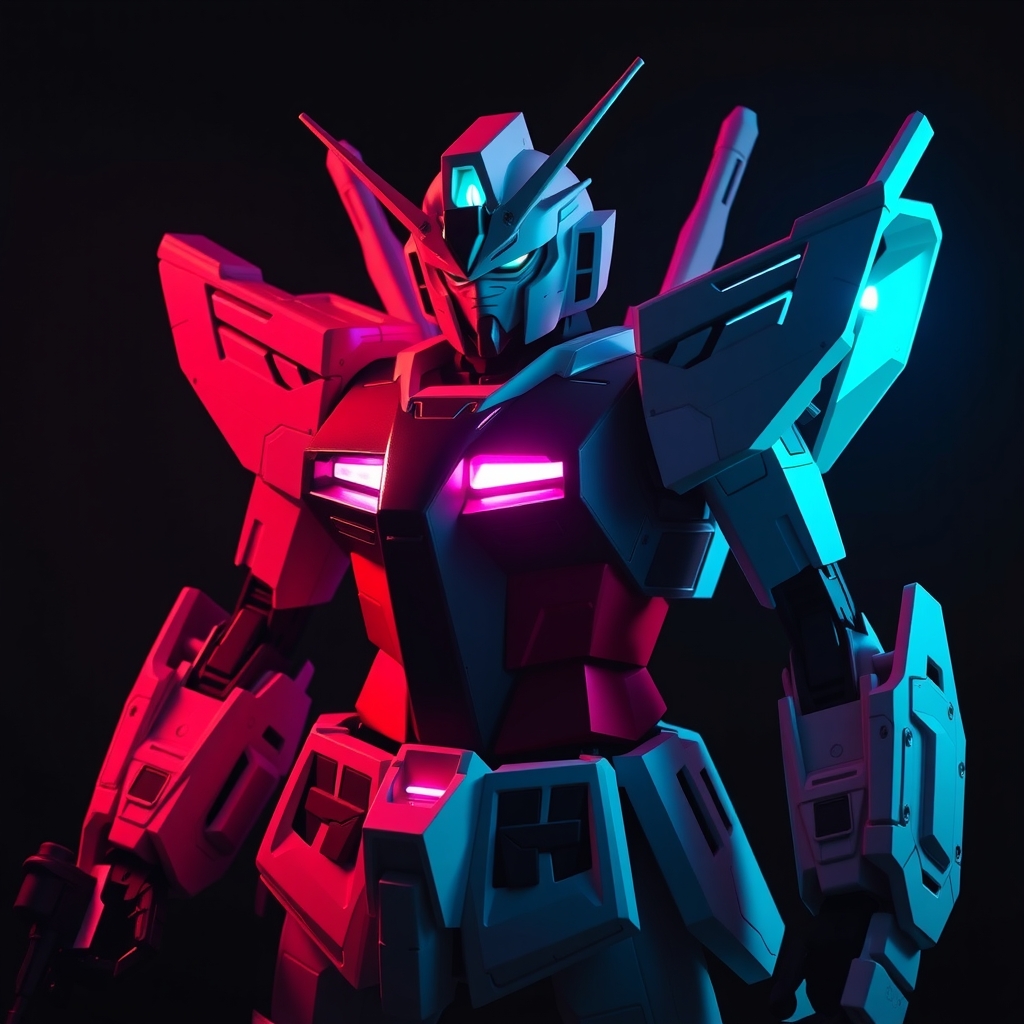
Introduction to Thermoplastic and Gundam Armor
Creating realistic Gundam armor for cosplay requires a combination of creativity, skill, and the right materials. Thermoplastic, a versatile and durable material, has become a popular choice among cosplayers and prop makers for crafting intricate and detailed armor pieces. In this guide, we'll explore the techniques and best practices for building battle-ready Gundam armor using thermoplastic and paint.
Choosing the Right Thermoplastic
Thermoplastic comes in various types, each with its own unique characteristics and applications. For Gundam armor, you'll want to choose a thermoplastic that is flexible, durable, and can be molded into intricate details. Some popular types of thermoplastic for cosplay include:
- Worbla: A popular choice among cosplayers, Worbla is a thermoplastic that can be molded and shaped using heat and pressure.
- Thermoplastic sheets: These sheets can be cut and shaped to create armor pieces, and can be molded using heat and pressure.
- Wonderflex: A flexible thermoplastic that can be used to create detailed and intricate designs.
Preparing Your Thermoplastic
Before you begin working with thermoplastic, make sure you have a clean and well-ventilated workspace. It's also essential to wear protective gear, such as gloves and a mask, when working with thermoplastic.
To prepare your thermoplastic, follow these steps:
- Cut out your thermoplastic sheet to the desired shape and size using a craft knife or scissors.
- Heat the thermoplastic using a heat gun or a hair dryer until it becomes pliable and can be molded.
- Use a mold or a shape to form the thermoplastic into the desired shape.
- Allow the thermoplastic to cool and harden completely before handling.
Painting and Finishing Your Gundam Armor
Once your thermoplastic armor pieces are complete, it's time to add color and detail using paint. Here are some tips for painting and finishing your Gundam armor:
Choose the right paint: Acrylic paint is a popular choice for cosplay, as it dries quickly and can be easily applied using a brush or airbrush.
- Prime your armor: Use a primer to create a smooth and even surface for painting.
- Use reference images: Study reference images of the Gundam armor to get a sense of the color scheme and details.
- Layer your paint: Apply multiple thin layers of paint to achieve a smooth and even finish.
- Seal with a clear coat: Apply a clear coat to protect your paint and give your armor a glossy finish.
Adding Details and Weathering
To add an extra layer of realism to your Gundam armor, consider adding details and weathering effects. Here are some techniques to try:
Adding details:
- Use a hobby knife or a Dremel to add intricate details, such as vents or bolts.
- Apply decals or stickers to add logos or markings.
- Use a paintbrush to add small details, such as rivets or panels.
Weathering:
- Use a weathering kit or a mixture of paint and medium to create a weathered effect.
- Apply a wash or a glaze to add depth and shading to your armor.
- Use a brush or a sponge to add texture and wear to your armor.
Conclusion
Creating realistic Gundam armor using thermoplastic and paint requires patience, skill, and practice. By following these techniques and best practices, you can create battle-ready armor that will impress at any cosplay event. Remember to always work safely and follow proper techniques when working with thermoplastic and paint.
For more information on cosplay and prop making, check out online resources such as Cosplay.com and Thingiverse.com.