Introduction
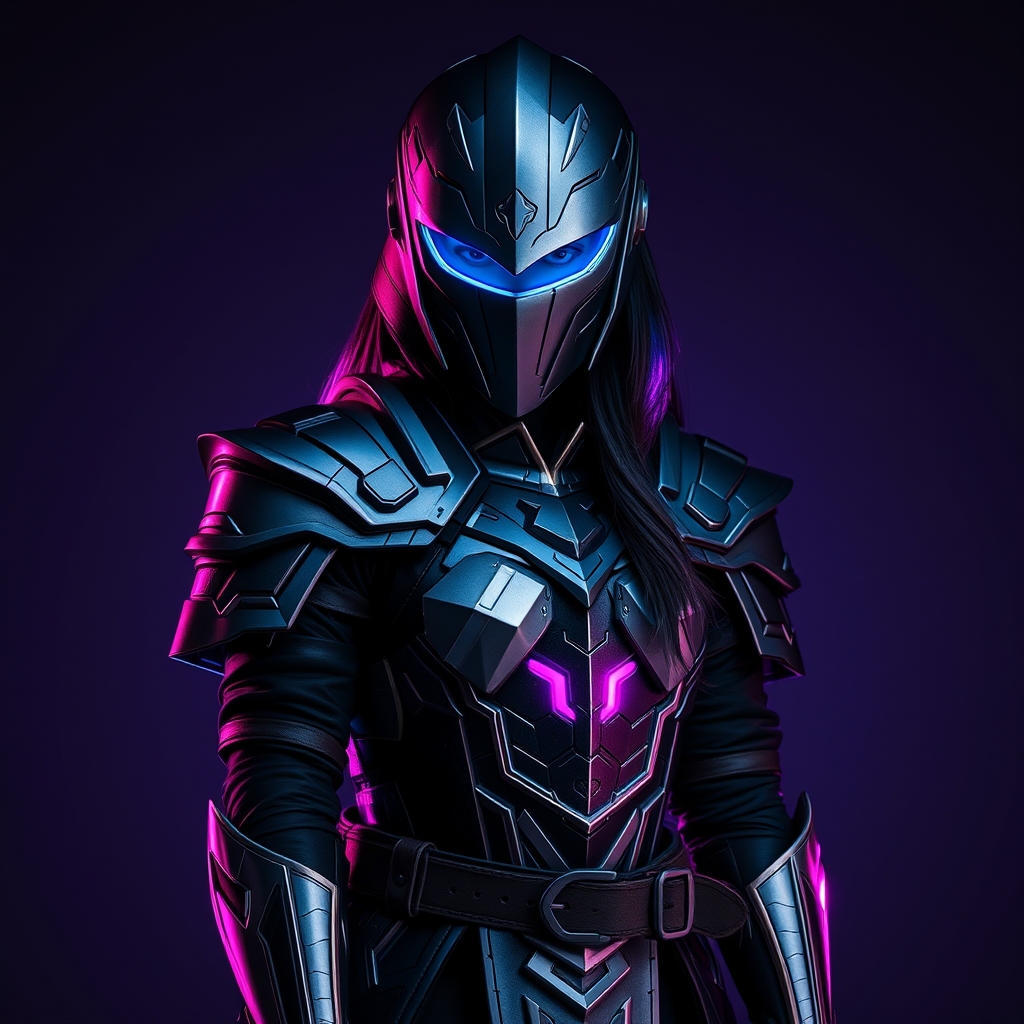
Crafting hyper-realistic anime armor can be a daunting task, especially for cosplayers on a tight budget. However, with a little creativity and resourcefulness, it's possible to create stunning armor pieces using unconventional materials found around the house. In this article, we'll explore 10 unexpected household items that can be repurposed for crafting anime armor, along with some practical tips and techniques to help you achieve a professional finish.
Material 1: Cardboard and Paper Mache
Cardboard and paper mache are a classic combination for crafting cosplay armor. Simply cut out the desired shape from cardboard, apply layers of paper mache, and let it dry. You can then sand and paint the piece to achieve a smooth, armor-like finish.
- Tip: Use a balloon or a wire hanger to create curved shapes, such as shoulder guards or helmets.
- Variation: Add texture to your armor by incorporating fabric, foam, or even recycled plastic materials into the paper mache mixture.
Material 2: PVC Pipe and Foam Board
PVC pipes and foam board can be used to create sturdy and lightweight armor pieces, such as greaves or vambraces. Cut the PVC pipes to the desired length, then wrap foam board around them to create a smooth surface.
- Step 1: Cut the PVC pipes using a pipe cutter or a hacksaw.
- Step 2: Wrap foam board around the pipes, securing it with hot glue or tape.
- Step 3: Sand and paint the piece to achieve a seamless finish.
Material 3: Old CDs and Hot Glue
Who would have thought that old CDs could be used to create shiny, metallic armor pieces? Simply cut the CDs into desired shapes, then use hot glue to attach them to a base material, such as cardboard or foam board.
- Tip: Use a heat gun to shape and mold the CDs into curved or complex shapes.
- Variation: Add a metallic finish by applying metallic paint or using a metallic leafing technique.
Material 4: Fabric and Worbla
Worbla is a thermoplastic material that can be used to create rigid and durable armor pieces. Combine Worbla with fabric to add texture and depth to your armor.
- Step 1: Cut out the desired shape from Worbla, then heat it to shape and mold it.
- Step 2: Wrap fabric around the Worbla, securing it with hot glue or a heat gun.
- Step 3: Add additional details, such as embroidery or appliques, to enhance the fabric's texture and appearance.
Material 5: Wire Hangers and Epoxy
Wire hangers can be used to create intricate and detailed armor pieces, such as gauntlets or cuisses. Simply unbend the hanger, shape it into the desired form, then use epoxy to reinforce and strengthen the piece.
- Tip: Use a drill press or a Dremel to shape and refine the wire hanger's shape.
- Variation: Add a metallic finish by applying metallic paint or using a metallic plating technique.
Material 6: Recycled Plastic Bottles
Recycled plastic bottles can be used to create lightweight and durable armor pieces, such as shoulder guards or chest plates. Simply cut out the desired shape, then sand and paint the piece to achieve a smooth finish.
- Step 1: Clean and dry the plastic bottle, then cut out the desired shape.
- Step 2: Sand the piece to smooth out any rough edges or burrs.
- Step 3: Paint and finish the piece using acrylic paint or a spray paint.
Material 7: Foam and Latex
Foam and latex can be used to create flexible and realistic armor pieces, such as arm guards or leg armor. Simply cut out the desired shape from foam, then apply latex to create a smooth and flexible surface.
- Tip: Use a foam cutter or a hot wire cutter to shape and refine the foam's shape.
- Variation: Add texture to the foam by applying fabric, fabric paint, or other materials.
Material 8: Cardboard Tubes and Papier-Mâché
Cardboard tubes and papier-mâché can be used to create sturdy and lightweight armor pieces, such as helmets or shoulder guards. Simply cut out the desired shape from cardboard tubes, then apply layers of papier-mâché.
- Step 1: Cut out the desired shape from cardboard tubes, then apply layers of papier-mâché.
- Step 2: Let the papier-mâché dry, then sand and paint the piece to achieve a smooth finish.
- Step 3: Add additional details, such as texture or patterns, to enhance the armor's appearance.
Material 9: Old Keyboards and Circuit Boards
Old keyboards and circuit boards can be used to create intricate and detailed armor pieces, such as pauldrons or gauntlets. Simply disassemble the keyboard or circuit board, then use hot glue or epoxy to attach the components to a base material.
- Tip: Use a soldering iron or a hot glue gun to shape and refine the components' shape.
- Variation: Add a metallic finish by applying metallic paint or using a metallic plating technique.
Material 10: Newspaper and Glue
Newspaper and glue can be used to create lightweight and durable armor pieces, such as arm guards or leg armor. Simply cut out the desired shape from newspaper, then apply layers of glue to create a sturdy and rigid surface.
- Step 1: Cut out the desired shape from newspaper, then apply layers of glue.
- Step 2: Let the glue dry, then sand and paint the piece to achieve a smooth finish.
- Step 3: Add additional details, such as texture or patterns, to enhance the armor's appearance.
Conclusion
Crafting hyper-realistic anime armor doesn't have to break the bank. By repurposing household materials and using a little creativity, you can create stunning armor pieces that will make your cosplay stand out. Remember to experiment with different materials and techniques to achieve the desired look and finish. Happy crafting!