Introduction
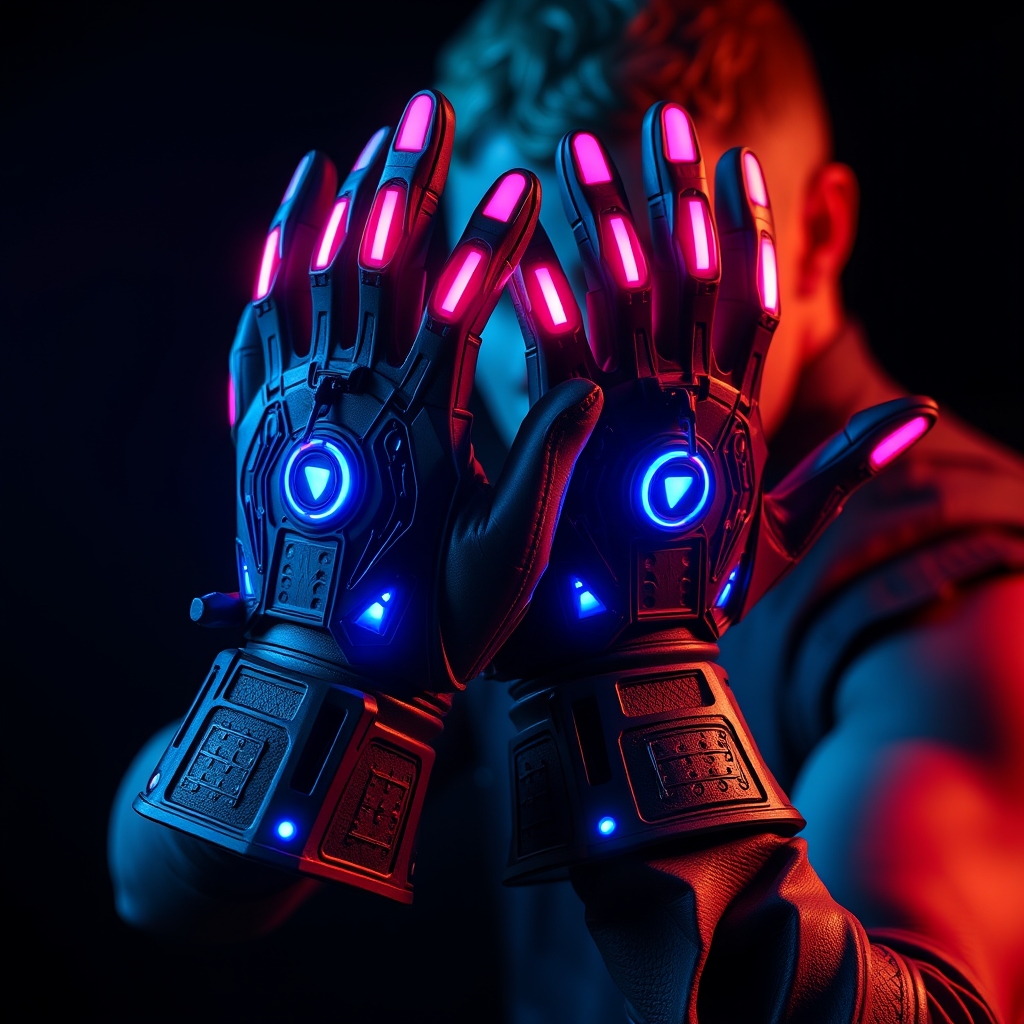
Cyberpunk 2077's netrunner gloves are an iconic part of the game's stylish and futuristic aesthetic. As a cosplayer, creating these gloves can be a challenging but rewarding project. In this tutorial, we'll guide you through the process of crafting the netrunner gloves using Worbla and electronics, resulting in a realistic and functional cosplay prop.
Materials and Tools
- Worbla thermoplastic sheets (various colors)
- Electronics components:
- LED strips
- Microcontrollers (e.g., Arduino)
- Batteries and wiring
- Switches and connectors
- Glove pattern or template
- Scissors, heat gun, and Worbla shaping tools
- Adhesives (e.g., hot glue, epoxy)
- Paint and finishing materials (optional)
Design and Pattern Making
Start by creating a pattern or template for your gloves. You can use a pre-existing glove pattern or create your own based on reference images from the game. Make sure to add seam allowances and consider the placement of electronics components.
For a more accurate representation, you can 3D scan or photograph a real glove and use image editing software to create a 2D pattern. Alternatively, use a glove-making kit or purchase pre-made glove patterns online.
Cutting and Shaping Worbla
Cut out the glove pattern from Worbla thermoplastic sheets, using scissors or a craft knife. For a more precise cut, use a laser cutter or a craft cutter.
Apply heat to shape the Worbla into the desired form. Use a heat gun or a hair dryer to soften the material, and then mold it to fit your glove pattern. You can also use Worbla's proprietary shaping tools to achieve more complex shapes.
Adding Electronics
For the netrunner gloves' iconic glowing effect, you'll need to integrate LED strips and electronics components.
- Plan your electronics layout, taking into account the placement of LEDs, microcontrollers, batteries, and switches.
- Cut and prepare the LED strips to fit the glove's design.
- Connect the LEDs to the microcontroller, following the manufacturer's instructions.
- Wire the microcontroller to the batteries, switches, and connectors.
- Secure the electronics components using adhesives, such as hot glue or epoxy.
Assembly and Finishing
Assemble the glove by attaching the Worbla pieces together using adhesives or Worbla's proprietary welding technique.
For a more realistic look, you can add paint or finishing materials to the glove, such as weathering effects or textures.
Finally, integrate the electronics components into the glove, making sure they are secure and functional.
Tips and Variations
To enhance your netrunner gloves, consider adding interactive features, such as gesture-controlled LEDs or haptic feedback.
You can also experiment with different Worbla colors and textures to achieve a unique look.
For a more wearable and comfortable glove, consider adding padding or using flexible materials.