Introduction to Thermoplastic
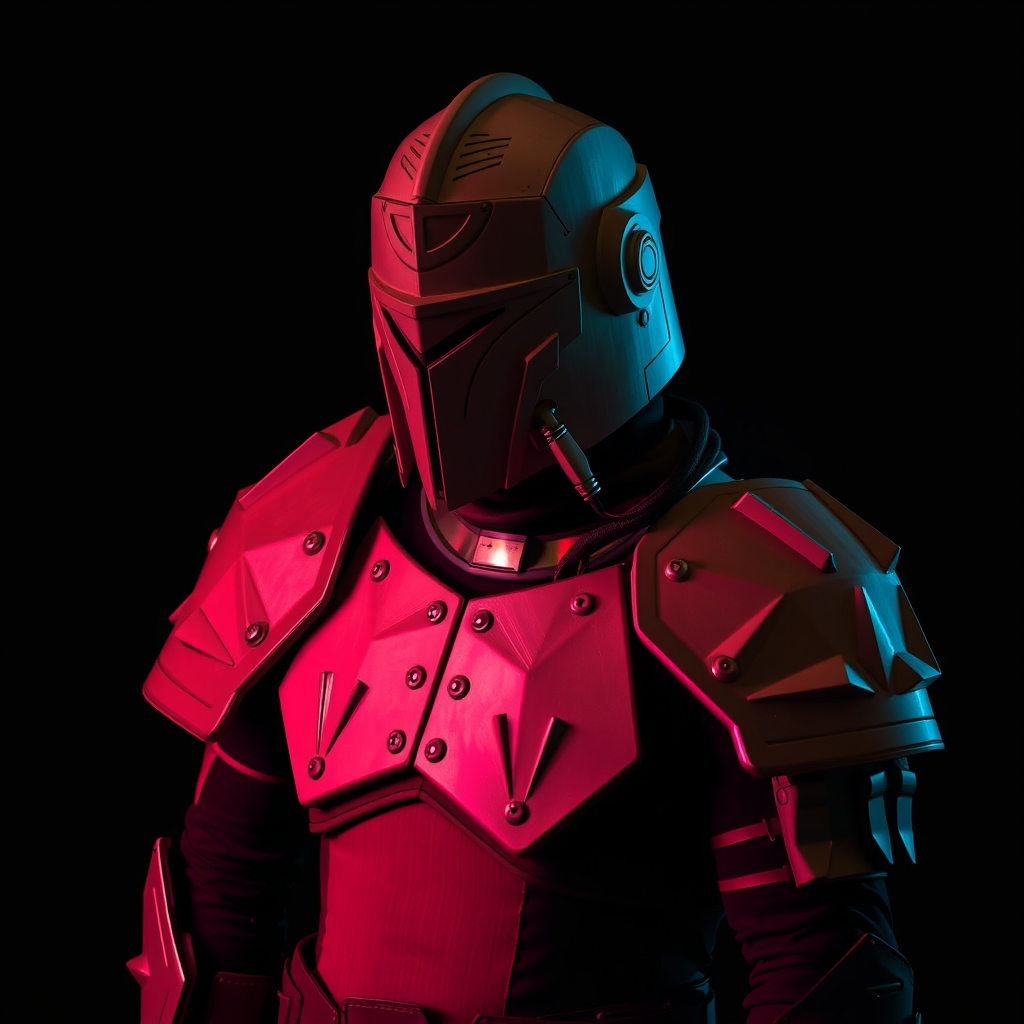
Thermoplastic is a versatile material commonly used in cosplay and prop making to create durable, detailed, and realistic armor pieces. It can be molded, shaped, and formed to create intricate designs, making it an ideal choice for crafting cosplay armor. In this guide, we'll walk you through the process of working with thermoplastic to create stunning cosplay armor.
Materials and Tools Needed
Before starting your project, make sure you have the following materials and tools:
- Thermoplastic sheets (various thicknesses)
- Heat gun or hair dryer
- Thermoplastic solvent (such as acetone or methyl ethyl ketone)
- Protective gloves and safety glasses
- Work surface (such as a table or countertop)
- Measuring tape and ruler
- Pencil and marker
- Sandpaper and files (for smoothing and shaping)
Preparing Your Design
Before you begin working with thermoplastic, it's essential to have a clear design in mind. Research your character's armor and gather reference images to ensure accuracy. You can also sketch out your design on paper or use computer software to create a digital mockup.
Consider the following factors when planning your design:
- Size and scale: Ensure your armor piece is proportional to your body or the character's.
- Details and texture: Think about the level of detail and texture you want to achieve.
- Functionality: Consider how you'll wear or attach the armor piece.
Cutting and Shaping Thermoplastic
To cut thermoplastic, use a sharp utility knife or a craft knife with a new blade. You can also use a saw or a hot wire cutter for more intricate cuts. When shaping thermoplastic, apply heat using a heat gun or hair dryer to make the material pliable and moldable.
Here are some tips for cutting and shaping thermoplastic:
- Use a steady, gentle motion when cutting to avoid applying too much pressure.
- Apply heat evenly to avoid warping or distorting the material.
- Use a thermometer to monitor the temperature, as excessive heat can damage the thermoplastic.
Forming and Molding Thermoplastic
Once you've cut out your thermoplastic piece, it's time to form and mold it into shape. Use your heat gun or hair dryer to heat the material until it becomes pliable. You can then use various techniques to shape the thermoplastic, such as:
- Vacuum forming: Use a vacuum former or a homemade setup to shape the thermoplastic.
- Press molding: Use a mold or a press to shape the thermoplastic.
- Freehand shaping: Use your hands and tools to shape the thermoplastic.
When forming and molding thermoplastic, make sure to:
- Work slowly and carefully to avoid mistakes.
- Use a heat-resistant surface to prevent damage.
- Monitor the temperature to avoid overheating.
Finishing and Painting
After you've formed and molded your thermoplastic piece, it's time to finish and paint it. Use sandpaper and files to smooth out any rough edges or bumps. You can then apply a coat of primer and paint to achieve the desired color and finish.
Here are some tips for finishing and painting thermoplastic:
- Use a primer specifically designed for plastics.
- Choose paint that's compatible with thermoplastic.
- Apply multiple thin coats to achieve a smooth finish.
Conclusion
Crafting realistic cosplay armor with thermoplastic requires patience, practice, and attention to detail. By following this guide, you'll be able to create stunning, durable, and accurate armor pieces that will elevate your cosplay game. Remember to always work safely, experiment with different techniques, and have fun!