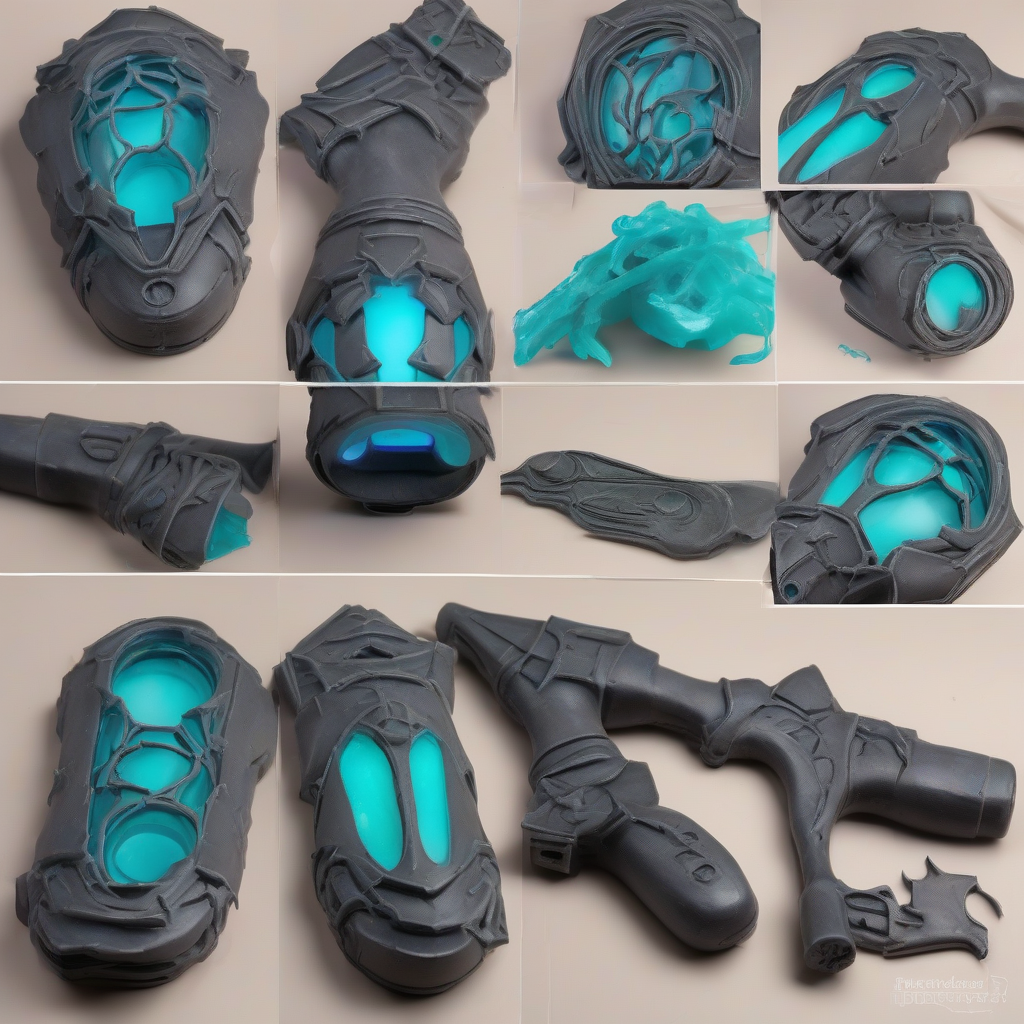
Introduction to Sigma and His Armor
Sigma, the Dutch astrophysicist turned Overwatch villain, boasts a unique and intimidating appearance that lends itself well to cosplay. His armor, a combination of sleek lines and bulky plates, is a challenging yet rewarding project for crafters. In this guide, we'll walk you through the process of creating Sigma's armor using Worbla and foam crafting techniques.
Materials and Tools Needed
- Worbla thermoplastic sheets (various colors)
- Foam (for base structure and details)
- Hot wire foam cutter or a sharp utility knife
- Heat gun or Worbla heat gun attachment
- Adhesives (epoxy, super glue, or hot glue)
- Paint and primer
- Sandpaper and files
- Reference images of Sigma's armor
Designing and Patterning the Armor
Before you begin crafting, gather reference images of Sigma's armor from various angles. Use these to create a detailed pattern or blueprint of the armor pieces. You can use software like Adobe Illustrator or simply draw the patterns freehand. Consider the size and shape of each piece, as well as any details like bolts, vents, or panels.
Transfer your patterns onto the Worbla sheets or foam, using a marker or pencil. Make sure to add a 1/4 inch margin around each piece for trimming and fitting.
Crafting the Base Structure with Foam
Cut out the larger foam pieces using a hot wire foam cutter or a sharp utility knife. For more intricate details, use a Dremel or a craft knife. Assemble the base structure using adhesives like epoxy or hot glue.
Sand the foam pieces to smooth out any rough edges or bumps. Apply a coat of primer to the foam, allowing it to dry completely before proceeding.
Shaping and Molding Worbla
Cut out the Worbla pieces according to your patterns. For complex curves or shapes, use a heat gun to soften the Worbla and mold it into place. You can also use a Worbla heat gun attachment for more precise control.
Apply the Worbla pieces to the foam base structure, using adhesives like epoxy or super glue. Make sure to align the Worbla pieces carefully, as they can be difficult to adjust once set.
Adding Details and Finishing Touches
Use Worbla or foam to add details like bolts, vents, or panels to the armor. You can also use paint and primer to add color and texture to the armor.
Sand the entire armor piece to smooth out any rough edges or bumps. Apply a coat of clear varnish or sealant to protect the Worbla and foam.
Tips and Variations
To add an extra layer of realism to your Sigma cosplay, consider adding LED lights or weathering effects to the armor. You can also experiment with different materials, like 3D printing or resin casting, for more intricate details.
Don't be afraid to get creative and add your own twist to Sigma's design. With Worbla and foam crafting, the possibilities are endless.