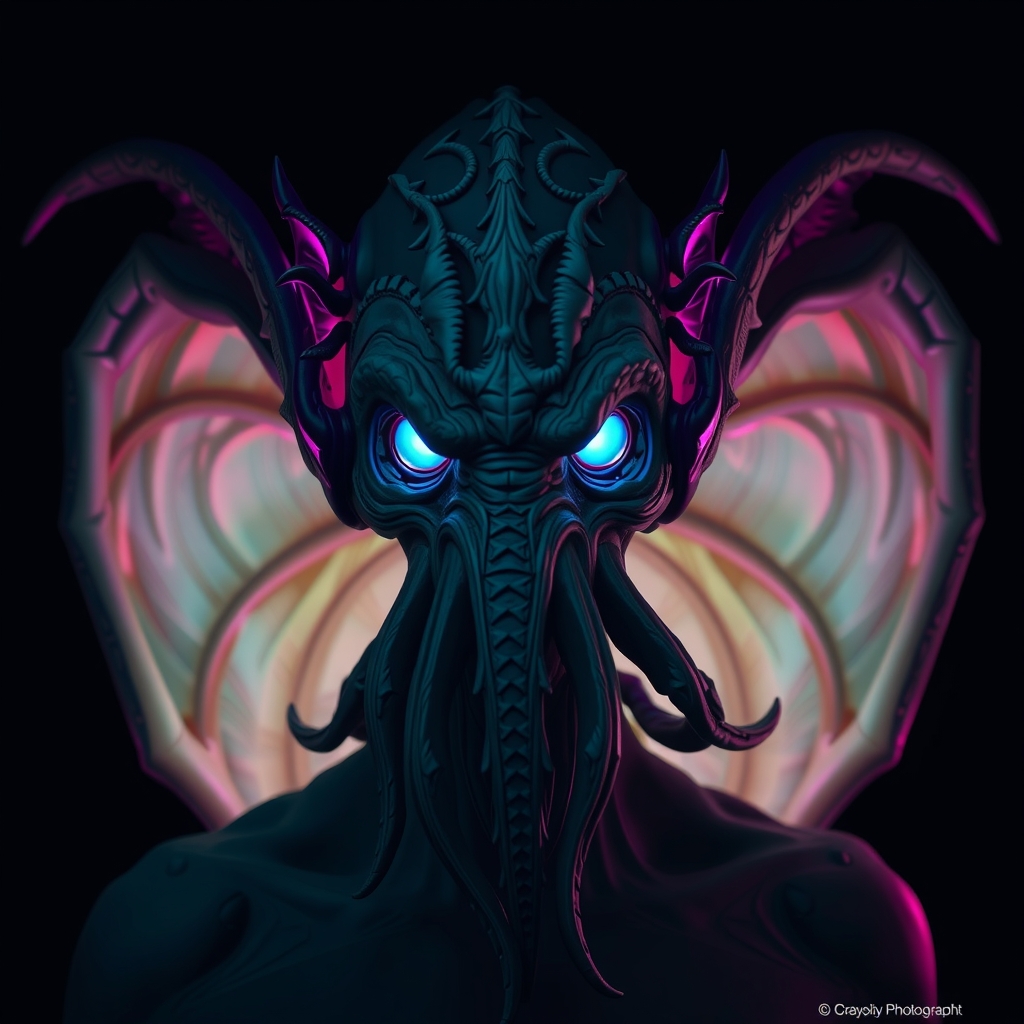
Bringing the cosmic horror of the Cthulhu Mythos to life presents a unique challenge for the cosplayer. Unlike humanoid characters, Elder Gods are defined by "non-Euclidean" geometry, slimy textures, and an unsettling blend of aquatic and terrestrial anatomy. To achieve a hyper-realistic look without the crushing weight of solid silicone or the fragility of pure foam, a hybrid construction method is required. By combining the structural versatility of reinforced papier-mâché with the surface detail of casting resin, you can create massive, terrifying appendages and facial features that remain wearable for an entire convention day.
Designing for Cosmic Scale
Before touching any materials, you must plan for the scale of your creature. Elder Gods often feature oversized heads, sweeping tentacles, or protruding growths. The primary goal is to balance visual impact with wearer mobility. When sketching your design, identify which areas require rigid stability and which need flexibility.
For a Cthulhu-inspired build, the head and primary shoulder growths should be rigid to support the weight of the detailing, while the smaller facial tentacles should remain pliable. Map out your "anchor points"—the areas where the costume will attach to your body—to ensure that the weight is distributed across your shoulders and hips rather than pulling on your neck or spine.
Building the Core: Advanced Papier-Mâché
While often viewed as a school project, professional-grade papier-mâché is an incredible tool for organic sculpting. It is lightweight, breathable, and can be hardened to a wood-like consistency. To move beyond basic strips, use a paper-clay method for the base structure.
- The Armature: Start with a base of aluminum foil or chicken wire. This provides the internal skeleton. For tentacles, use PVC pipe as a central spine, wrapping it in foam padding before adding the paper layers.
- The Pulp Mix: Blend shredded recycled paper, white glue, and a small amount of joint compound. This creates a moldable paste that allows you to sculpt organic ridges, suckers, and skin folds directly onto the armature.
- Layering for Strength: Apply traditional strips of brown kraft paper soaked in a mixture of water and wood glue. This "skin" reinforces the pulp, preventing cracks as the piece dries.
- Curing: Allow the structure to dry completely in a well-ventilated area. Once hard, sand the surface with medium-grit sandpaper to remove unwanted bumps, leaving only the intentional organic textures.
Adding Hyper-Detail with Resin
Papier-mâché provides the volume, but resin provides the realism. To achieve the "wet" or "stony" look characteristic of the Mythos, you can apply resin in two ways: as a structural coating or as individual cast elements.
The Resin Skin Coat
To give your papier-mâché base a hard, waterproof shell, apply a thin layer of clear epoxy resin. This seals the paper and creates a smooth, non-porous surface that is ideal for painting. Be careful to apply the resin in thin coats to avoid pooling, which can create unsightly "drips" that look accidental rather than organic.
Casting Organic Details
For high-detail areas like rows of teeth, iridescent scales, or intricate suckers, use a two-part casting resin. Create a small master sculpt from polymer clay, mold it in silicone, and cast multiple copies. These resin pieces can then be glued onto the papier-mâché base. This hybrid approach ensures that the bulk of the costume is lightweight, while the focal points have the sharp, crisp detail of a professional movie prop.
Painting for Otherworldly Textures
The color palette of an Elder God should evoke a sense of decay and alien biology. Avoid flat colors; instead, utilize layering and glazing to create depth.
- The Base Coat: Start with a dark, matte primer—deep purples, midnight greens, or charcoal greys. This ensures that any gaps in your paint look like natural shadows.
- Dry Brushing: Use a lighter shade of your base color to dry-brush the raised ridges of your sculpt. This highlights the texture and gives the creature a three-dimensional feel.
- The Glaze: Mix a small amount of acrylic paint with a clear medium to create a translucent glaze. Apply this over the transitions between colors to create the mottled, bruised look of alien skin.
- The "Wet" Finish: To achieve the signature slimy look of Cthulhu, apply a high-gloss varnish or clear epoxy only to specific areas—such as the eyes, the inside of the mouth, and the suckers. Leaving some areas matte and others glossy creates a realistic biological contrast.
Integration and Wearability
A hyper-realistic build is only successful if the wearer can function. Because papier-mâché and resin can be rigid, you must integrate soft transitions where the costume meets your skin.
Use neoprene or spandex fabric to bridge the gap between the hard resin pieces and your body. For example, if you have a resin-coated shoulder growth, attach it to a padded harness hidden beneath a fabric tunic. This prevents the hard edges from chafing and allows for a more natural range of motion.
For those incorporating moving tentacles, consider using a "cable-pull" system. Run thin aircraft cables through the PVC spines of your papier-mâché tentacles, connecting them to rings on your fingers. This allows you to subtly curl and wave the appendages, adding a layer of lifelike movement that elevates the cosplay from a static statue to a living nightmare.
Maintenance and Transport
Due to the nature of resin and paper, these costumes require specific care. Store your pieces in breathable garment bags to prevent moisture buildup, which can soften the paper core over time. If the resin surface becomes scratched during a convention, a small amount of clear nail polish or a touch-up of gloss varnish can easily hide the damage.
When transporting large Elder God pieces, use custom-cut foam inserts in a hard-shell case. The weight of the resin elements can put stress on the papier-mâché joints, so ensure that the heaviest parts are supported independently during transit.