Introduction to Fursuit Crafting
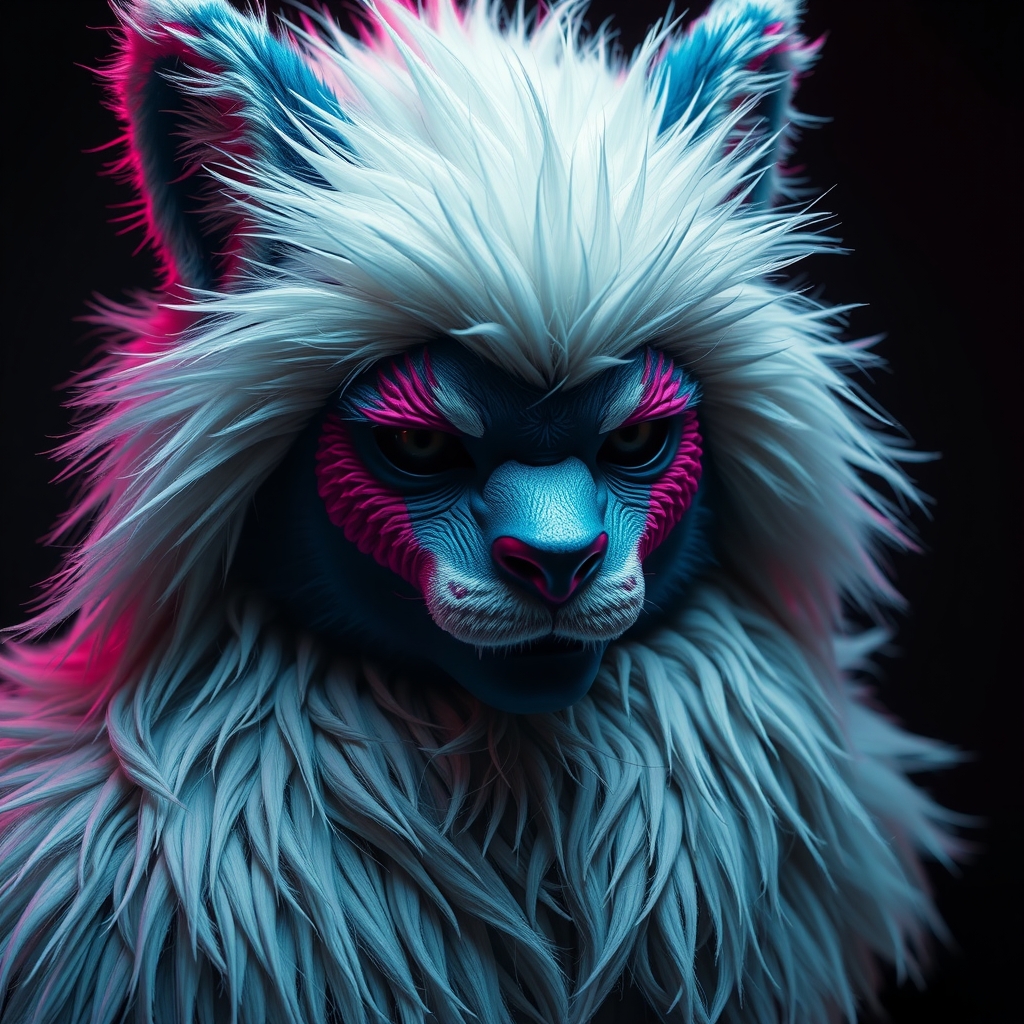
Crafting a fursuit is a complex and rewarding process that requires attention to detail, creativity, and a range of technical skills. One of the most critical aspects of creating a realistic fursuit is achieving lifelike fur textures that mimic the appearance and feel of real fur. In this guide, we'll explore the basics of creating realistic fur textures using resin and paint, perfect for beginners and experienced cosplayers alike.
Understanding Resin and Paint for Fursuit Crafting
Resin and paint are popular materials for creating fursuit textures due to their versatility, durability, and ease of use. Resin can be used to create a range of textures, from smooth and sleek to rough and scaly. Paint, on the other hand, is ideal for adding color, depth, and dimension to your fursuit. When working with resin and paint, it's essential to understand the different types and brands available, as well as their unique properties and applications.
Choosing the Right Resin
There are several types of resin commonly used in fursuit crafting, including epoxy, polyurethane, and acrylic. Each type of resin has its own strengths and weaknesses, and the right choice will depend on the specific texture and effect you're trying to achieve. For example, epoxy resin is a popular choice for creating smooth, glossy textures, while polyurethane resin is better suited for creating flexible, rubber-like textures.
Selecting the Right Paint
When it comes to painting your fursuit, there are many different types of paint to choose from, including acrylic, oil, and enamel. Each type of paint has its own unique properties and applications, and the right choice will depend on the specific effect you're trying to achieve. For example, acrylic paint is a popular choice for creating bold, vibrant colors, while oil paint is better suited for creating subtle, blended colors.
Creating Realistic Fur Textures with Resin
Creating realistic fur textures with resin requires a combination of technique, patience, and practice. Here are some basic steps to get you started:
- Prepare your surface: Before applying resin, make sure your surface is clean, dry, and free of any debris or oils.
- Apply a base coat: Apply a thin layer of resin to your surface, using a brush or pouring technique to achieve the desired texture.
- Add texture: Use a texture additive, such as flocking or fabric, to create a rough, furry texture.
- Build up layers: Apply multiple layers of resin, allowing each layer to cure before adding the next. This will help build up a thick, dimensional texture.
- Finish and sand: Once your final layer is cured, use a sanding block or sandpaper to smooth out any rough edges or bumps.
Adding Color and Dimension with Paint
Once you've achieved the desired texture with resin, it's time to add color and dimension with paint. Here are some basic steps to get you started:
- Prime your surface: Apply a primer to your resin surface, using a brush or spray to achieve an even coat.
- Base coat: Apply a base coat of paint, using a brush or airbrush to achieve the desired color.
- Build up layers: Apply multiple layers of paint, allowing each layer to dry before adding the next. This will help build up a rich, dimensional color.
- Add shading and highlights: Use a smaller brush to add shading and highlights to your fur texture, creating depth and dimension.
Tips and Tricks for Achieving Realistic Fur Textures
Here are a few tips and tricks to keep in mind when crafting realistic fur textures with resin and paint:
- Study reference images: Study images of real animals or characters to get a sense of the texture and color you're trying to achieve.
- Experiment and iterate: Don't be afraid to experiment and try new techniques – it's all part of the creative process!
- Pay attention to scale: Make sure your texture is proportional to the rest of your fursuit, and that it's not too big or too small.
- Practice, practice, practice: Like any skill, crafting realistic fur textures takes practice – don't get discouraged if it takes a few tries to get it right!
Conclusion
Crafting realistic fur textures with resin and paint is a challenging but rewarding process that requires patience, practice, and attention to detail. By following these basic steps and tips, you can create lifelike fur textures that will take your fursuit to the next level. Whether you're a beginner or an experienced cosplayer, we hope this guide has provided you with the inspiration and information you need to create a stunning fursuit that will impress and delight.