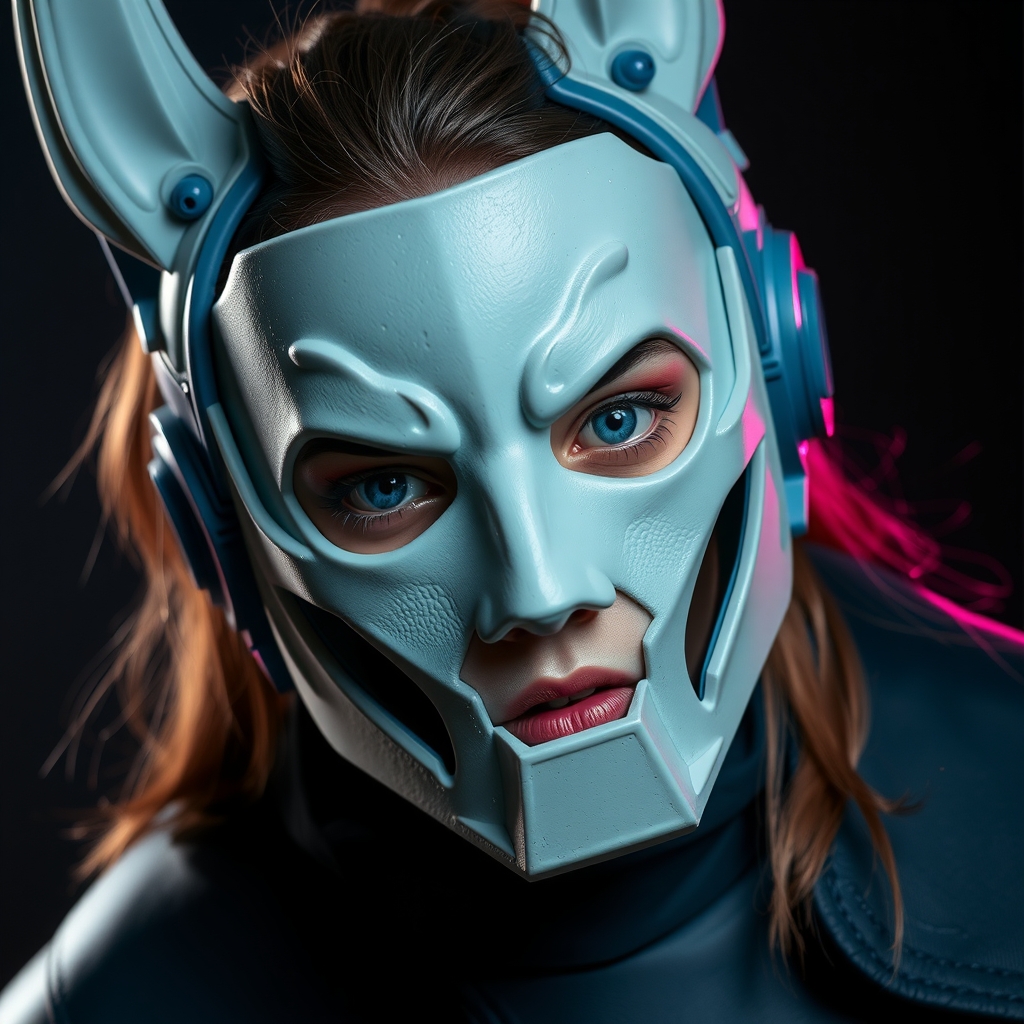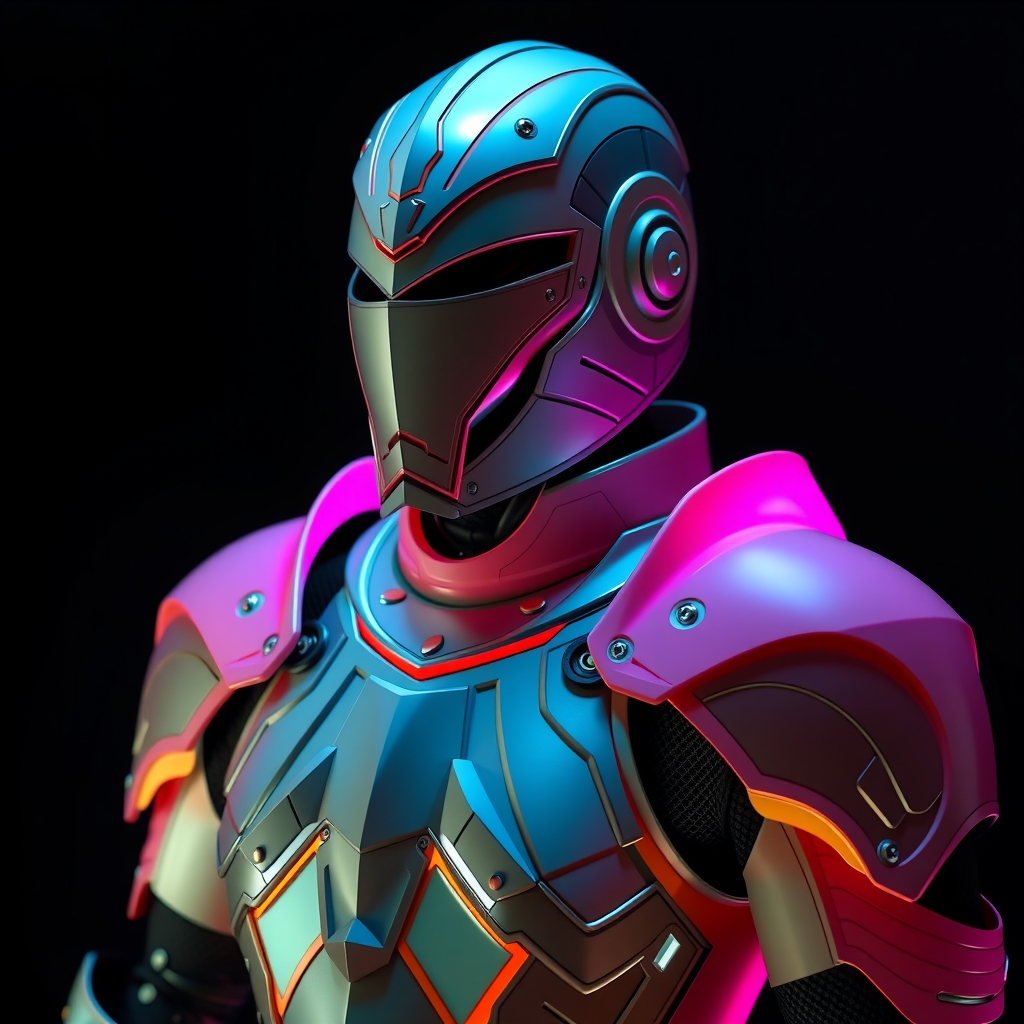
Introduction to Hyper-Realistic 3D Printing in Cosplay
As a cosplayer, creating realistic props and accessories is crucial to bringing your character to life. With the advancement of 3D printing technology, achieving hyper-realistic results has become more accessible than ever. However, mastering the techniques required to produce high-quality prints can be daunting, especially for beginners. In this article, we'll explore the top 10 must-try techniques for hyper-realistic 3D printing, helping you elevate your cosplay game and create stunning, lifelike pieces.
Understanding the Basics of 3D Printing
Before diving into the techniques, it's essential to understand the basics of 3D printing. Familiarize yourself with the different types of 3D printing technologies, such as Fused Deposition Modeling (FDM), Stereolithography (SLA), and Selective Laser Sintering (SLS). Each technology has its strengths and weaknesses, and choosing the right one for your project is crucial.
Preparing Your 3D Model
A well-prepared 3D model is the foundation of a successful print. Ensure your model is:
- High-resolution: A higher resolution model will result in a more detailed print.
- Watertight: Make sure your model is free of gaps and holes to prevent print errors.
- Optimized for printing: Adjust your model's geometry and thickness to ensure it prints efficiently.
Top 10 Techniques for Hyper-Realistic 3D Printing
1. Layer Height Optimization
Layer height is a critical factor in achieving smooth, detailed prints. Experiment with different layer heights to find the optimal balance between print speed and quality. A lower layer height will result in a more detailed print, but may increase print time.
2. Advanced Infill Techniques
Infill patterns and densities can significantly impact the strength and weight of your print. Experiment with different infill techniques, such as:
- Grid infill: Suitable for most prints, providing a good balance between strength and material usage.
- Triangular infill: Ideal for prints requiring high strength and stability.
- Concentric infill: Perfect for prints with complex geometries or curved surfaces.
3. Support Material Optimization
Support material is essential for printing complex geometries, but can be challenging to remove. Optimize your support material by:
- Adjusting support density and shape.
- Using specialized support materials.
- Designing your model with support-free features.
4. Texture and Normal Mapping
Add surface details and realism to your print using texture and normal mapping techniques. These can be achieved through:
- Post-processing: Applying textures and paints to your print.
- 3D modeling: Incorporating textures and normal maps into your 3D model.
5. Multi-Material Printing
Multi-material printing allows you to create complex, multi-colored prints with varying textures and properties. Experiment with different material combinations to achieve unique effects.
6. Post-Processing and Finishing
Post-processing is crucial to achieving a hyper-realistic finish. Techniques include:
- Sanding and smoothing.
- Painting and coating.
- Applying decals and weathering effects.
7. Print Orientation and Placement
Print orientation and placement can significantly impact print quality and material usage. Experiment with different orientations and placements to optimize your print.
8. Cooling and Temperature Control
Temperature control and cooling can affect print quality, warping, and material properties. Optimize your print environment by:
- Adjusting print temperature and cooling settings.
- Using enclosures or cooling systems.
9. Adhesion and Brim Techniques
Adhesion and brim techniques ensure a strong bond between your print and the build plate. Experiment with different adhesion methods, such as:
- Brim.
- Raft.
- Adhesion sheets.
10. Print Quality Monitoring and Troubleshooting
Monitor your print quality and troubleshoot issues as they arise. Common issues include:
- Layer shifting or misalignment.
- Under-extrusion or over-extrusion.
- Warping or cracking.
Conclusion
Mastering these top 10 techniques will help you achieve hyper-realistic results in your 3D printing projects, elevating your cosplay game and creating stunning, lifelike props and accessories. Remember to experiment, practice, and continually improve your skills to achieve the best possible results.
For further learning and inspiration, explore online resources, such as 3D printing communities, tutorials, and YouTube channels. Share your experiences and showcase your creations with the cosplay and 3D printing communities to get feedback and stay motivated.
Happy printing and cosplaying!