Introduction to Custom Cosplay Badges
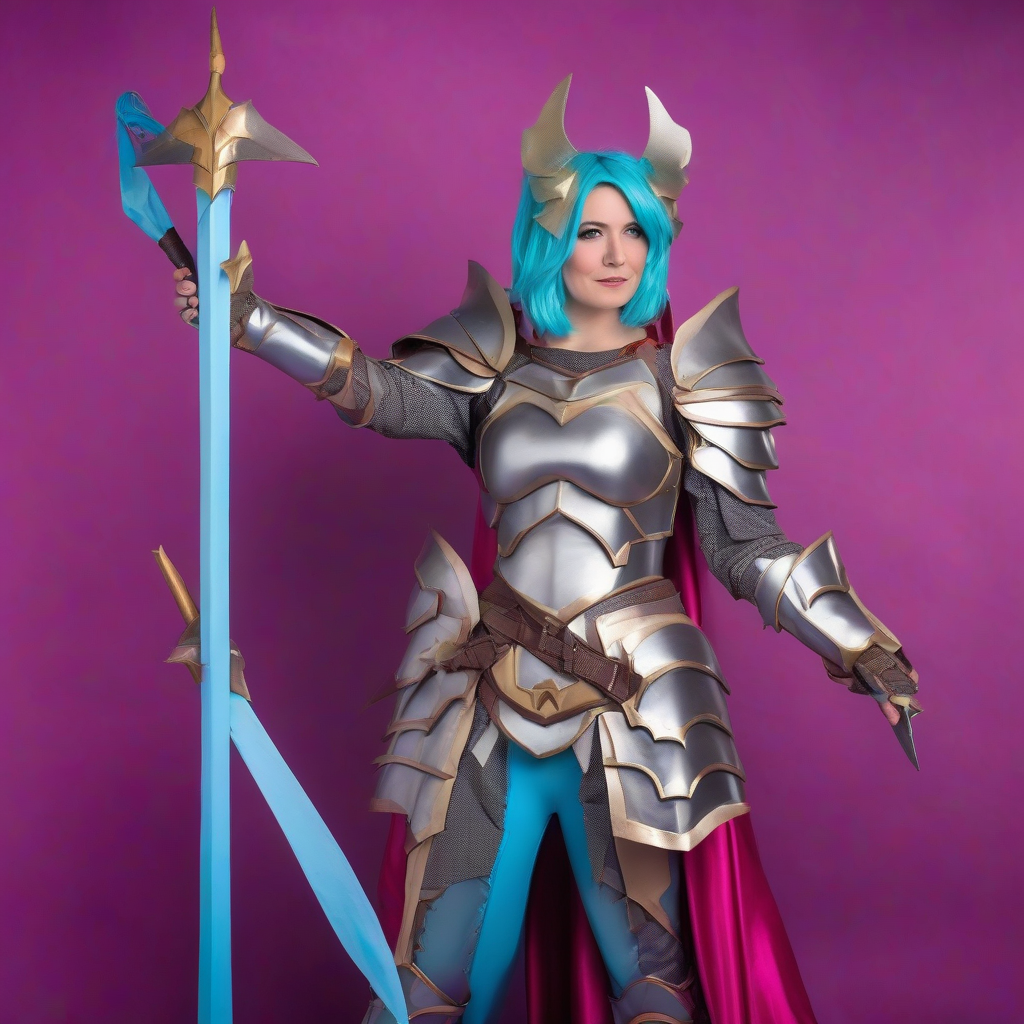
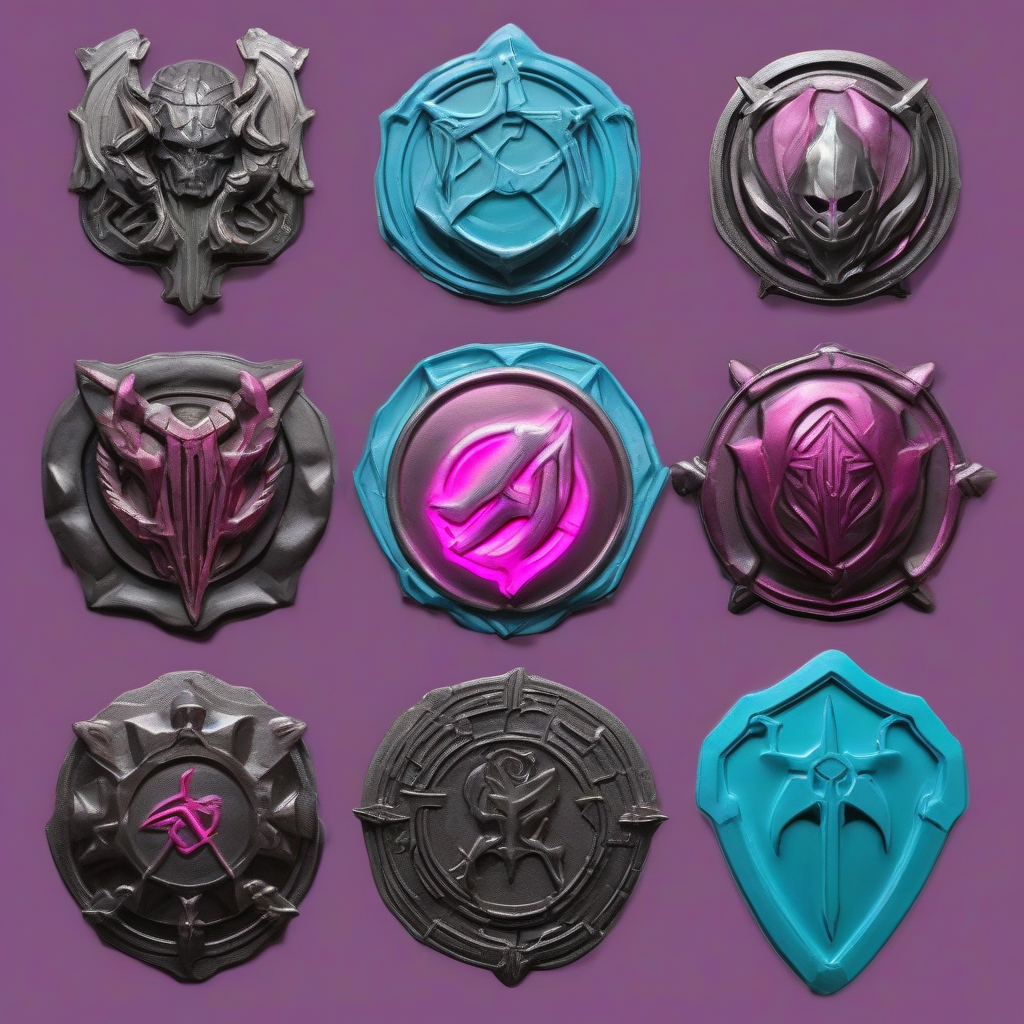
Custom cosplay badges have become a staple in the cosplay community, allowing enthusiasts to showcase their creativity and attention to detail. These small but meaningful accessories can elevate a costume from good to great, and with the rise of 3D printing and resin casting, creating custom badges has become more accessible than ever. In this guide, we'll walk you through the process of designing and creating custom cosplay badges using 3D printing and resin casting techniques.
Designing Your Badge
Before you start printing or casting, you'll need to design your badge. This is where the creative process begins. Consider the theme, character, or inspiration behind your badge. You can use computer-aided design (CAD) software or 3D modeling programs like Blender or Tinkercad to create your design. Keep in mind that your design should be:
- Simple, yet distinctive
- Scalable to various sizes
- Easy to read and recognize
It's also essential to consider the size and shape of your badge. Will it be a lapel pin, a brooch, or a pendant? Make sure your design is optimized for the intended use.
3D Printing Your Badge
Once you have your design, you can send it to a 3D printer. If you're new to 3D printing, consider investing in a beginner-friendly printer or using a printing service. When printing, keep in mind:
- Layer height: A lower layer height will result in a more detailed print
- Infill density: Adjust this to achieve the desired level of detail and durability
- Support material: Use this to prevent sagging or collapsing during printing
Post-processing is also crucial. Remove any support material, and sand or file the print to smooth out any rough edges.
Resin Casting Your Badge
Resin casting offers a more traditional approach to creating custom badges. You'll need a mold, resin, and a casting medium. Here's a basic process:
- Prepare your mold: Make sure it's clean and dry
- Mix your resin: Follow the manufacturer's instructions for the correct ratio
- Cast your resin: Pour the mixture into the mold and let it cure
- Demold and clean: Carefully remove the badge from the mold and clean it
Resin casting allows for a high level of detail and can produce a more realistic finish. However, it requires patience and practice to achieve the desired results.
Finishing Touches
Once you have your printed or cast badge, it's time to add the finishing touches. This may include:
- Painting: Use acrylic or enamel paints to add color and detail
- Clear coating: Apply a clear resin or varnish to protect the badge
- Backing: Attach a pin, clip, or adhesive to the back of the badge
These final steps will help bring your badge to life and make it ready to wear.
Tips and Variations
As you gain experience with creating custom cosplay badges, consider experimenting with different materials and techniques. Some ideas include:
- Combining 3D printing and resin casting for a hybrid approach
- Adding LED lights or glow-in-the-dark details
- Using different shapes, like wooden or fabric-backed badges
Remember to always follow safety guidelines when working with new materials and techniques.
Conclusion
Creating custom cosplay badges with 3D printing and resin casting is a fun and rewarding process. With practice and patience, you can create unique and intricate designs that showcase your creativity and attention to detail. Whether you're a seasoned cosplayer or just starting out, custom badges are a great way to elevate your costume and connect with fellow fans.