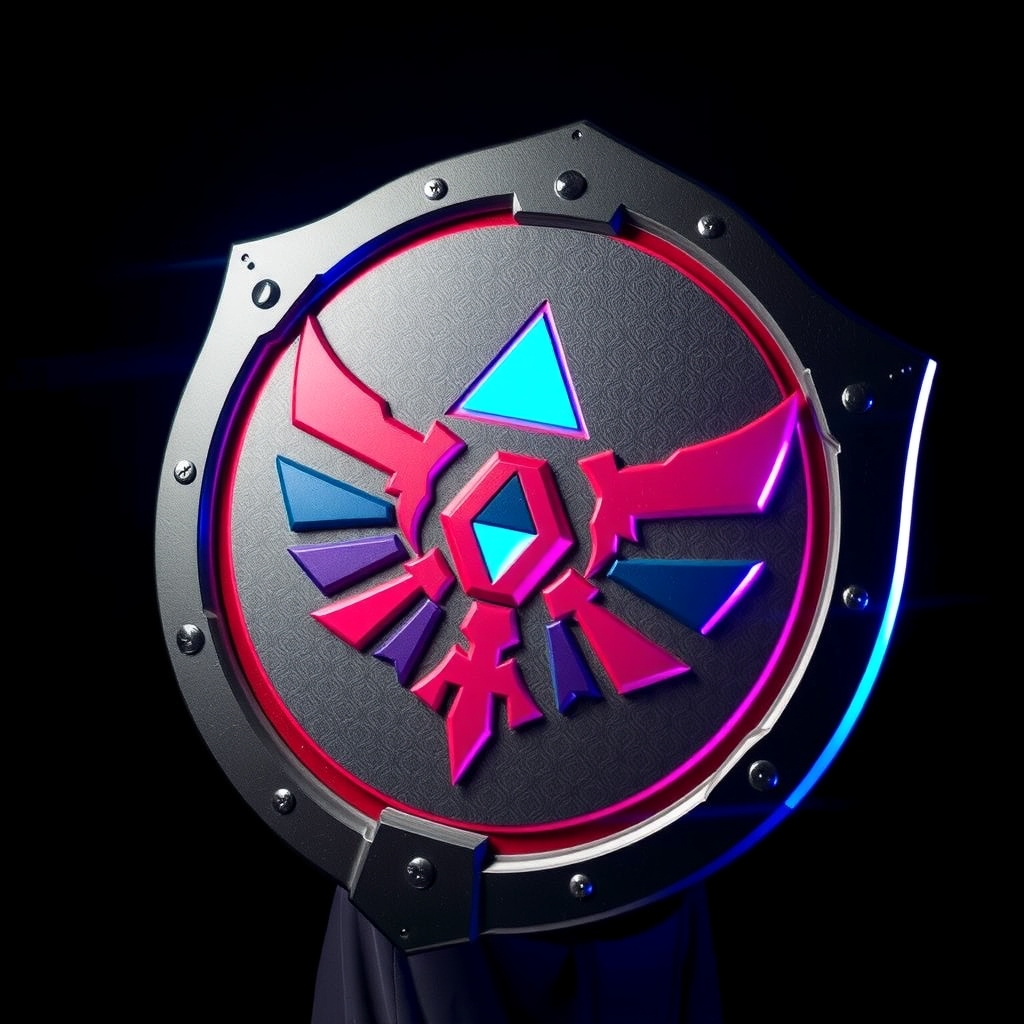
Introduction to Cosplay Shield Making
Cosplay shields are an essential prop for many video game characters, adding an extra layer of authenticity to your costume. However, store-bought shields can be expensive and heavy, making them impractical for long convention days or extensive photo shoots. In this guide, we'll walk you through the process of creating your own realistic cosplay shields using foam and Worbla, two popular materials among cosplayers and prop makers.
Materials and Tools Needed
- High-density foam (e.g., Wonderflex or Worbla's own foam)
- Worbla (thermoplastic material)
- Heat gun or hair dryer
- Utility knife or foam cutter
- Sandpaper and files
- Paint and primer (optional)
- Adhesives (e.g., hot glue, epoxy, or contact cement)
- Straps or handles (e.g., leather, fabric, or PVC)
Designing Your Shield
Before you start crafting, it's essential to have a clear design in mind. Research your character's shield, taking note of its shape, size, color, and any distinctive features. You can use reference images or draw inspiration from concept art. Consider the materials you'll be using and how they will affect the overall weight and durability of your shield.
Sketch out your design on paper or use digital software to create a blueprint. Take measurements and calculate the size of your shield, keeping in mind that it needs to be manageable to carry and store.
Cutting Out the Foam Base
Using your design as a guide, cut out the foam base for your shield. You can use a utility knife or a foam cutter to make clean cuts. If you're new to foam crafting, it's better to start with a simpler design and gradually add details.
Cut the foam slightly larger than your design, as you'll be adding layers of Worbla and possibly sanding down the edges.
Shaping and Refining the Foam
Use a combination of sandpaper and files to smooth out the edges and shape the foam to your desired design. This step is crucial in creating a seamless surface for applying Worbla.
For more intricate designs, you can use a Dremel or a rotary tool to carve out details or create texture.
Applying Worbla
Worbla is a versatile thermoplastic material that can be molded and shaped to create durable, lightweight, and highly detailed surfaces.
Cut a piece of Worbla slightly larger than your foam base. Apply heat using a heat gun or hair dryer, and stretch the Worbla over the foam, smoothing out any wrinkles or air pockets.
Use a heat-resistant tool or a cloth to shape and mold the Worbla into the desired shape. You can also use a Worbla template or a pre-made Worbla sheet with a textured surface.
Adding Details and Finishing Touches
Once the Worbla is set, you can add additional details such as textures, patterns, or logos using paint, markers, or transfers.
Apply a coat of primer and paint to achieve the desired color and finish. You can also add a clear coat to protect the surface and give it a glossy finish.
Assembling and Attaching Straps or Handles
Attach straps or handles to your shield using adhesives, screws, or rivets. You can use leather, fabric, or PVC to create comfortable and secure straps.
Make sure the straps are adjustable and securely attached to the shield to prevent them from coming loose during use.
Tips and Variations
Experiment with different materials and techniques to create unique and personalized shields. You can add LED lights, weathering effects, or metallic finishes to give your shield an extra edge.
Consider adding a core or a backing plate to make your shield more durable and stable.
Conclusion
Creating a realistic cosplay shield using foam and Worbla requires patience, creativity, and practice. With these steps and tips, you'll be well on your way to forging an impressive and durable shield that will elevate your video game-inspired cosplay to the next level.
Don't be afraid to experiment and push the boundaries of what's possible with foam and Worbla. Happy crafting!