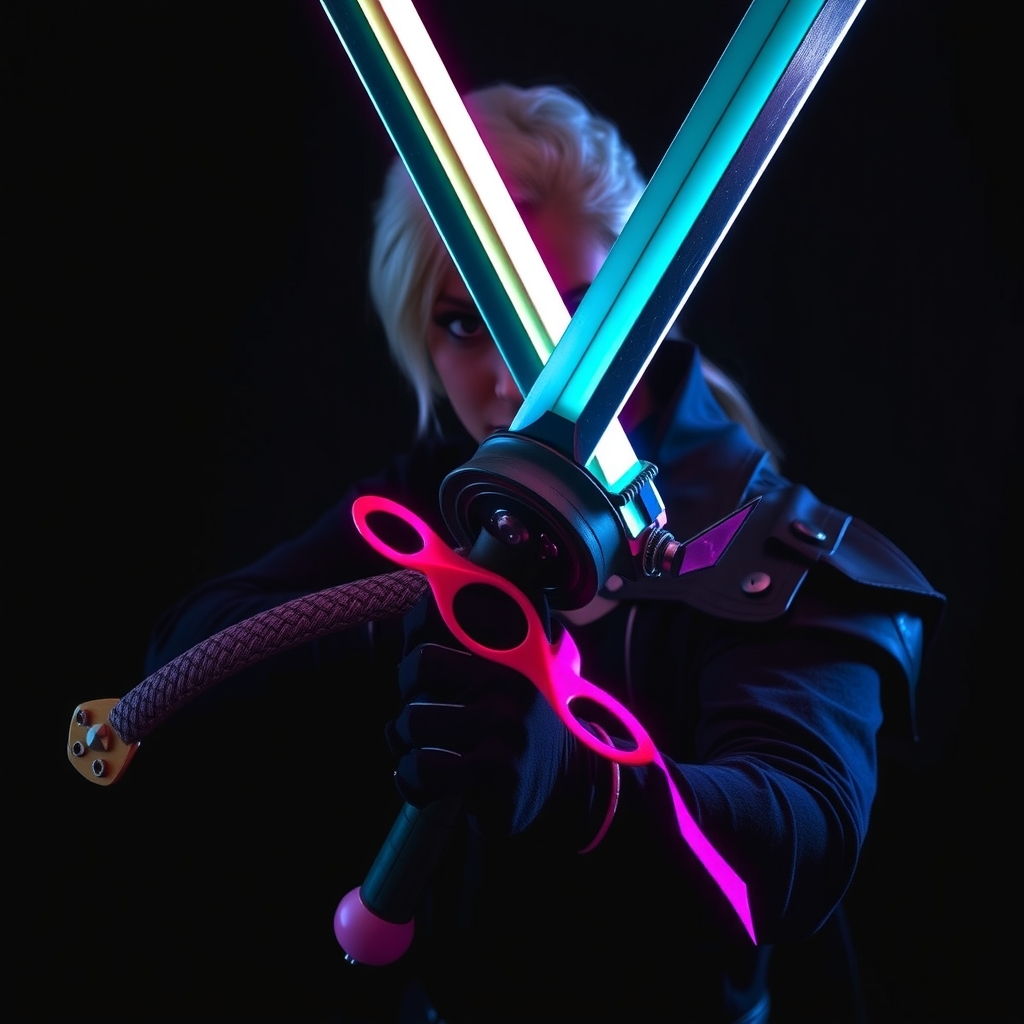
Introduction to Worbla and Prop Making
For cosplayers and prop makers, creating realistic and durable props can be a challenge. Worbla, a thermoplastic material, has become a popular choice for crafting intricate and detailed props, including video game swords. In this guide, we'll walk you through the basics of working with Worbla and provide a step-by-step tutorial on crafting a stunning video game sword.
Choosing the Right Worbla Product
Worbla offers a range of products, each with its own unique characteristics and applications. For prop making, Worbla Thermoplastic Sheets and Worbla Modeling Paste are ideal choices. The thermoplastic sheets can be molded and shaped to create the sword's blade and hilt, while the modeling paste can be used to add fine details and textures.
Understanding Worbla's Properties
- Thermoplastic: Worbla can be melted and reformed multiple times, allowing for flexibility and adjustability during the crafting process.
- Durable: Worbla is resistant to impact and scratches, making it an excellent choice for props that will be handled frequently.
- Lightweight: Worbla is surprisingly lightweight, making it easy to handle and maneuver.
Designing Your Sword
Before you begin crafting, it's essential to have a clear design concept. Research your favorite video game sword and gather reference images. Consider the following factors:
- Size and scale: Ensure your sword is proportional to the character and comfortable to handle.
- Shape and style: Pay attention to the sword's blade shape, hilt design, and any distinctive features.
- Materials and textures: Note the materials and textures used in the original design, such as metal, leather, or wood.
- LED lighting: Add LED lights to create a glowing effect or illuminate specific details.
- Moving parts: Add movable parts, such as a folding blade or articulated hilt.
- Weathering effects: Use paint or chemicals to create realistic weathering effects, such as rust or battle damage.
Crafting Your Sword
Step 1: Creating the Blade
Using Worbla thermoplastic sheets, cut out the blade shape and heat it using a heat gun or oven. Once heated, shape the Worbla to create the desired curve and shape. Allow the Worbla to cool and harden completely.
Step 2: Adding the Hilt
Cut out the hilt shape from Worbla sheets and attach it to the blade using a combination of heat and adhesives. You can also add details such as a pommel or guard using Worbla modeling paste.
Step 3: Adding Fine Details and Textures
Using Worbla modeling paste, add fine details such as engravings, logos, or textures to your sword. You can also use paint or markers to add color and weathering effects.
Finishing Touches
Once your sword is complete, apply a coat of varnish or sealant to protect the Worbla and give it a glossy finish. You can also add a handle or grip made from materials such as foam, wood, or leather.
Tips and Variations
To take your sword to the next level, consider adding:
With Worbla and some basic crafting skills, you can create a stunning video game sword that's sure to impress. Practice makes perfect, so don't be afraid to experiment and try new techniques. Happy crafting!