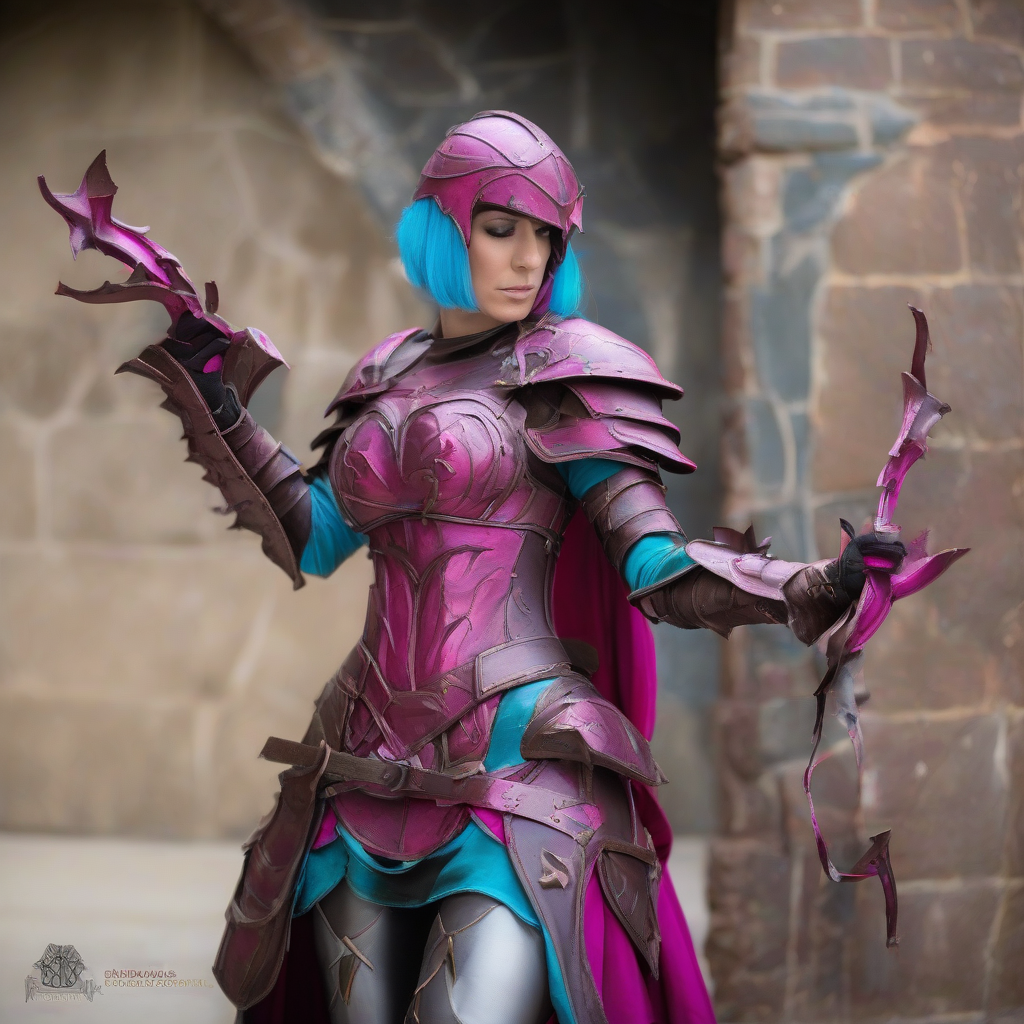
Introduction to Malenia's Blade
Malenia's Blade is one of the most iconic and intimidating swords in the Elden Ring universe. Its unique design, featuring a long, curved blade with a distinctive rot-infested appearance, makes it a coveted prop for cosplayers and fans of the game. In this guide, we'll walk you through the process of crafting a realistic replica of Malenia's Blade using a combination of foam crafting and 3D printing techniques.
Designing the Blade
Before you begin crafting, it's essential to have a clear understanding of the sword's design. Study reference images of Malenia's Blade from various angles, taking note of its shape, proportions, and intricate details. You can use software like Blender or Tinkercad to create a 3D model of the sword, or simply use a printed template as a guide.
For a more accurate representation, consider breaking down the sword into its individual components, such as the blade, hilt, and pommel. This will make it easier to work on each part separately and ensure a more precise fit when assembling the final product.
Foam Crafting the Blade
For the blade, you can use a combination of foam sheets and Worbla or Wonderflex to create a sturdy and lightweight structure. Here's a step-by-step guide:
- Cut out the blade shape from foam sheets, using a template or 3D model as a guide.
- Apply a layer of Worbla or Wonderflex to the foam, shaping and molding it to create a smooth, curved surface.
- Use a heat gun or hair dryer to shape and set the Worbla or Wonderflex.
- Sand the blade to smooth out any rough edges or bumps.
To achieve the distinctive rot-infested appearance, you can use a combination of paint and texture effects. Apply a base coat of metallic paint, followed by layers of brown and green to create a rusted, decaying look. Use a texture paste or paint to add raised, bumpy details that resemble the sword's infested surface.
3D Printing the Hilt and Pommel
For the hilt and pommel, 3D printing offers a high level of detail and precision. You can design and print these components using a 3D modeling software and a suitable 3D printer.
When designing the hilt and pommel, consider the following:
- Use a durable, impact-resistant material, such as PLA or ABS.
- Incorporate details like intricate engravings, textures, or patterns.
- Ensure a secure fit with the blade and other components.
Post-processing techniques, such as sanding and painting, can help smooth out layer lines and add a realistic finish.
Assembling the Sword
Once you've completed the individual components, it's time to assemble the sword. Use a combination of adhesives, such as epoxy or super glue, and mechanical fasteners, like screws or pins, to secure the hilt, pommel, and blade together.
Pay attention to the balance and weight distribution of the sword, ensuring it feels comfortable and realistic in the hand.
Finishing Touches
The final step in crafting Malenia's Blade is to add any finishing touches, such as:
- A weathered, battle-worn appearance using paint and texture effects.
- A functional or decorative scabbard or sheath.
- LED lighting or other electronic components to enhance the sword's appearance.
With patience, dedication, and the right techniques, you can create a stunning replica of Malenia's Blade that's sure to impress fellow cosplayers and fans of Elden Ring.