Introduction to Hyper-Realistic Textures in Cosplay
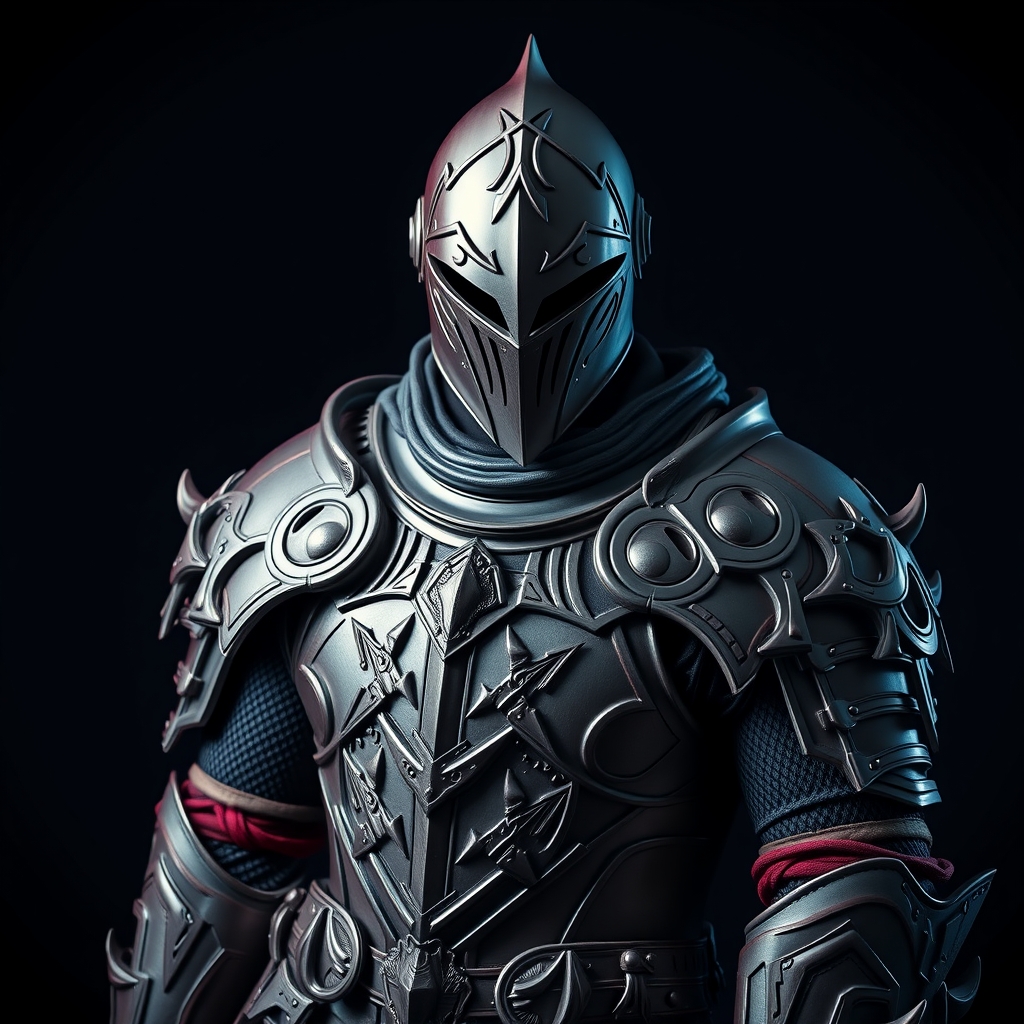
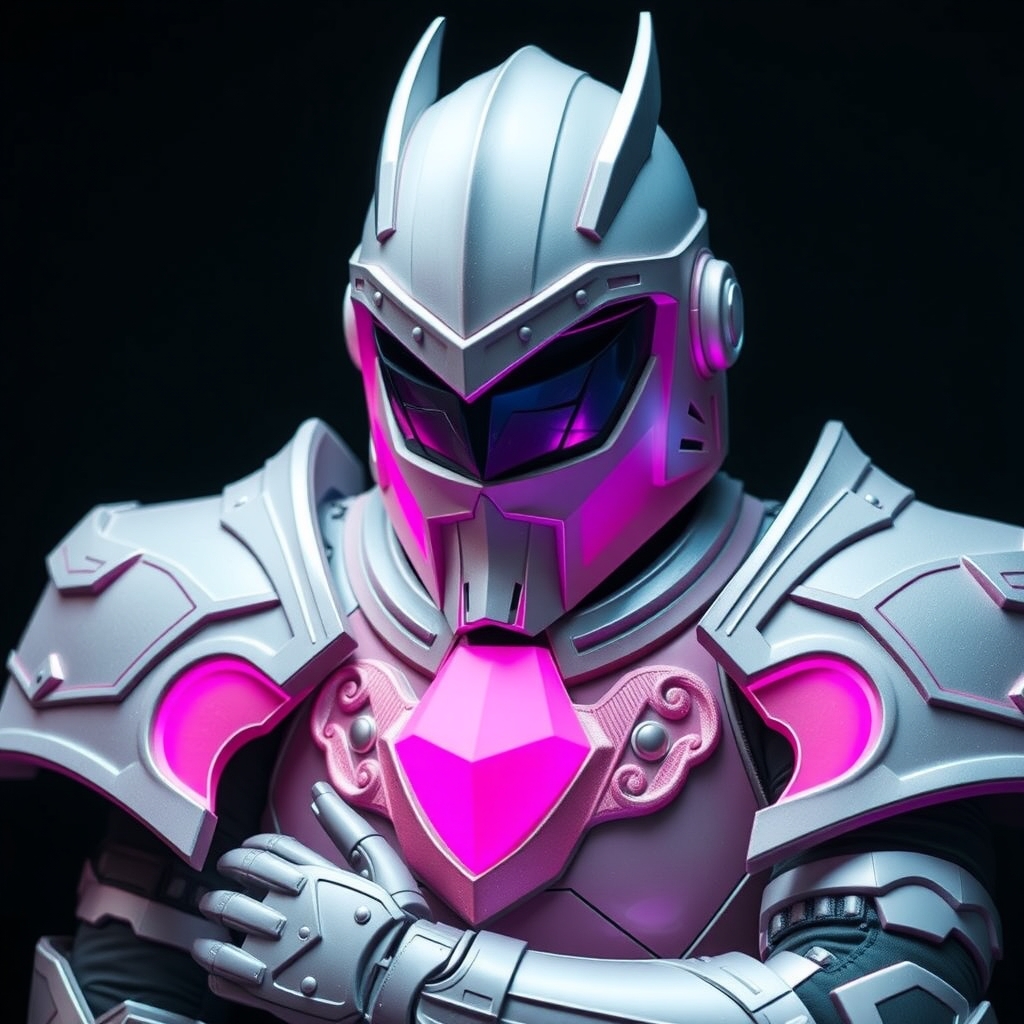
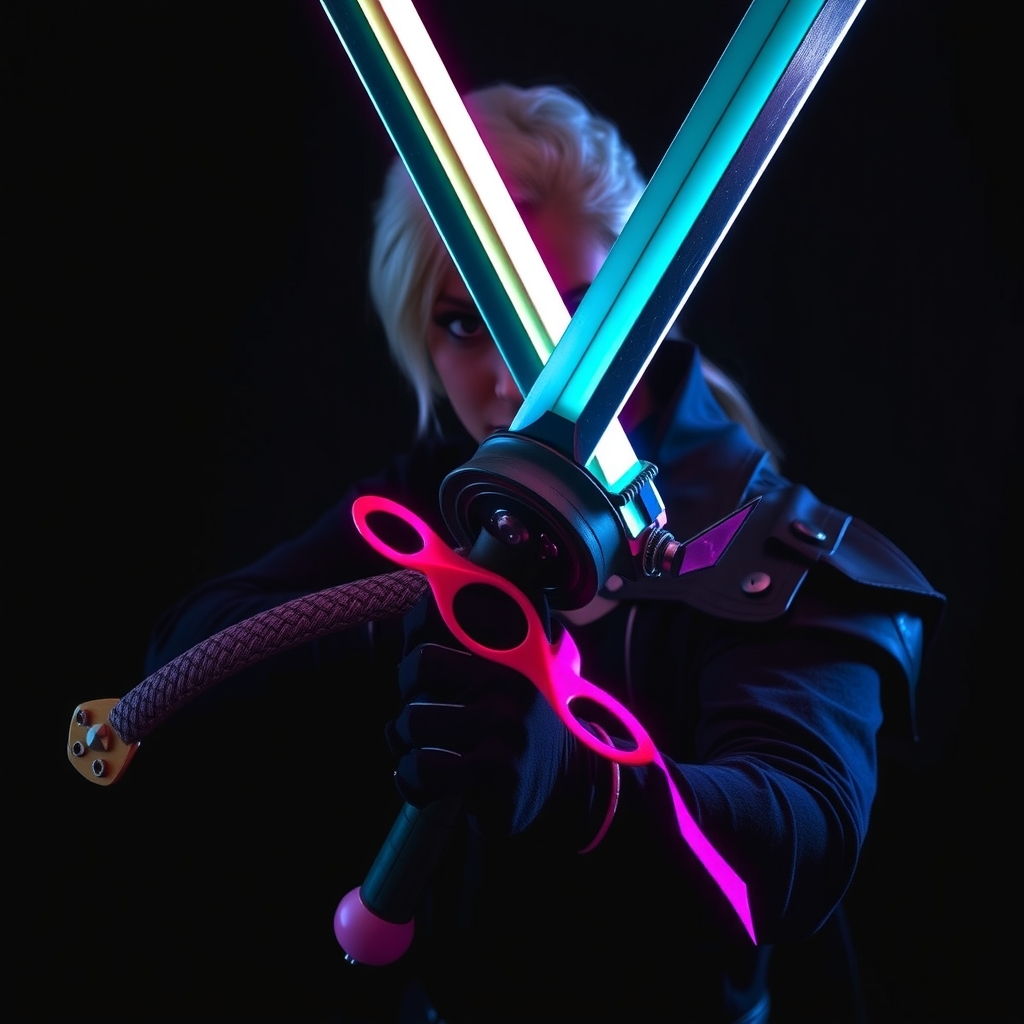
Video games have long been a source of inspiration for cosplayers, with their richly detailed worlds, characters, and props offering endless opportunities for creative interpretation. One key aspect of bringing these digital creations to life is replicating their intricate textures – from the weathered metal of a fantasy sword to the glowing circuits of a sci-fi blaster. In this guide, we'll explore how to achieve hyper-realistic textures for your cosplay projects using modeling paste and acrylics.
Materials and Tools
To get started, you'll need a few basic materials and tools:
- Modeling paste (also known as texture paste or heavy body medium)
- Acrylic paints (various colors)
- Palette or mixing surface
- Water cup
- Paintbrushes (various sizes)
- Palette knife or spreading tool
- Surface to apply texture (e.g., foam, Worbla, or resin)
Preparing Your Surface
Before applying texture, make sure your surface is clean, dry, and free of any debris. If working with a smooth surface like foam or resin, lightly sand it to create a better bond between the surface and the modeling paste.
Applying Modeling Paste
Modeling paste is a versatile medium that can be used to create a wide range of textures, from smooth and sleek to rough and rocky. To apply the paste:
- Start by squeezing a small amount of paste onto your palette or mixing surface.
- Use your palette knife or spreading tool to mix the paste with a small amount of water, if desired, to achieve your desired consistency.
- Apply the paste to your surface using long, sweeping strokes or dabbing motions, depending on the texture you want to achieve.
- Experiment with different techniques, such as scraping, layering, or splattering, to create unique textures.
Building Up Layers
One of the key secrets to achieving hyper-realistic textures is building up layers of modeling paste and acrylic paint. This allows you to create depth, dimension, and subtlety in your textures.
- Start with a base layer of modeling paste, applied as described above.
- Allow the paste to dry completely, either air-drying it or using a heat gun to speed up the process.
- Once dry, use acrylic paint to add color and shading to your texture.
- Continue building up layers of paste and paint, allowing each layer to dry before adding the next.
Adding Details and Shading
Once you have your basic texture in place, it's time to add details and shading. Use a small brush to paint on fine details, such as bolts, rivets, or circuitry.
For shading, use a mixture of acrylic paint and water to create a glaze, which can be applied over your texture to add depth and dimension.
Sealing and Finishing
Finally, once your texture is complete, use a clear coat or sealant to protect it from damage and wear.
- Choose a sealant that's suitable for your materials, such as varnish, polyurethane, or spray sealant.
- Apply the sealant according to the manufacturer's instructions, making sure to cover the entire textured area.
Conclusion and Tips for Further Practice
With these steps, you should be able to create stunning, hyper-realistic textures for your cosplay props and costumes using modeling paste and acrylics. Remember to experiment and practice, as the key to mastering these techniques is patience and persistence.
- Start with simple textures and gradually build up to more complex ones.
- Study reference images from video games and other sources to get inspiration for your textures.
- Don't be afraid to try new things and make mistakes – they can often lead to unexpected and interesting textures.