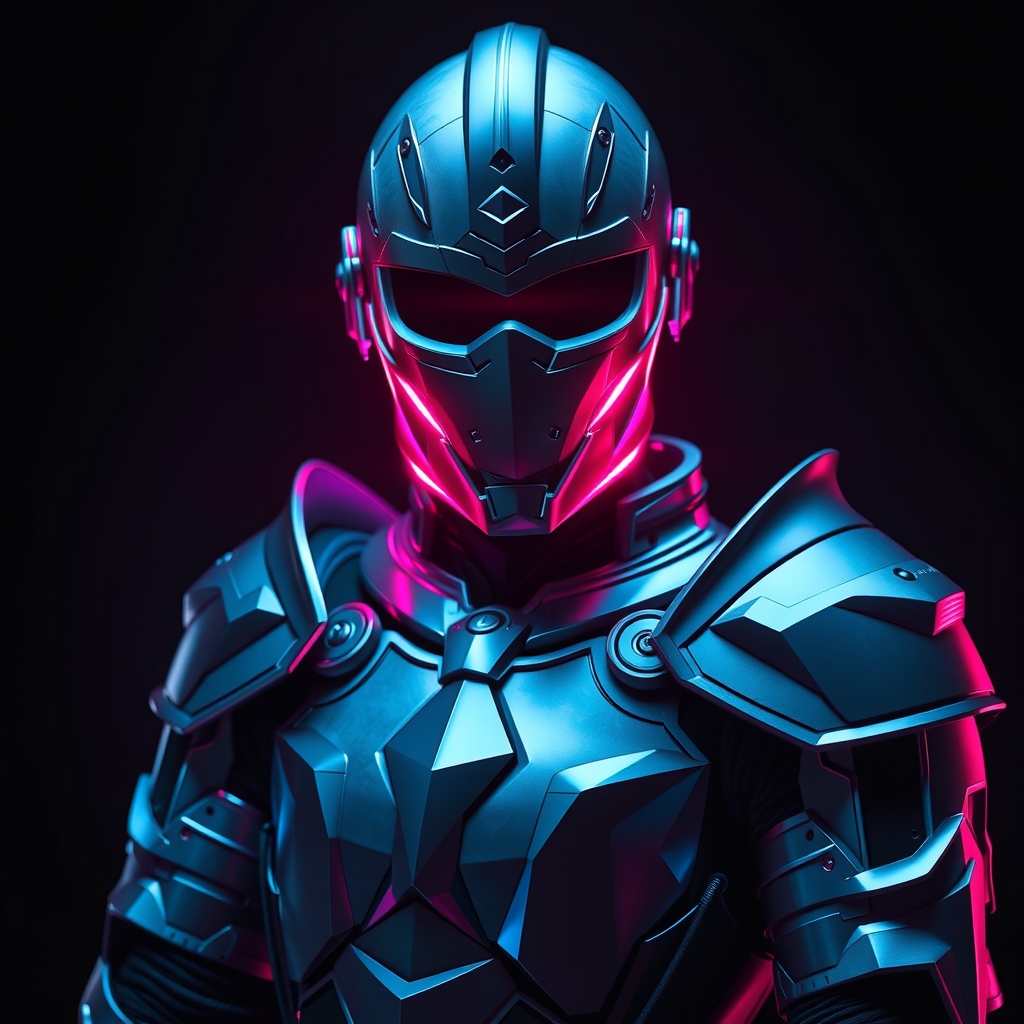
Introduction to Realistic Cosplay Armor
Cosplay armor can make or break a costume, and for many enthusiasts, achieving a realistic look is the ultimate goal. With advancements in technology and materials, creating detailed, lifelike armor has become more accessible than ever. This guide will walk you through the process of crafting realistic cosplay armor using 3D printing and metalworking techniques.
Designing Your Armor
Before you begin crafting your armor, it's essential to have a solid design concept. Research your character's armor from various angles, taking note of details such as shape, texture, and color. You can use software like Blender or Tinkercad to create a digital model of your design. Consider the following factors:
- Scale: Ensure your design is proportional to the wearer.
- Material: Choose materials that will work well with your chosen construction method.
- Comfort: Consider how the armor will feel and move with the wearer.
3D Printing for Cosplay Armor
3D printing is an excellent way to create complex armor pieces with intricate details. To get started with 3D printing, you'll need:
- A 3D printer: Choose a printer suitable for your budget and material needs.
- Filament: Select a durable, impact-resistant material like PLA, ABS, or PETG.
- Software: Use slicing software to prepare your design for printing.
When working with 3D printed armor pieces, keep in mind:
- Post-processing: Sanding, painting, and applying a finish can enhance the appearance of your prints.
- Assembly: Use adhesives, screws, or other fasteners to assemble multiple printed pieces.
Metalworking for Cosplay Armor
Metalworking can add a level of authenticity to your cosplay armor that's hard to achieve with other materials. Basic metalworking techniques include:
- Cutting: Use a saw, plasma cutter, or laser cutter to cut metal sheets or plates.
- Shaping: Form metal into curved or complex shapes using a hammer, anvil, or press brake.
- Finishing: Sand, grind, or polish metal surfaces to achieve a desired finish.
When working with metal, remember:
- Safety: Always wear protective gear, including gloves, safety glasses, and a face mask.
- Tools: Familiarize yourself with metalworking tools and equipment to ensure proper use.
Combining 3D Printing and Metalworking
For the ultimate realistic cosplay armor, consider combining 3D printing and metalworking techniques. You can use 3D printing to create complex shapes or details, then add metal accents or overlays for added authenticity.
Some popular methods for combining these techniques include:
- 3D printing a base structure, then adding metal details or trim.
- Creating metal pieces to attach to 3D printed armor components.
- Using 3D printed parts as a pattern or mold for metalworking.
Finishing Touches
Once your armor pieces are constructed, it's time to add the finishing touches. This may include:
- Painting: Use acrylic or enamel paints to add color and weathering effects.
- Weathering: Apply washes, drybrushing, or other techniques to create a battle-worn appearance.
- Assembly: Attach armor pieces to a harness or base garment for comfortable wear.
With patience, practice, and dedication, you can create stunningly realistic cosplay armor that will elevate your costume to the next level.
Conclusion
Crafting realistic cosplay armor requires a combination of creativity, technical skills, and attention to detail. By mastering 3D printing and metalworking techniques, you can create armor that looks and feels like the real thing. Remember to stay safe, experiment with different materials and methods, and always push yourself to new creative heights.