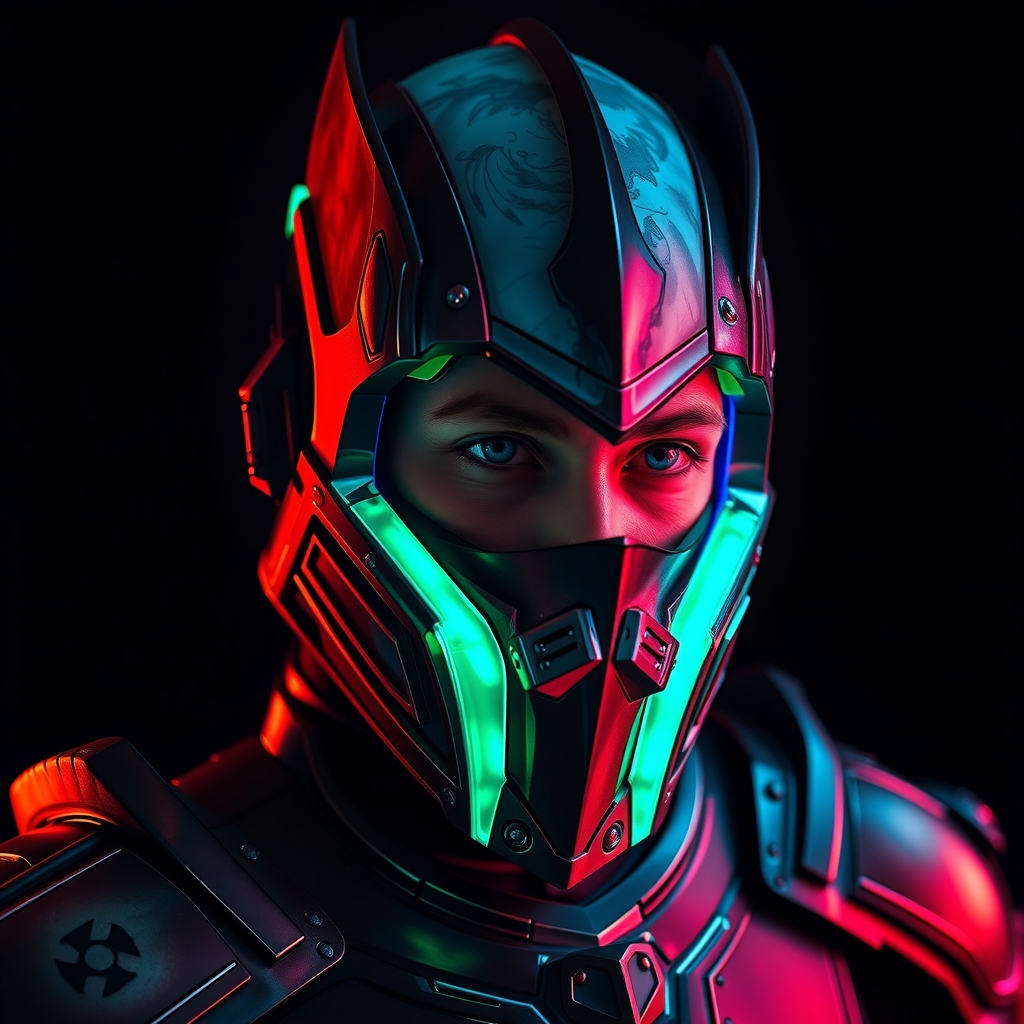
For many cosplayers, the transition from a static costume to an interactive one feels like a leap into a different discipline. The sight of a glowing power core, a flashing visor, or a prop that reacts to movement can elevate a build from a great costume to a breathtaking piece of engineering. However, the barrier to entry often feels high due to the perceived complexity of circuitry and coding.
Integrating electronics into cosplay does not require a degree in electrical engineering. By focusing on modular components and scalable projects, any builder can move beyond the screen and incorporate light and motion into their work. This guide breaks down the essential components, safety protocols, and implementation strategies for the aspiring electronic cosplayer.
Understanding the Core Components
Before soldering a single wire, it is vital to understand the basic building blocks of wearable electronics. Most interactive cosplay relies on three primary elements: the power source, the controller, and the output device.
Power Sources
Power is the most critical consideration for wearable tech. The goal is to balance runtime with weight and safety. Common options include:
- Coin Cell Batteries: Ideal for very small, low-power projects like a single LED in a piece of jewelry. They are lightweight but have limited capacity.
- AA/AAA Battery Packs: Reliable and easy to replace, though they can become bulky when multiple cells are required.
- Lithium Polymer (LiPo) Batteries: High energy density and rechargeable. These are preferred for complex builds, but they require specific chargers and careful handling to avoid damage.
- USB Power Banks: A convenient option for props that can be tethered to a pocket, providing long life and easy recharging.
Controllers and Microcontrollers
A controller acts as the "brain" of your project, telling the electronics when to turn on, off, or change patterns. For beginners, programmable boards are the gold standard. These boards allow you to write simple scripts to control timing and effects. Look for "mini" or "nano" versions of these boards to ensure they fit discreetly within armor or fabric.
Output Devices
The output is what the audience sees. While LEDs are the most common, other options include small vibration motors for haptic feedback or miniature servos for moving parts, such as an opening helmet visor or a shifting mechanical wing.
Lighting the Way: Working with LEDs
Light-emitting diodes (LEDs) are the gateway to interactive cosplay. There are two primary types of LEDs used in costuming: standard single-color LEDs and addressable RGB strips.
Standard LEDs
These are simple components that emit one color. They are perfect for static indicators or simple glowing eyes. When using standard LEDs, always use a resistor. A resistor limits the current flowing through the LED, preventing it from burning out. Without one, the LED may flash brightly for a second and then fail permanently.
Addressable RGB Strips
Addressable strips (often referred to by brand names like NeoPixels) allow you to control every single LED on the strip independently. This enables complex animations, such as a "loading" bar, a pulsing heartbeat, or a rainbow gradient. These strips require a microcontroller to manage the data signal, but they offer far more versatility than standard strips.
Adding Interactivity with Sensors
True interactivity happens when the costume reacts to the environment or the wearer. This is achieved through sensors, which act as inputs for the microcontroller.
Motion and Tilt Sensors
Accelerometers or tilt switches can trigger an event based on movement. For example, a sword that glows brighter when swung or a helmet that activates a voice changer when the head is tilted forward. These sensors are small and can be tucked into the lining of a garment.
Touch and Pressure Sensors
Capacitive touch sensors can turn almost any conductive material—including conductive thread or foil—into a button. By hiding a touch sensor under a layer of fabric, you can trigger a light sequence simply by touching a specific part of your glove or armor, avoiding the need for bulky external switches.
Sound Activation
Small microphone modules can be programmed to detect loud noises. This is particularly effective for "power-up" sequences that trigger when the cosplayer shouts or when music hits a certain volume during a performance.
Practical Integration and Wiring
The biggest challenge in wearable electronics is not the circuit itself, but how it survives the rigors of a convention floor. Movement, sweat, and friction are the enemies of electronics.
Wiring and Connection
Avoid using rigid wires where the body bends. Instead, use stranded wire or silicone-coated wire, which is significantly more flexible and less likely to snap. For connections, soldering is the most secure method, but you should always reinforce solder joints with heat-shrink tubing to prevent short circuits.
Mounting and Housing
Electronics should never be taped directly to the skin or fabric. Use 3D-printed enclosures or small plastic project boxes to house your controllers and batteries. These boxes protect the components from impact and provide a structured way to mount the electronics to the costume using Velcro or magnets for easy removal during maintenance.
Diffusion for a Professional Look
Raw LEDs often look like "dots" of light, which can look cheap or distracting. To achieve a cinematic glow, you must diffuse the light. Common materials for diffusion include:
- Foam: White EVA foam naturally diffuses light, making it ideal for glowing armor panels.
- Acrylic/Plexiglass: Frosted acrylic creates a clean, professional glow for visors.
- Polyfill/Cotton: Stuffing a translucent fabric with polyfill creates a soft, ethereal cloud effect.
- 3D Printed Translucent PLA: Printing with a lower infill or thin walls allows light to bleed through the plastic.
Safety and Maintenance
Working with electricity—even low voltage—requires a safety-first mindset. A malfunction at a convention can be stressful or, in rare cases, dangerous.
Heat Management
High-density LED strips and voltage regulators can generate heat. Ensure there is adequate ventilation around your electronics, especially if they are pressed against your skin. Never enclose a LiPo battery in an airtight, unventilated space.
The Kill Switch
Always incorporate a physical power switch that is easily accessible. If a circuit malfunctions or a battery begins to overheat, you need a way to cut power instantly without having to dismantle your entire costume.
Testing and Stress-Testing
Before the day of the event, perform a "stress test." Wear the costume and move through your full range of motion—sit, dance, and walk—while the electronics are powered on. This helps identify wires that are too tight or connections that are prone to loosening during movement.