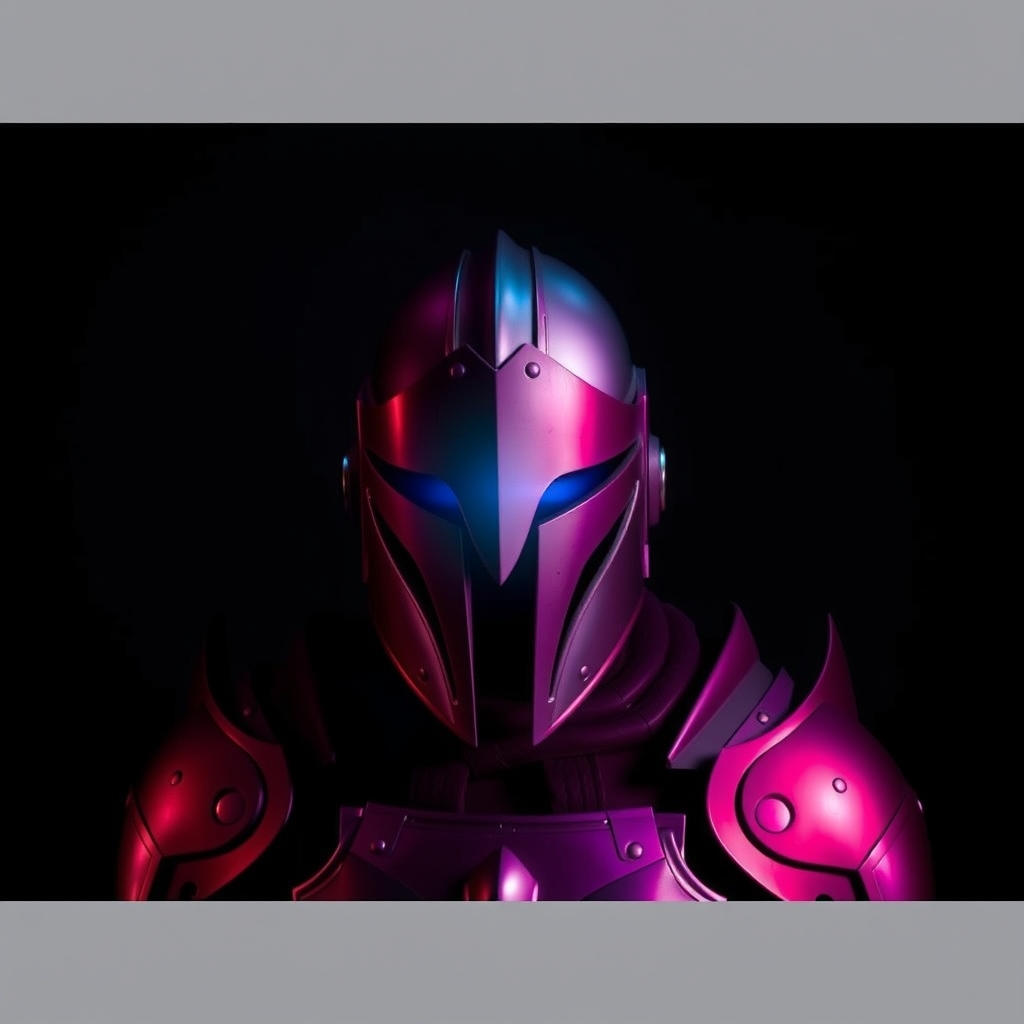
Introduction to Thermoplastic Prop Making
Thermoplastic materials like Worbla have revolutionized the world of prop making and cosplay crafting. These versatile materials offer a range of benefits, including ease of use, durability, and affordability. In this guide, we'll focus on crafting a game-accurate claymore using Worbla and thermoplastic. Whether you're a seasoned prop maker or a beginner, this article will walk you through the process of creating a stunning and accurate replica of this iconic sword.
Material Selection and Preparation
Before starting your project, it's essential to select the right materials. Worbla is a popular choice among prop makers due to its ease of use and versatility. This thermoplastic material can be molded, shaped, and formed to create complex designs and details. You'll also need a few basic tools, including a heat gun, a thermometer, and a work surface.
In addition to Worbla, you'll need a few other materials to complete your claymore. These include:
- Thermoplastic sheets (various thicknesses)
- Worbla finishing materials (e.g., Worbla Finishing Putty, Worbla Paint)
- Adhesives (e.g., hot glue, epoxy)
- Reinforcing materials (e.g., PVC pipe, foam)
Pattern Making and Design
A game-accurate claymore requires a precise and detailed design. Start by researching reference images of the sword, taking note of its shape, size, and proportions. You can use software like Adobe Illustrator or Autodesk CAD to create a digital pattern, or draw your design by hand.
Once you have your design, transfer it to a Worbla sheet or thermoplastic material. Use a marker or a tracing wheel to ensure accuracy and precision. You can also use a pattern making technique called "scaling" to ensure your design is proportional to the actual sword.
Scaling and Measuring
To ensure your claymore is game-accurate, you'll need to scale your design to the correct size. Measure the length, width, and proportions of the sword, using reference images as a guide. You can use a calculator or a scaling tool to ensure accuracy.
For example, if your reference image shows a claymore with a blade length of 35 inches and a handle length of 10 inches, you can use these measurements to scale your design. Use a ruler or a measuring tape to double-check your measurements and ensure accuracy.
Forming and Shaping the Blade
With your design transferred to the Worbla sheet, it's time to start forming and shaping the blade. Use a heat gun to heat the thermoplastic material, carefully shaping it to match your design. You can use a combination of heat and pressure to achieve the desired shape and curve.
As you shape the blade, use a thermometer to monitor the temperature of the Worbla. This will help prevent overheating, which can cause the material to become brittle or discolored.
Adding Details and Texture
Once you have the basic shape of the blade, you can start adding details and texture. Use a variety of techniques, including molding, carving, and sanding, to achieve the desired look. You can also use Worbla finishing materials to add a smooth, high-gloss finish.
For a game-accurate claymore, pay attention to details like the blade's edge, the fuller (the groove running along the blade), and the ricasso (the area where the blade meets the hilt). Use a combination of molding and carving to achieve these details.
Finishing and Assembly
The final stage of crafting your claymore involves finishing and assembly. Use adhesives and reinforcing materials to attach the blade to the hilt, ensuring a secure and durable bond.
Apply a finish to the blade, using Worbla finishing materials or other coatings to achieve a game-accurate look. You can also add additional details, such as a pommel or a guard, to complete the sword.
Tips and Variations
As you work on your claymore, keep in mind that there are many variations and interpretations of this iconic sword. Research different versions of the claymore, taking note of their unique features and design elements.
You can also experiment with different materials and techniques, such as using foam or PVC pipe for the hilt or adding LED lights for a unique effect. The possibilities are endless, and with Worbla and thermoplastic, you can achieve a game-accurate claymore that's both durable and stunning.