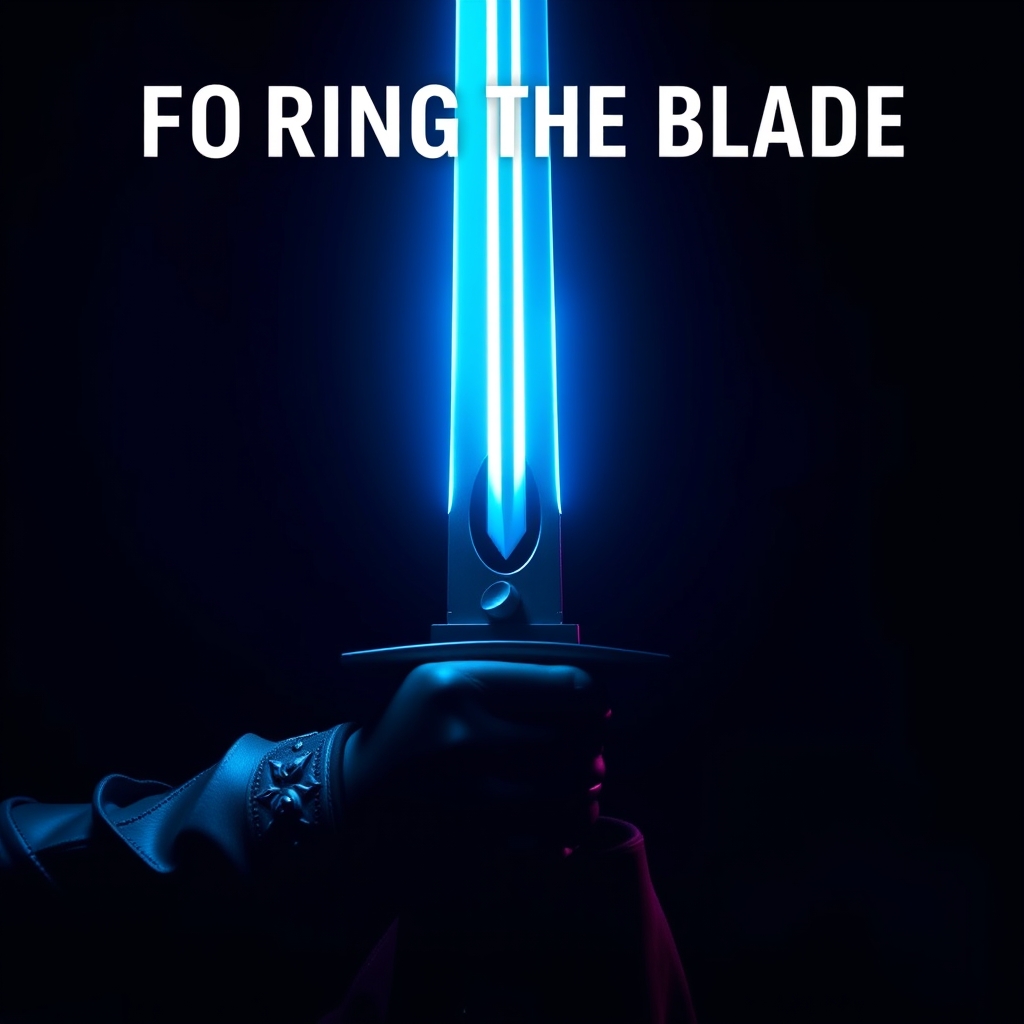
The Master Sword is more than just a prop; it is an icon of gaming history. Whether you are channeling Link from Breath of the Wild or Tears of the Kingdom, the challenge of the blade lies in balancing three conflicting needs: structural rigidity, lightweight portability, and high-fidelity detail. A sword made entirely of 3D-printed plastic can be brittle, while one made entirely of foam may lack the sharp, heroic lines of the Hylian design.
The solution is a hybrid build. By utilizing a 3D-printed core for the complex hilt and pommel, and reinforcing the blade with a combination of a rigid internal spine and Worbla thermoplastic, you can create a prop that looks like forged steel but feels manageable during a long day at a convention.
Phase 1: Designing for Structural Integrity
The biggest mistake builders make with oversized swords is printing the blade as a single, solid piece. This leads to warping and an inevitable snap at the weakest point. Instead, design your model around a "core-and-shell" philosophy.
The Internal Spine
Do not rely on plastic to hold the weight of the blade. Purchase a carbon fiber rod or a high-grade aluminum tube (approximately 10mm to 12mm in diameter) that spans from the pommel to the tip. Your 3D model should feature a hollow channel running through the center of the blade to accommodate this rod. This ensures the sword remains straight and resists the leverage forces that cause plastic to crack.
Slicing for Strength
When slicing your hilt and crossguard, avoid using a standard 20% infill. For the areas where the blade meets the hilt—the highest stress point—increase your wall count to at least 4 or 5 perimeters. Use a PETG or ABS filament rather than standard PLA if you plan on attending outdoor summer conventions, as PLA can deform under extreme heat.
Phase 2: The Worbla Reinforcement Technique
While 3D printing handles the geometry, Worbla (a heat-moldable thermoplastic) provides the "skin" and structural reinforcement. Using Worbla over your printed components prevents the "layered" look of 3D prints and adds a layer of impact resistance.
Applying the Skin
Once your 3D printed parts are sanded and primed, cut thin strips of Worbla. Use a heat gun to soften the material and wrap it around the transition points—specifically where the blade enters the crossguard. This creates a seamless, organic transition that hides the seam lines of your 3D prints and reinforces the joint against shearing forces.
Adding Dimensional Detail
The Master Sword features intricate engravings and a distinct wing-like crossguard. While the base shape is printed, you can use Worbla to add "raised" relief details. By heating small beads of Worbla and pressing them onto the surface, you can create custom filigree or battle damage that feels more natural than a digital sculpt.
Phase 3: Sanding, Filling, and Surface Prep
The difference between a "toy" and a "prop" is the finish. 3D prints have layer lines; professional props do not. This stage is the most tedious but the most rewarding.
- Initial Sanding: Start with 80-grit sandpaper to knock down the largest print ridges, moving progressively to 120, 220, and finally 400-grit.
- Filling the Gaps: Use a two-part automotive body filler or a high-build primer to fill the gaps where the 3D printed sections meet the Worbla.
- The "Sanding Sandwich": Apply a layer of filler primer, sand it flat, and repeat. Do not stop until the surface is smooth to the touch. If you can feel a ridge with your fingernail, it will show up once you apply the metallic paint.
Phase 4: Achieving the "Hylian Steel" Finish
The Master Sword is characterized by a clean, mirrored blade and a rich, royal blue hilt. Achieving this requires a layering approach rather than a single coat of spray paint.
The Blade
For the blade, avoid standard silver spray paint, which often looks like grey plastic. Instead, use a high-quality chrome leaf or a specialized mirror-finish acrylic. Apply a gloss black base coat first; this creates a deeper, more reflective surface for the silver to sit on. Finish the blade with a high-gloss clear coat to protect the finish from fingerprints and scratches.
The Hilt and Pommel
The blue of the Master Sword is iconic. To give it depth, use a "wet blend" technique. Paint the recessed areas of the hilt in a deep navy blue and the raised areas in a vibrant royal blue. While the paint is still tacky, use a sponge to blend the transition. This mimics the way light hits a physical object, making the 3D print look like a heavy, cast metal piece.
Phase 5: Final Assembly and Safety
Before the final glue-up, test the balance of your sword. A top-heavy sword is difficult to carry and can lead to wrist fatigue.
- Weighting the Pommel: If the sword feels too light at the handle, add a small amount of epoxy putty or metal washers inside the pommel before sealing it. This shifts the center of gravity toward your hand, making the prop feel more natural.
- The Final Bond: Use a high-strength epoxy for the internal rod and a cyanoacrylate (super glue) for the small decorative elements. Ensure all Worbla edges are sealed with a clear coat to prevent the material from peeling over time.
- Convention Compliance: Always check your local convention's weapon policy. Even though the Master Sword is a "hero" weapon, ensure your edges are rounded and the material is clearly identifiable as a prop to security staff.
By combining the digital precision of 3D printing with the physical versatility of Worbla, you move beyond simple kit-bashing and into the realm of professional prop making. The result is a Master Sword that is not only a tribute to the game but a testament to your skill as a maker.