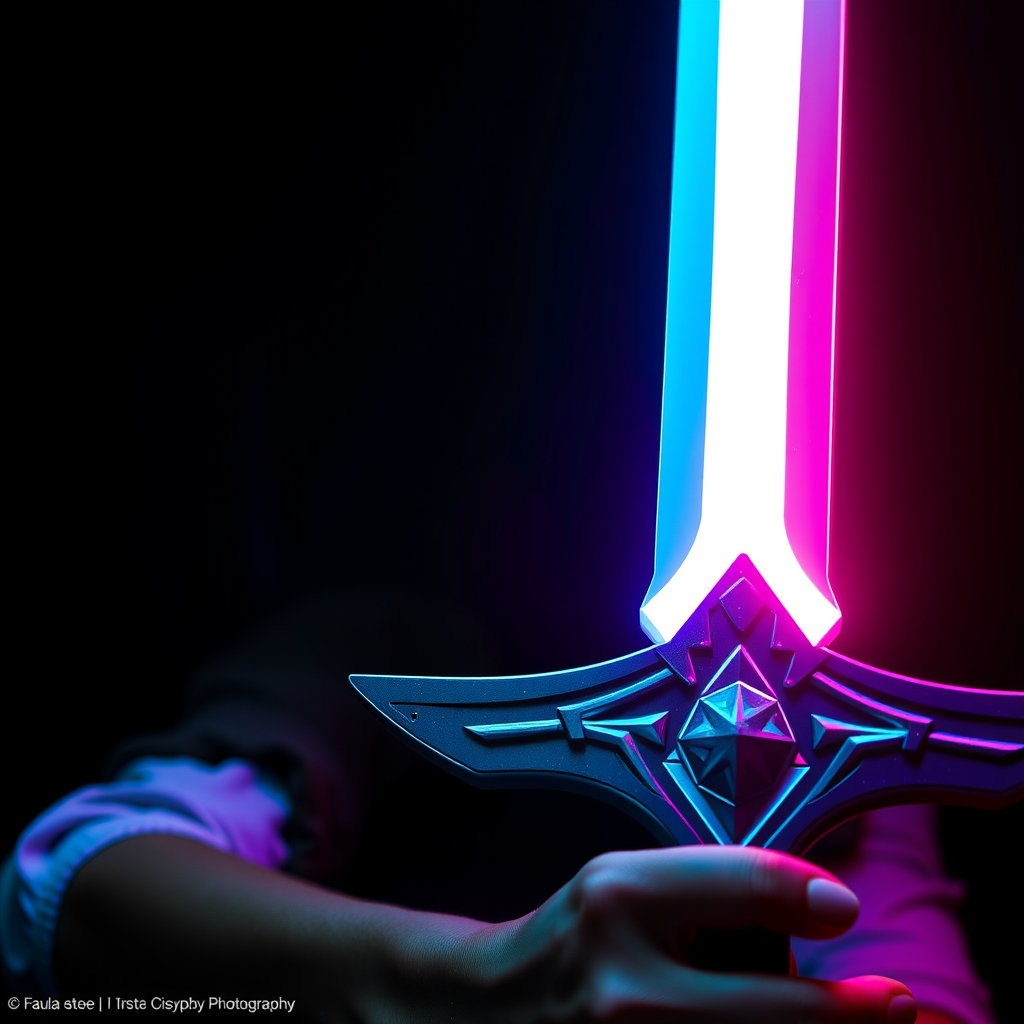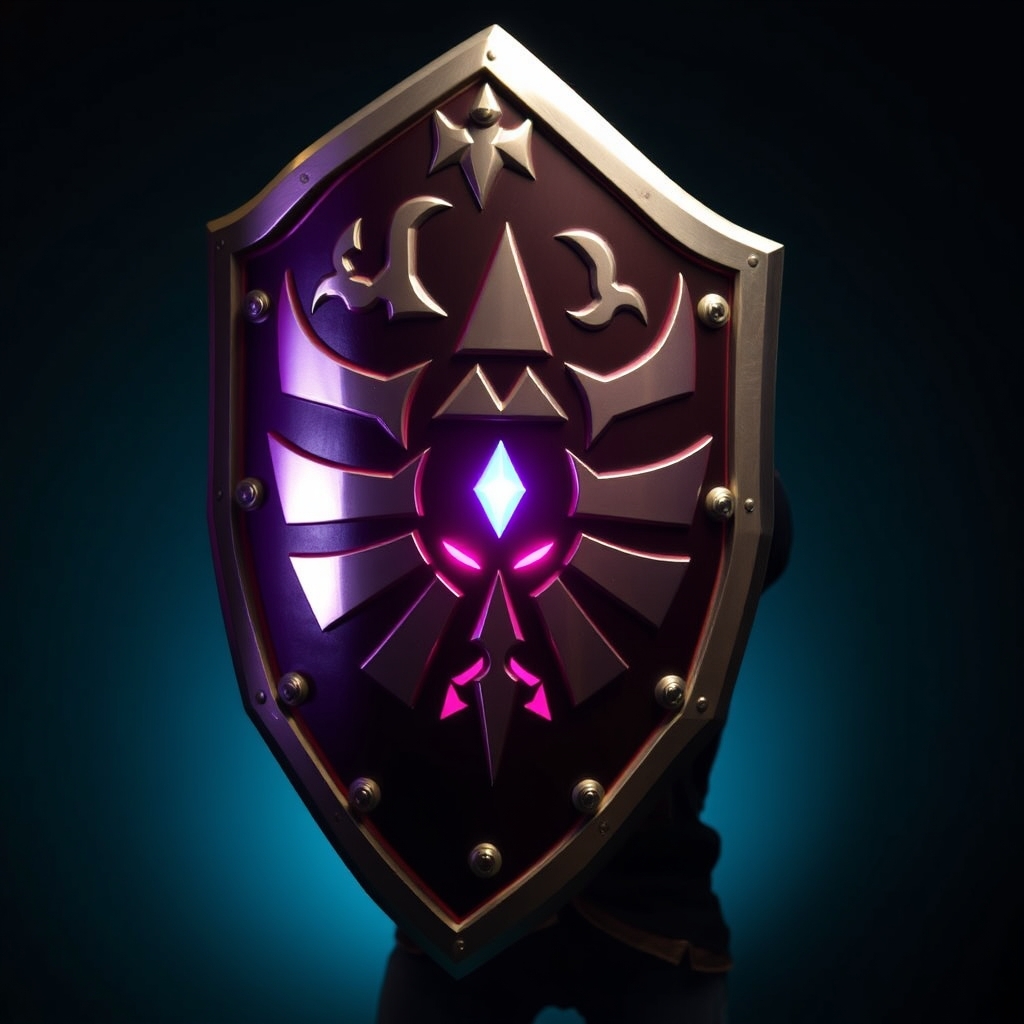
Introduction to Hyper-Realistic Cosplay Props
For cosplayers and prop-makers, creating a realistic replica of a beloved video game or fantasy item is a thrilling challenge. The Legend of Zelda series, renowned for its iconic shields, offers a wealth of inspiration for crafty enthusiasts. In this guide, we'll explore the process of crafting hyper-realistic Zelda shields using Worbla and resin, two popular materials in the prop-making community.
Materials and Tools
Before diving into the tutorial, make sure you have the following materials and tools:
- Worbla: A versatile thermoplastic used for creating prop shells and details.
- Resin: A liquid plastic used for casting and adding fine details.
- Heat gun or lamp: For shaping and molding Worbla.
- Mold release: To prevent the resin from sticking to the mold.
- Sandpaper and files: For smoothing and refining the prop surface.
- Paint and primer: For adding color and protection to the finished prop.
Design and Pattern Making
The first step in creating a realistic Zelda shield is to design and pattern make. Study reference images of the shield you want to replicate, taking note of its shape, size, and intricate details. Use software like Adobe Illustrator or Autodesk Fusion 360 to create a digital template, or draw the design by hand.
Once you have your design, cut out a cardboard or foam core template to serve as a guide for shaping the Worbla.
Shaping the Worbla Shell
To create the shield's shell, apply heat to the Worbla sheet using a heat gun or lamp, making it pliable and easy to shape. Use your template as a guide, carefully molding the Worbla into the desired shape.
Allow the Worbla to cool and harden completely before removing it from the template. Use sandpaper and files to smooth out any rough edges or bumps.
Adding Resin Details
For added realism, you can cast resin details such as rivets, bolts, or intricate designs. Mix the resin according to the manufacturer's instructions, then pour it into a mold or directly onto the Worbla shell.
Allow the resin to cure completely before sanding and filing it down to a smooth finish.
Finishing and Painting
To achieve a hyper-realistic finish, apply a coat of primer to the entire shield, followed by multiple layers of paint. Use reference images to ensure accurate color matching and weathering.
Seal the finished prop with a clear coat to protect it from damage and give it a glossy finish.
Tips and Variations
To take your Zelda shield to the next level, consider adding weathering effects, such as scratches, dents, or rust. You can also experiment with different materials, like adding fabric or leather straps for a more authentic look.
Don't be afraid to get creative and add your own personal touches to make the shield truly unique.
Conclusion
Crafting a hyper-realistic Legend of Zelda shield using Worbla and resin requires patience, skill, and attention to detail. With this guide, you'll be well on your way to creating a breathtaking prop that will impress fellow cosplayers and fans alike. Happy crafting!