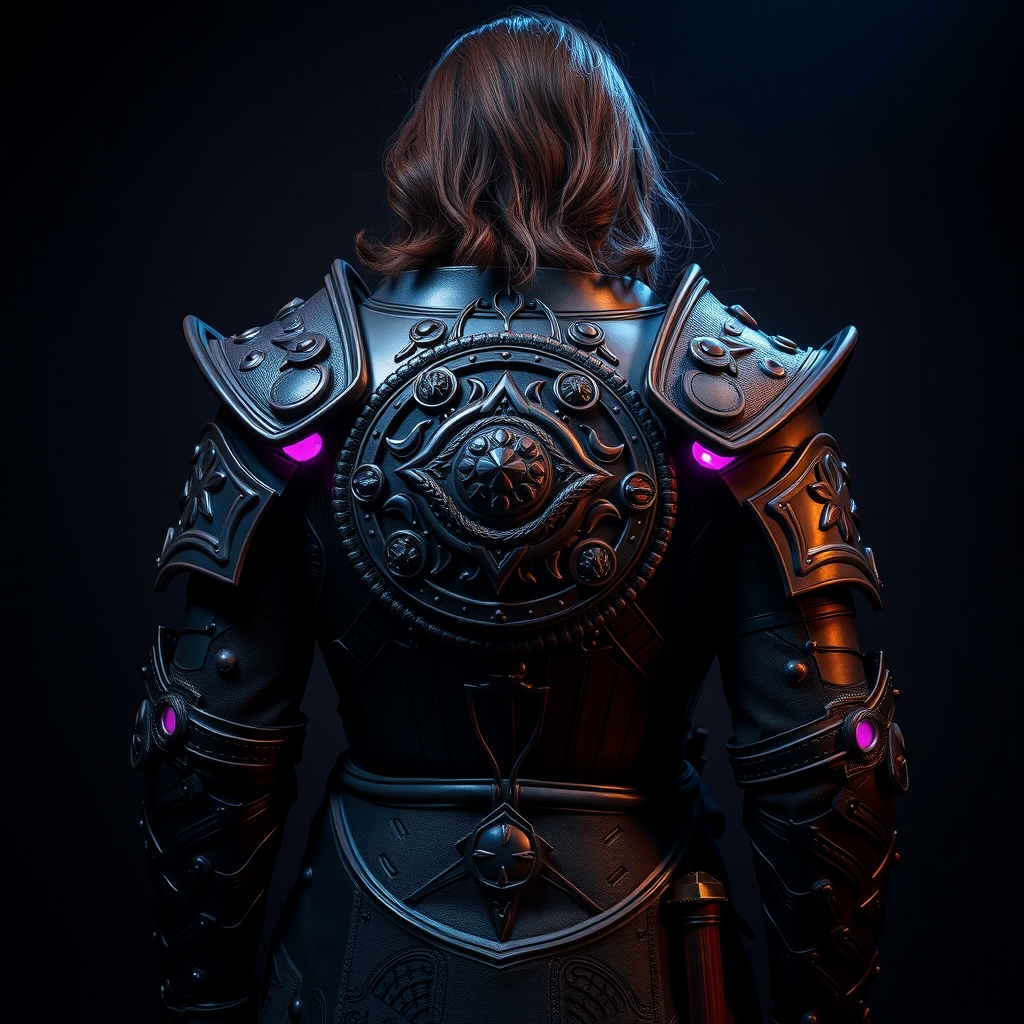
Introduction to Elden Ring Cosplay
The world of Elden Ring, with its dark fantasy lore and intricate character designs, offers a rich playground for cosplayers. Among the game's many iconic looks, the Tarnished armor stands out for its unique blend of medieval and dark fantasy elements. This guide is designed to walk you through the process of creating a stunning Tarnished armor cosplay using foam and Worbla, two popular materials in the cosplay community.
Materials and Tools Needed
Before diving into the crafting process, it's essential to gather all the necessary materials and tools. For this project, you'll need:
- High-density foam (for armor pieces)
- Worbla (for added durability and finish)
- Hot wire foam cutter or a sharp utility knife
- Heat gun
- Work surface
- Sandpaper and files (for smoothing)
- Paint and primer (for finishing)
Designing and Patterning Your Armor
The first step in creating your Tarnished armor is designing and patterning the individual pieces. Study reference images from various angles to understand the armor's structure and details. You can choose to:
- Draft your patterns by hand
- Use digital tools for more precision
Either way, ensure your patterns account for seam allowances and the thickness of the foam. It's also wise to create a mockup of each piece in cardboard or cheap foam to test the fit and make adjustments before cutting into your actual material.
Cutting and Shaping Foam Pieces
With your patterns ready, use a hot wire foam cutter or a sharp utility knife to cut out the foam pieces. The hot wire cutter allows for smooth, precise cuts, but a utility knife can also produce excellent results with patience and practice. After cutting, use sandpaper and files to smooth out any rough edges and shape the pieces to their final form.
Applying Worbla for Durability and Finish
Worbla is a thermoplastic material that, when applied to foam, adds durability and a smooth finish. To apply Worbla:
- Cut your Worbla into manageable pieces
- Place the Worbla over the foam piece
- Apply heat with a heat gun until the Worbla molds to the foam
- Smooth out any bubbles or wrinkles
This process can be repeated for multiple layers, depending on the desired thickness and finish.
Assembly and Finishing Touches
Once all your pieces are crafted and Worbla'd, it's time for assembly. You can use a combination of:
- E6000 or similar adhesives
- Velcro or magnets
- Straps or buckles
for securing the pieces together. After assembly, prime and paint your armor to achieve the desired Tarnished look. Weathering techniques can add an extra layer of realism, making your armor appear battle-worn and authentic.
Tips for Display and Wearability
Consider how you plan to display or wear your Tarnished armor. Adding a harness or straps can make the armor more comfortable to wear for extended periods. For display, you might create a mannequin or stand that showcases the armor's details. Either way, taking the time to think about the end use will enhance your overall cosplay experience.
Conclusion
Crafting the Tarnished armor from Elden Ring using foam and Worbla is a rewarding project that combines creativity with technical skill. By following this guide and dedicating the necessary time and effort, you can create a stunning piece of cosplay that pays homage to the game's dark fantasy world. Happy crafting!