Introduction to Overwatch Cosplay
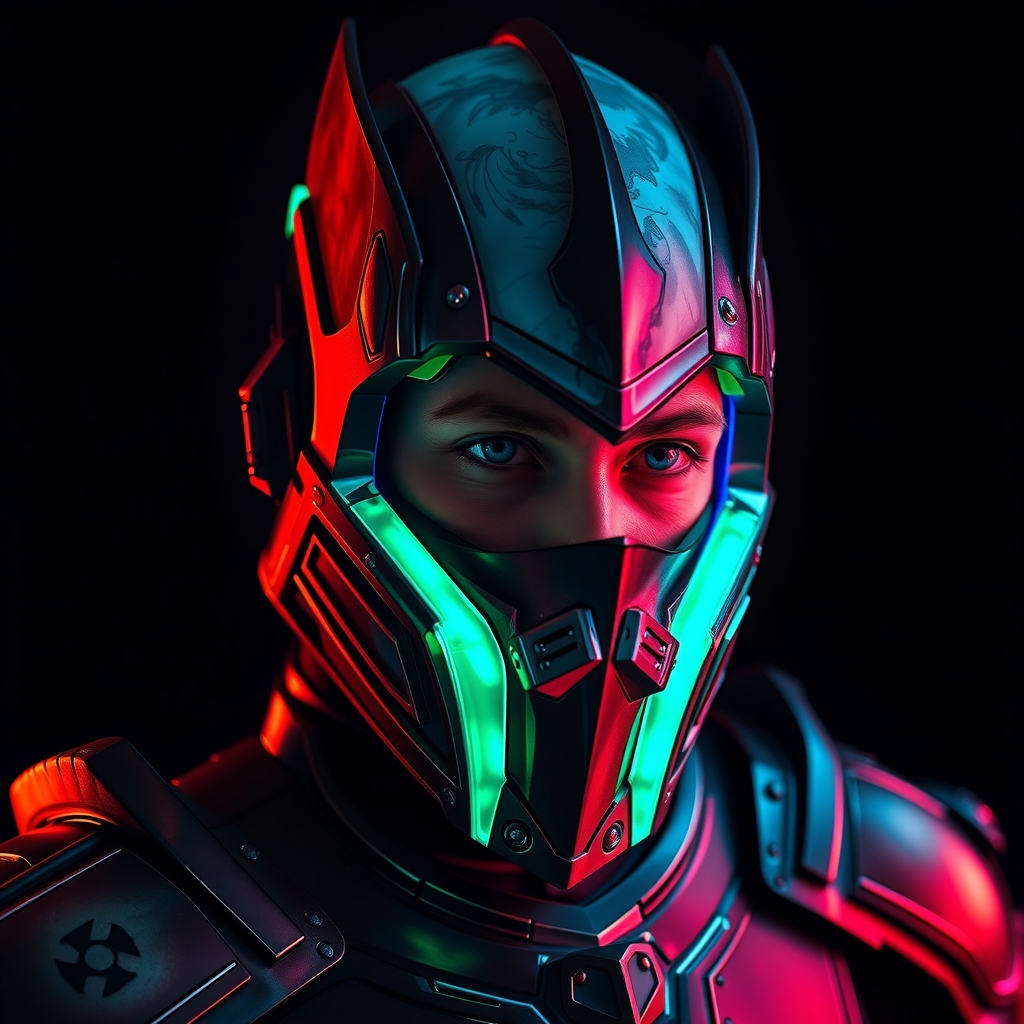
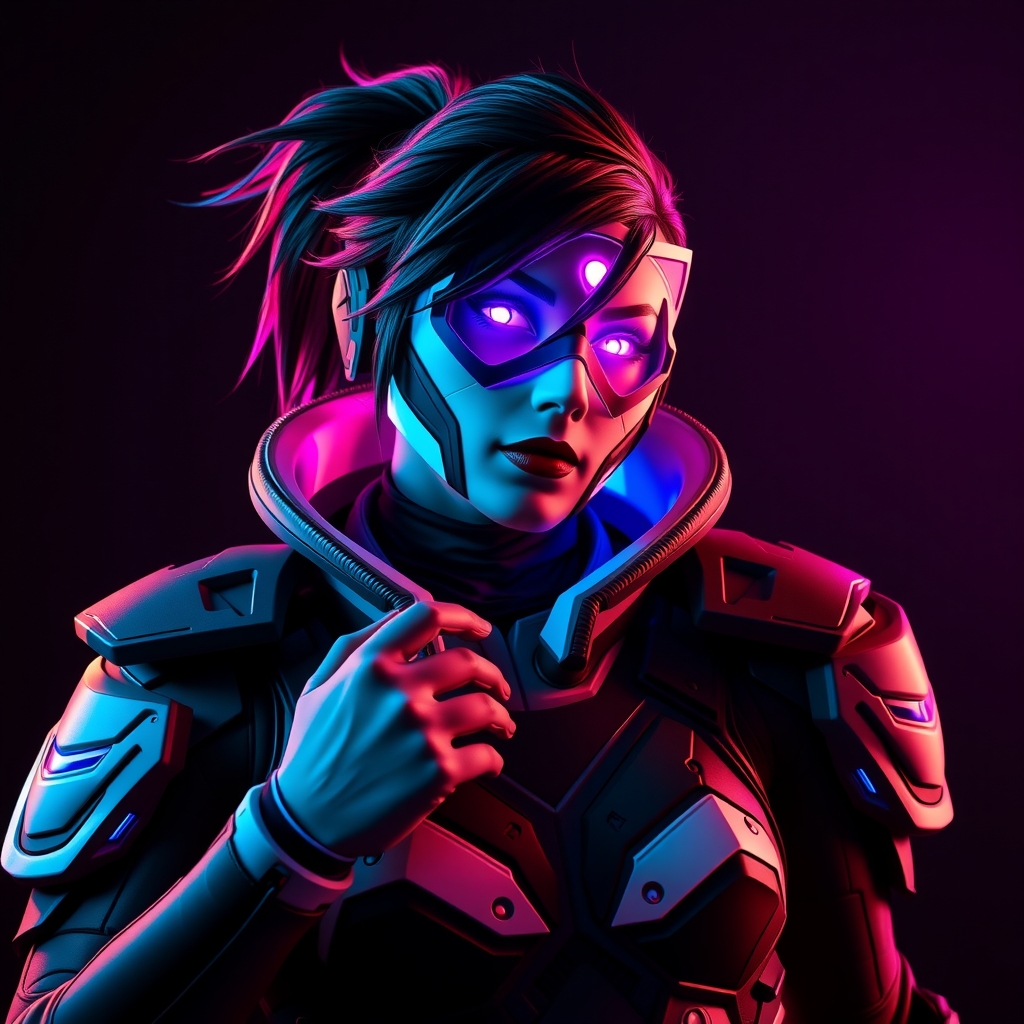
Overwatch, a team-based first-person shooter, has captured the hearts of gamers and cosplayers alike with its diverse cast of heroes, each with unique abilities and iconic designs. As a cosplayer, creating an Overwatch costume can be a fun and rewarding experience, but it can also be intimidating, especially when trying to replicate the game's intricate details and textures. In this guide, we'll explore how to create stunning Overwatch cosplay using unconventional materials, taking your craft to the next level.
Choosing Your Hero and Gathering Materials
Before diving into the crafting process, choose a hero that resonates with you, and gather reference images from various angles. Study the character's design, paying attention to textures, colors, and details. Next, collect unconventional materials that can help you achieve the desired look. Some examples include:
- Foam and Worbla for armor and prop-making
- Faux leather and fabric for clothing and accessories
- LED lights and EL wire for added illumination
- Cardboard, PVC, and paper mache for structural elements
- Recycled materials like cardboard tubes, plastic bottles, and fabric scraps
Designing and Patterning Your Costume
Using your reference images, create a pattern or blueprint for your costume pieces. You can use paper or digital tools like Adobe Illustrator to help you achieve accurate proportions and measurements. Consider breaking down complex designs into smaller, manageable parts, and don't be afraid to experiment and adjust as you go.
When working with unconventional materials, it's essential to understand their properties and limitations. For example, foam can be shaped and sanded, but it may not be suitable for load-bearing or high-impact areas. Faux leather, on the other hand, can be durable and flexible but may require special adhesives or treatments.
Crafting Techniques and Tips
Foam and Worbla Work
Foam and Worbla are popular choices for creating armor and prop pieces. To work with these materials:
- Cut and shape your foam or Worbla to the desired form
- Use a heat gun or sandpaper to smooth and refine the surface
- Apply a primer or sealant to protect the material and enhance paint adhesion
- Paint and finish with acrylics or enamel
LED Lighting and Electronics
Adding LED lights or EL wire can elevate your costume and create a dynamic, eye-catching effect. When working with electronics:
- Choose a power source, such as batteries or a portable USB battery pack
- Select the right type and color of LED lights or EL wire for your design
- Securely attach the lights or wire using adhesives, clips, or wiring
- Test and ensure safe battery management and electrical connections
Finishing Touches and Assembly
Once you've crafted individual costume pieces, it's time to assemble and refine your Overwatch cosplay. Apply makeup and prosthetics as needed, and attach costume pieces using a combination of adhesives, Velcro, or harnesses. Make any necessary adjustments to ensure a comfortable and secure fit.
Finally, add any finishing touches, such as weathering effects, decals, or additional details. Step back, admire your handiwork, and make any final adjustments before taking your Overwatch cosplay to the next level.
Conclusion and Inspiration
Creating an Overwatch cosplay using unconventional materials requires creativity, patience, and practice. By experimenting with different materials and techniques, you can bring your favorite hero to life in a unique and captivating way. Don't be afraid to share your work, join online communities, and draw inspiration from fellow cosplayers and makers. Happy crafting!
For more information and inspiration, check out online resources like cosplay.com and instructables.com, which offer tutorials, guides, and community forums dedicated to cosplay and DIY crafting.