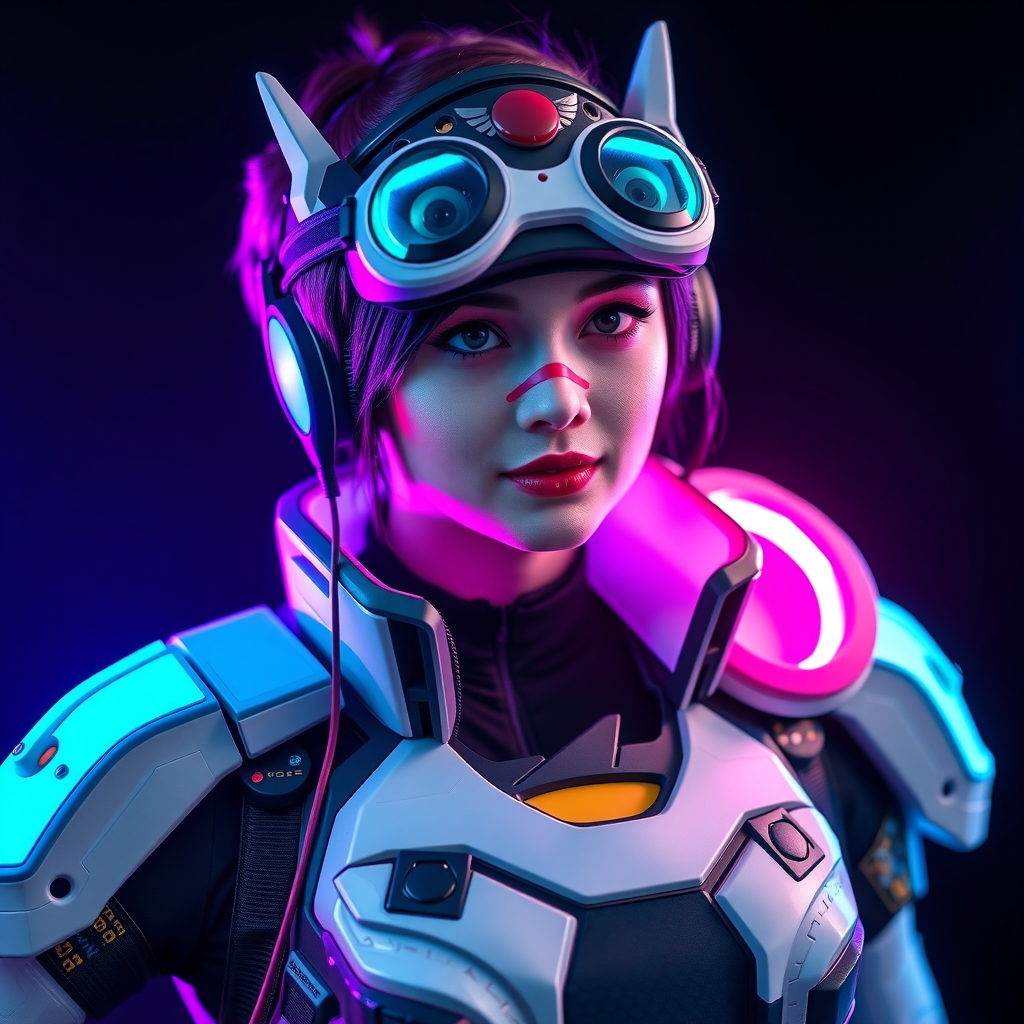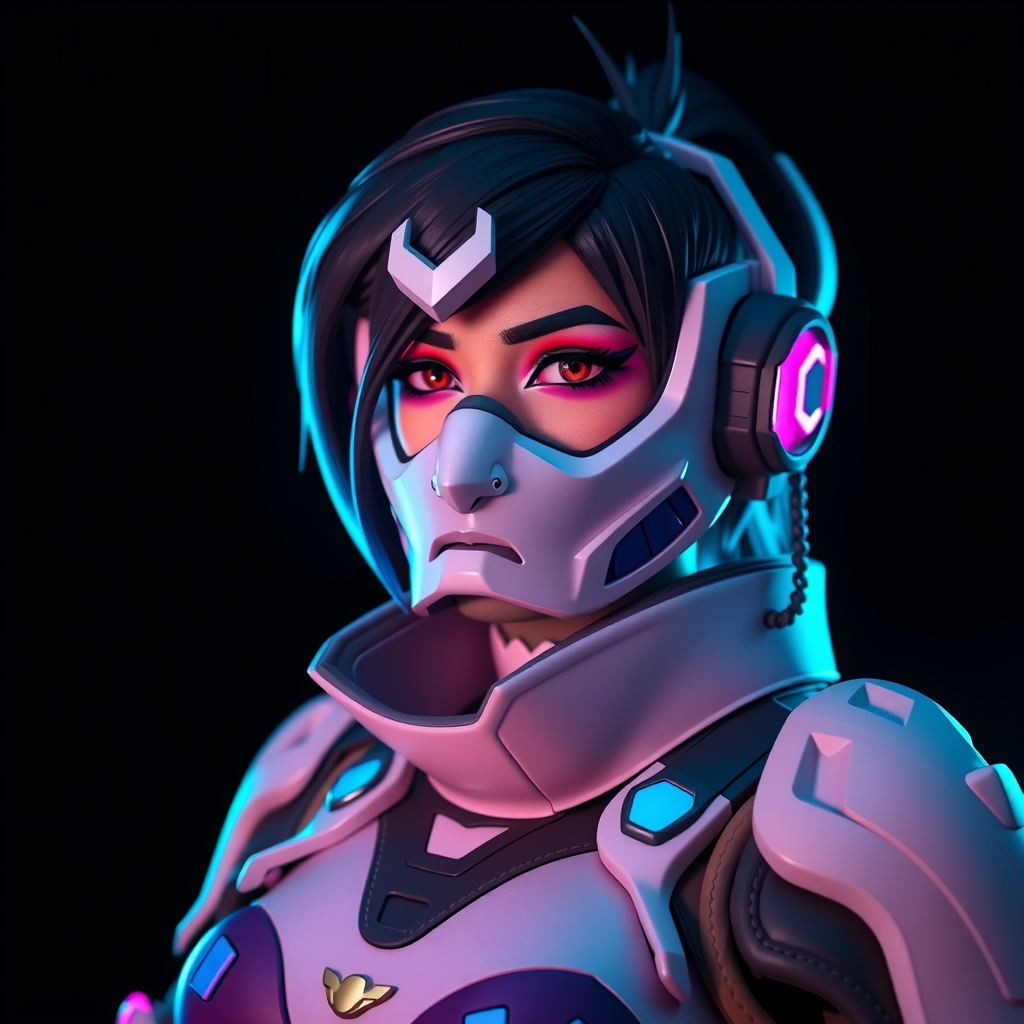
The aesthetic of Overwatch is defined by "heroic proportions"—bold silhouettes, chunky armor plating, and a blend of hard-surface technology and soft fabrics. For a cosplayer, recreating these looks requires a balance between structural rigidity and wearable comfort. While some builders rely solely on EVA foam or exclusively on 3D printing, the most durable and professional results often come from a hybrid approach. By combining the precision of 3D printing with the versatility of Worbla, you can create armor that looks like heavy metal but feels like a custom-fit garment.
Phase 1: Digital Planning and Scaling
The biggest challenge in Overwatch cosplay is scale. Because the characters are stylized, their proportions often differ from human anatomy. A shoulder pauldron that looks correct on a digital model may be overwhelmingly large or awkwardly small when printed.
Start by taking precise anatomical measurements. Focus on the circumference of your limbs and the distance between joints. When importing your 3D files into slicing software, use a "calibration cube" or a small test print of a specific section—such as a wrist cuff—to verify the fit before committing to a 20-hour print. If the armor is meant to be a full suit, consider the "overlap" areas where one piece of armor slides under another. Ensure there is enough clearance for your joints to move without the plastic digging into your skin.
Phase 2: Strategic 3D Printing
Not every part of an Overwatch costume should be 3D printed. Printing an entire chest piece can be time-consuming, expensive in filament, and incredibly heavy. Instead, use 3D printing for "anchor points" and high-detail elements.
- High-Detail Accents: Use printing for buttons, vents, glowing power cores, and intricate filigree that would be impossible to carve by hand.
- Structural Frameworks: Print the rigid frames of the armor. These act as the skeleton that maintains the shape of the piece.
- Interlocking Joints: Print the hinges or clips that will connect different armor segments.
For the best results, use a high-fill percentage for parts that will undergo stress, such as the edges of a gauntlet. For larger, decorative plates, a lower infill with more wall perimeters will provide a lightweight yet sturdy shell that is easier to modify later.
Phase 3: Integrating Worbla for Fit and Flexibility
Worbla and other thermoplastics are the perfect companion to 3D prints because they can be molded directly over the plastic. This is where you solve the "gap" problem—the space between a rigid 3D print and the curves of your body.
Use Worbla to create the transition pieces. For example, if you have a 3D-printed shoulder plate, you can use Worbla to create the contoured "cup" that sits against your shoulder. Heat the thermoplastic until it is pliable, then press it over the 3D-printed edge. This creates a seamless bond and allows you to customize the fit to your specific body shape in real-time.
Worbla is also invaluable for adding "bulk" to 3D prints. If a printed piece feels too thin or lacks the chunky Overwatch aesthetic, you can layer thermoplastic over the plastic to build up the edges, creating those signature beveled borders seen on characters like Reinhardt or Brigitte.
Phase 4: Surface Preparation and Smoothing
The "pixel-perfect" look of Overwatch requires a smooth, non-porous finish. 3D prints have layer lines, and Worbla has a characteristic texture. To achieve a factory-finish, you must employ a rigorous sanding and filling process.
- Initial Sanding: Start with a coarse grit (80-120) to knock down the largest layer lines and thermoplastic seams.
- Filler Priming: Apply a high-build filler primer. This fills the microscopic gaps between layers. Once dry, sand again with a finer grit (220-400).
- Spot Filling: Use a two-part epoxy putty or wood filler for deeper gouges or the seams where the 3D print meets the Worbla.
- Final Polish: Finish with a fine-grit wet sand (600+) to ensure the surface is glass-smooth before paint.
Phase 5: Painting for a "Heroic" Finish
Overwatch armor isn't just one color; it features a mix of matte plastics, brushed metals, and high-gloss finishes. To replicate this, use a layered painting approach.
Start with a cohesive primer coat to ensure all materials (plastic and thermoplastic) accept paint equally. Apply your base colors using an airbrush or high-quality spray paint for an even coat. Once the base is set, add "depth" through weathering. Use a dark wash—a diluted black or brown acrylic paint—and let it settle into the recessed lines of your 3D prints. This simulates grime and wear, making the armor look like it has actually seen combat.
For the metallic sections, use a graphite powder rub or a metallic wax over a black base. This creates a realistic "brushed steel" effect that reacts to light much more naturally than standard silver paint.
Phase 6: Strapping and Wearability
The most beautiful armor is useless if it falls off during a convention walk. Because the hybrid 3D print/Worbla method results in heavier pieces than pure foam, your strapping system must be robust.
Avoid using simple elastic bands, which can cause the armor to bounce or shift. Instead, use nylon webbing and heavy-duty plastic buckles. For the most secure fit, bolt the straps directly into the 3D-printed sections using small nuts and bolts. If you are attaching straps to the Worbla sections, ensure you have reinforced the area with an extra layer of thermoplastic to prevent the strap from tearing through the material.
Finally, consider the "breathability" factor. Overwatch armor covers a lot of surface area. Incorporate hidden ventilation gaps or wear a moisture-wicking under-suit to manage heat during long hours of wear.