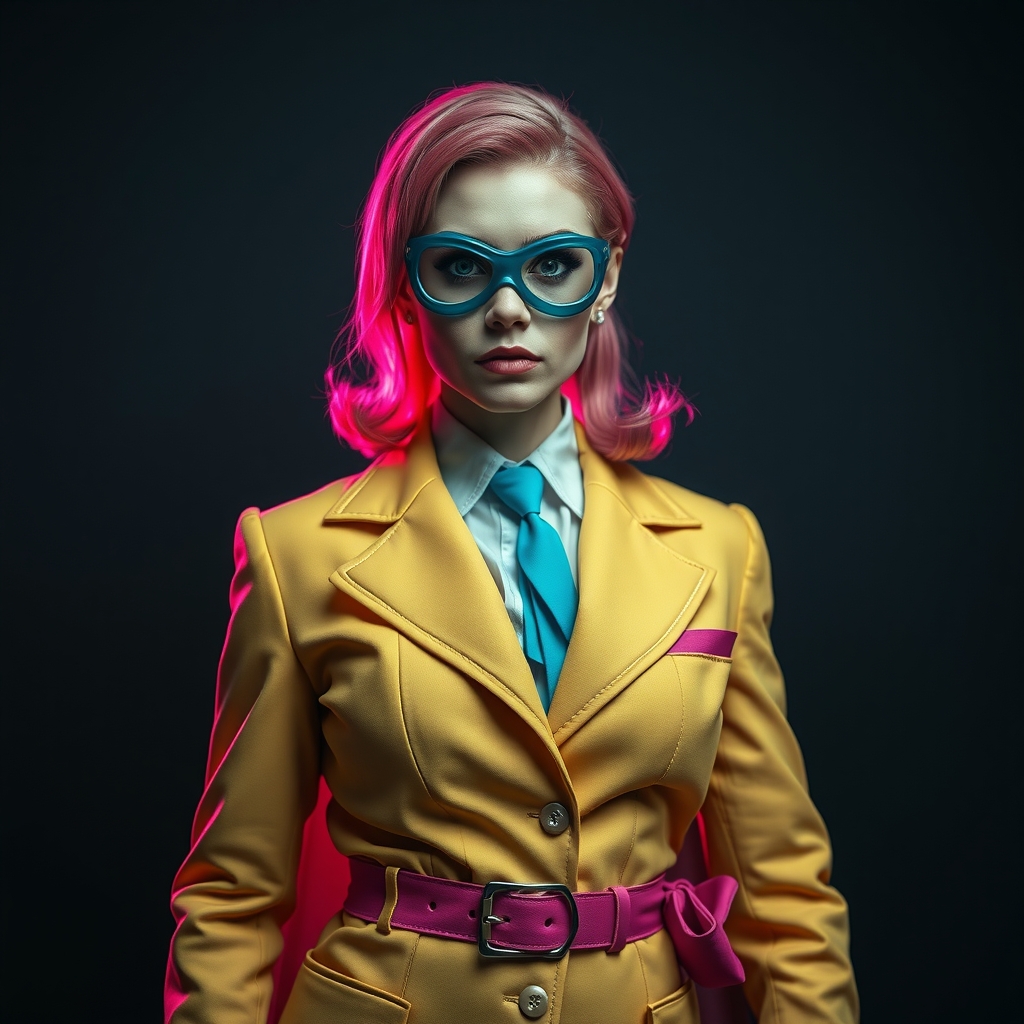
The foundation of a great superhero costume is often a balance between structured authority and athletic flexibility. While many cosplayers turn to spandex or EVA foam, there is a hidden goldmine in the thrift store: the vintage men's suit. A well-constructed blazer or pair of trousers provides a level of structural integrity and fabric weight that is difficult to achieve from scratch. By treating a vintage suit as a raw material rather than a finished garment, you can create a sophisticated, "comic-accurate" look that blends classic tailoring with fantastical elements.
Selecting the Right Base Garment
Not every thrifted suit is a viable candidate for upcycling. The goal is to find a garment that offers the best structural "bones" for your character. Look for suits made from wool blends or heavy polyesters; these fabrics hold their shape well and can support the weight of added armor pieces, capes, or heavy embellishments without sagging.
When shopping, prioritize the shoulders. A suit with a strong, padded shoulder is ideal for characters with an imposing silhouette. If the suit is too large, it is easier to take it in than to add fabric. Look for "classic fit" or "relaxed fit" rather than "slim fit," as the extra fabric provides the necessary room for adding internal padding or under-costume layers. Check the lining; a silk or acetate lining is preferable as it allows the costume to glide over your base layers without bunching.
Deconstructing for Customization
To transform a business suit into a superhero ensemble, you must first break the "corporate" silhouette. This begins with strategic deconstruction. Using a seam ripper, remove elements that conflict with the character's aesthetic, such as shoulder pads (unless they serve the silhouette), pocket flaps, and cuff buttons.
If your character requires a more athletic look, consider removing the sleeves entirely to create a structured vest, or opening the side seams of the trousers to integrate flexible gussets. A gusset—a small diamond-shaped piece of stretch fabric sewn into the crotch or underarm—is essential for superheroes who need to strike dynamic poses without ripping their seams. Use a heavy-duty stretch knit or spandex in a color that matches the suit fabric to maintain a seamless appearance.
Integrating Texture and Detail
The biggest challenge in upcycling a suit is removing the "office" feel. This is achieved through textile manipulation. Instead of leaving the fabric flat, introduce texture to mimic alien skins, tactical gear, or reinforced plating.
- Fabric Manipulation: Use a technique called "smocking" or "pleating" on specific panels, such as the thighs or forearms, to create a ribbed, tactical appearance.
- Topstitching: Use a heavy-duty upholstery thread in a contrasting color to add visible "reinforcement" seams. This mimics the look of reinforced combat gear and breaks up the monotony of the suit's color.
- Appliqué: Cut geometric shapes from a secondary material—such as faux leather or neoprene—and sew them onto the chest or shoulders. This adds a layer of visual complexity and suggests armor without the bulk of foam.
Adding Structural Armor and Accents
A superhero costume often requires a blend of soft fabric and hard armor. The beauty of a suit jacket is its ability to hide the attachment points for these hard elements. To integrate armor, avoid sewing heavy pieces directly onto the suit fabric, as this can cause the garment to pull and distort.
Instead, create a "harness system." Sew a series of heavy-duty webbing straps or a hidden internal belt inside the jacket lining. You can then bolt or rivet your EVA foam or 3D-printed armor pieces to these straps. This distributes the weight across your shoulders and hips rather than relying on the suit's seams. If you are adding a chest plate, consider removing the front panels of the jacket and replacing them with the armor, using the original lapels to frame the piece for a stylized, hybrid look.
Advanced Dyeing and Weathering
Thrifted suits often come in generic greys, navys, or blacks. To achieve a specific character palette, you may need to dye the fabric. However, be cautious: polyester blends do not take standard dyes. You must use a dye specifically formulated for synthetics, which typically requires a stovetop simmering process.
Once the color is set, the final step is weathering. A pristine suit looks like a costume; a weathered suit looks like a story. To achieve a "battle-worn" effect, focus on the high-friction areas: the elbows, knees, and hems. Use a fine-grit sandpaper to lightly fray the edges of the fabric. For a grittier look, apply a mixture of watered-down black and brown acrylic paint to the creases of the garment, then wipe it away with a rag. This creates a "deep grime" effect that settles into the fabric, suggesting the character has been through an intense conflict.
Final Fitting and Movement Testing
The final stage of upcycling is the stress test. Superhero poses are extreme, and a tailored suit is inherently restrictive. Put on the full ensemble and perform a series of "hero" movements: a deep crouch, a wide arm reach, and a stride.
- Check for Tension: If you feel a pull across the back or shoulders, consider adding a "hidden pleat" or a small piece of elastic to the seam.
- Verify Weight Distribution: Ensure that any added armor is not shifting. If the jacket is sliding backward due to the weight of a cape or back-piece, add a waist cinch or internal belt to anchor the garment to your hips.
- Smooth the Transitions: Ensure the transition between the suit fabric and any added armor is clean. Use fabric glue or a quick stitch to secure any flapping edges of the original suit that may have been cut away.
By repurposing the structural integrity of vintage tailoring, you create a costume that possesses a weight and presence that store-bought fabrics cannot replicate. The result is a professional, high-fidelity cosplay that honors the craft of tailoring while embracing the imagination of comic book design.