Introduction
For many cosplayers, the dream of donning intricate, screen-accurate armor is often hindered by the daunting costs of materials and commissioning a prop maker. However, with a little creativity and resourcefulness, it's possible to bring iconic costumes to life without breaking the bank. In this article, we'll explore the art of repurposing thrift store finds into Dark Souls' majestic Enchanted Armor, showcasing practical techniques and budget-friendly solutions for cosplayers of all skill levels.
Thrifting for Treasures
Thrift stores can be a treasure trove for cosplayers, offering a vast array of discarded items that can be reimagined into costume pieces. When searching for materials to create Enchanted Armor, keep an eye out for:
- Old cardboard boxes or foam board for base structures
- Metal wire hangers for shaping and adding details
- Faux leather or vinyl scraps for crafting accents
- Cardboard tubes or PVC pipes for creating shape and form
Visit local thrift stores regularly, as stock is constantly changing, and be prepared to think outside the box (or armor piece).
Preparing and Refining Thrift Store Finds
Once you've gathered your materials, it's time to clean, shape, and refine them for use in your cosplay armor. For cardboard and foam board, use a combination of scissors, hot glue, and sandpaper to smooth out rough edges and create a stable surface for further embellishments.
For metal wire hangers, unwind and reshape them to create desired forms, such as the Enchanted Armor's curved shoulder guards. Use pliers and wire cutters to secure and shape the wire into place.
Crafting Enchanted Armor Pieces
With your thrift store finds prepared, it's time to start crafting individual armor pieces. For the Enchanted Armor's chest plate, use a combination of cardboard, foam board, and faux leather to create a sturdy, textured surface.
- Cut out a chest plate shape from cardboard, adding a 1/4 inch margin around the edges.
- Glue the shape onto foam board, smoothing out any air bubbles or wrinkles.
- Cover the foam board with faux leather, securing it with hot glue or a strong adhesive.
- Add details such as metallic paint or weathering effects to give the piece a battle-worn appearance.
Assembly and Finishing Touches
As individual armor pieces are completed, it's time to assemble the full Enchanted Armor set. Use a combination of hot glue, epoxy, and wire to secure pieces together, ensuring a sturdy and comfortable fit.
To add a metallic sheen to your armor, apply a coat of metallic paint or use a mixture of watered-down acrylic paint and a touch of dish soap to create a weathered, battle-hardened appearance.
Tips and Variations
To take your Enchanted Armor to the next level, consider adding these details:
- Weathering effects: Use a combination of paint, ink, and texture paste to create a worn, battle-scarred appearance.
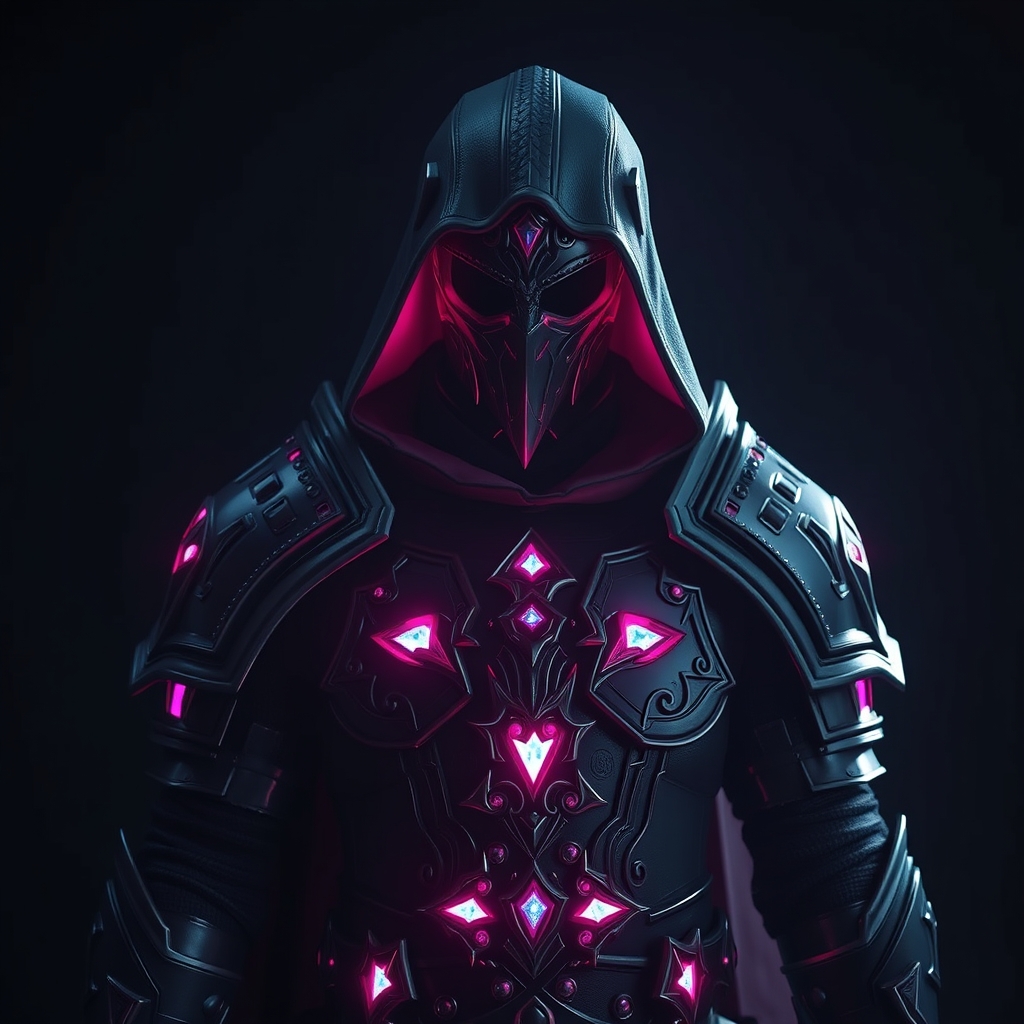
- Illumination: Add EL wire or LED lights to create a glowing effect, mimicking the Enchanted Armor's ethereal energy.
- Comfort and mobility: Incorporate padding, adjustable straps, or hinges to ensure a comfortable, flexible fit.
Don't be afraid to experiment and adapt techniques to suit your skill level, budget, and creative vision.
Conclusion
Transforming thrift store finds into Dark Souls' Enchanted Armor is a testament to the creativity and resourcefulness of the cosplay community. By embracing the art of repurposing and upcycling, cosplayers can bring stunning, screen-accurate costumes to life without breaking the bank.
Share your own thrift store transformations and DIY cosplay projects with the BYO Cosplay community, inspiring others to join the creative journey.