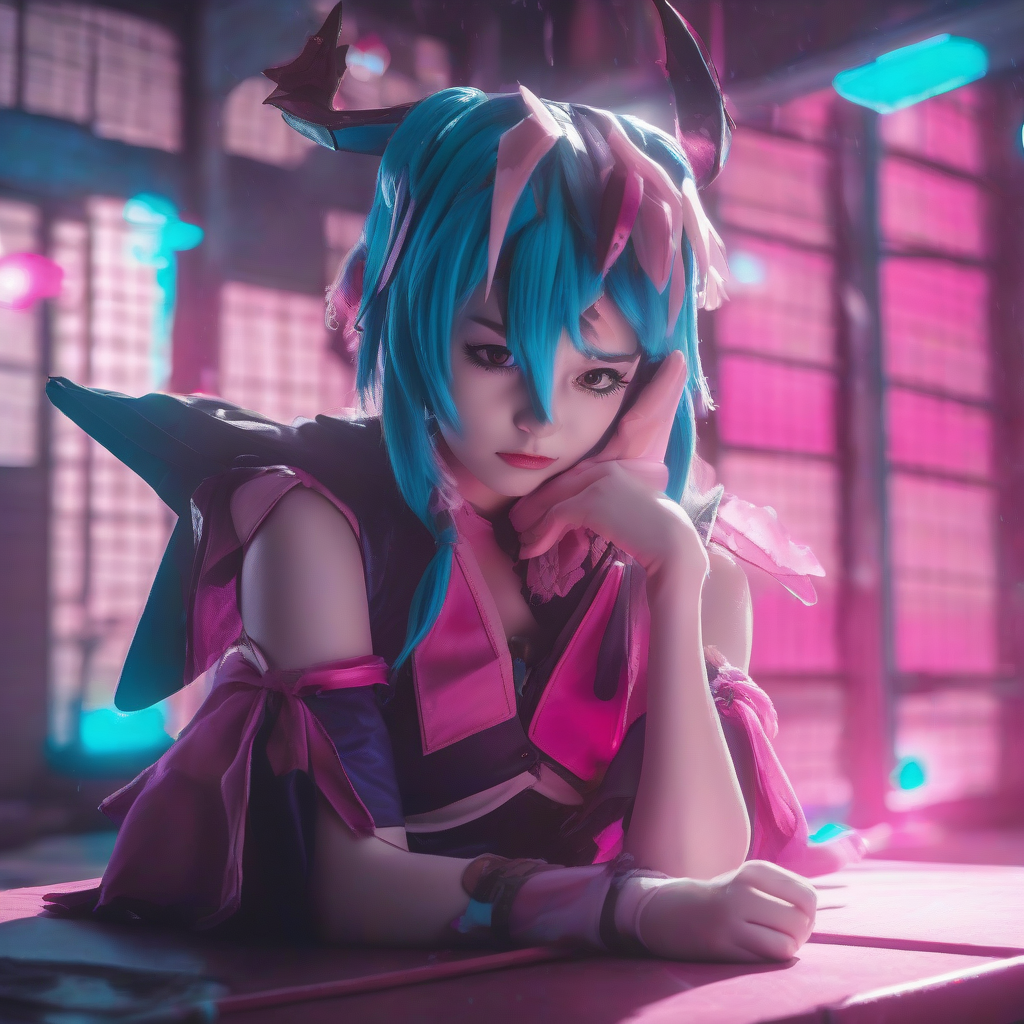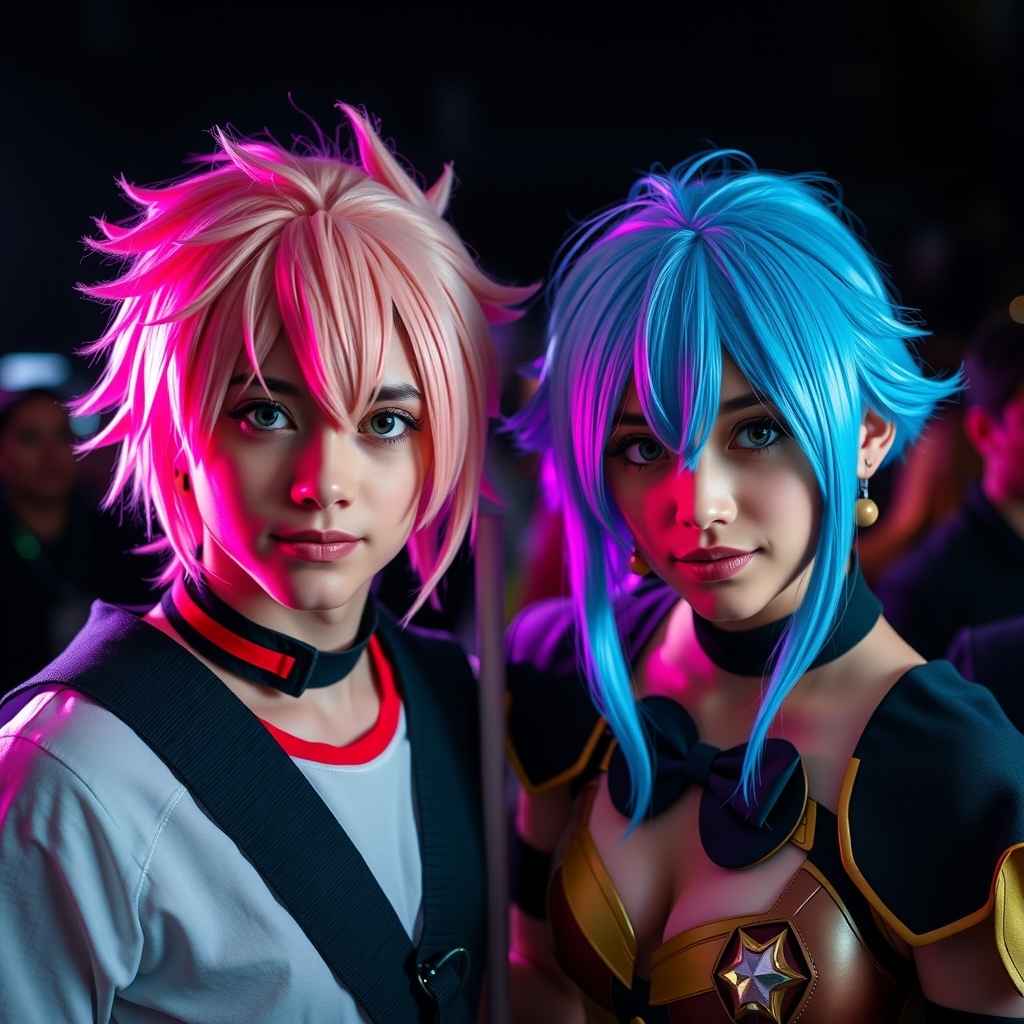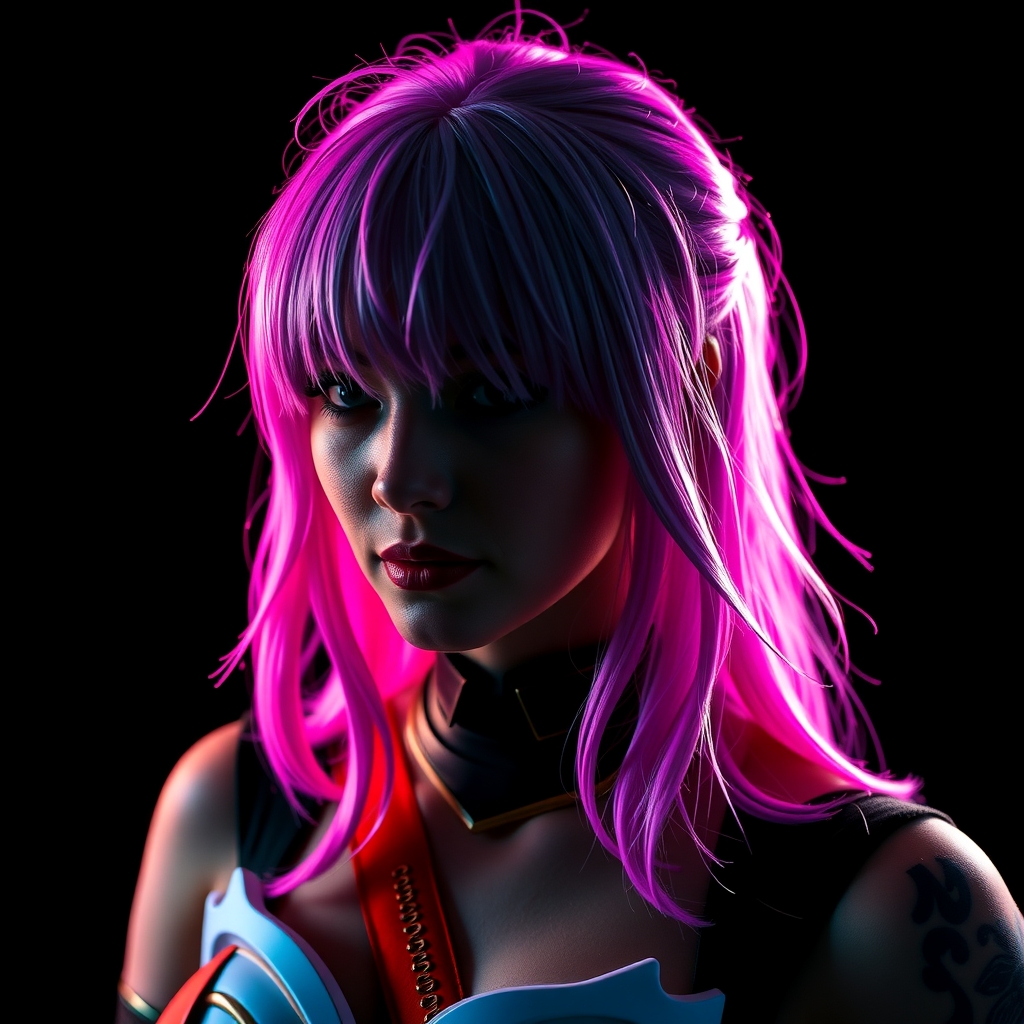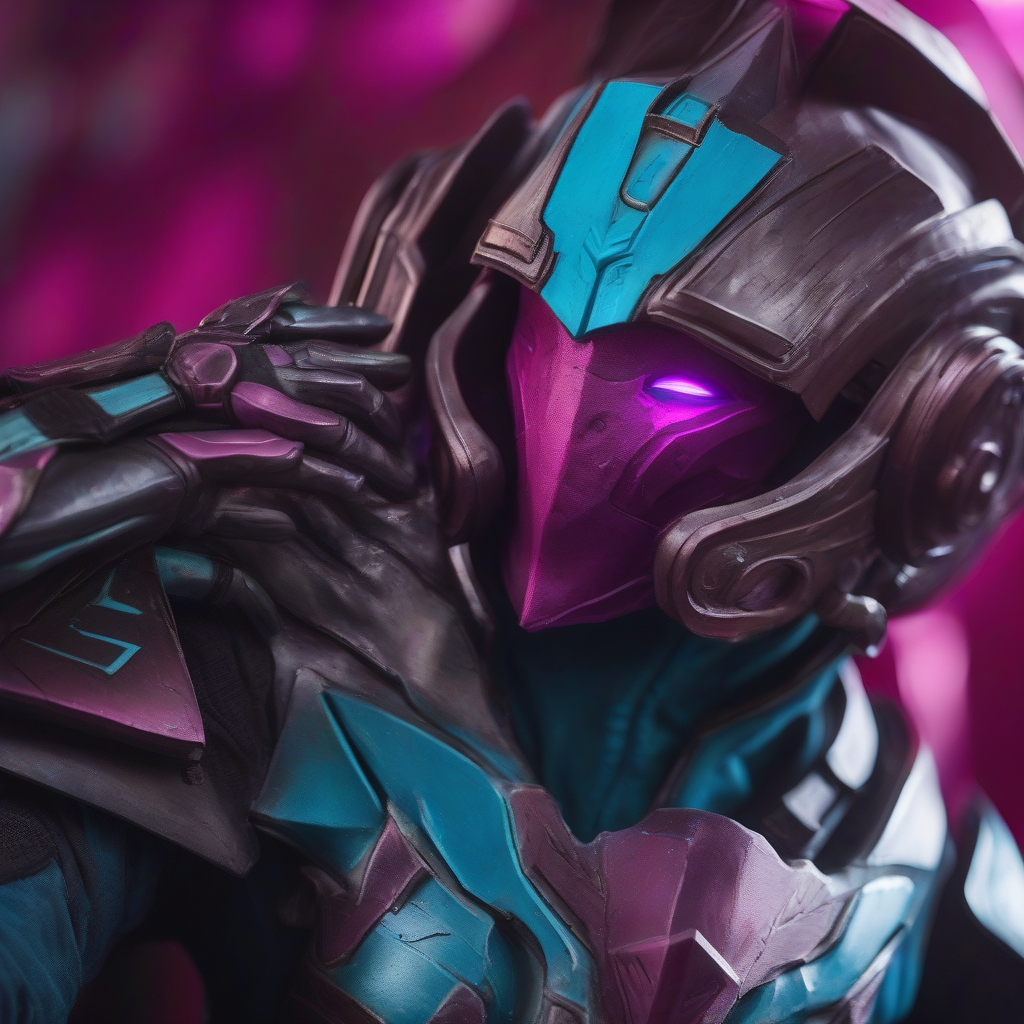
Introduction to Hyper-Realistic Cosplay
Crafting a hyper-realistic cosplay requires attention to detail, creativity, and a range of technical skills. In this guide, we'll explore the process of creating a detailed Destiny Guardian cosplay using 3D printing and paint techniques. Whether you're a seasoned cosplayer or just starting out, this step-by-step guide will help you achieve a stunning and realistic look.
Designing and Preparing Your Guardian
Before you begin crafting your cosplay, it's essential to plan and design your Guardian. Study reference images of the character you want to cosplay, taking note of the armor, clothing, and accessories. You can use software like Blender or Tinkercad to create a 3D model of your design or find existing models online.
Consider the complexity of the design, the materials you'll need, and the time required to complete the project. Make sure to measure yourself to ensure a proper fit and make any necessary adjustments to the design.
3D Printing Your Guardian's Armor
3D printing is a crucial step in creating a hyper-realistic cosplay. You can use a 3D printer to create individual parts of your Guardian's armor, such as the helmet, chest plate, or gauntlets. Choose a suitable 3D printing material, such as PLA or ABS, and adjust the print settings to achieve the desired level of detail and texture.
- Prepare your 3D model for printing by scaling, rotating, and slicing it into printable parts.
- Choose the right 3D printing material and settings for your project.
- Post-processing techniques, such as sanding and filling, can help smooth out rough edges and imperfections.
Painting and Finishing Your Guardian's Armor
Once you've printed and post-processed your armor parts, it's time to add color and texture. Use a combination of acrylic paints, primers, and weathering techniques to achieve a realistic look.
Priming and Basecoating
Apply a primer to your armor parts to create a uniform basecoat and help the paint adhere. Choose a suitable primer and apply it according to the manufacturer's instructions.
Once the primer is dry, apply a basecoat of paint to cover the entire surface. Use a suitable acrylic paint and apply thin coats, allowing each coat to dry before adding additional layers.
Adding Details and Weathering
Add details such as metallic accents, decals, or freehand designs using a small brush and suitable paint. Weathering techniques, such as washes, drybrushing, or edge highlighting, can help create a battle-worn look.
- Use reference images to accurately depict the character's armor and weathering.
- Experiment with different techniques and materials to achieve a unique look.
- Apply a clear coat to protect the paint and give it a glossy finish.
Adding Electronics and Accessories
To take your cosplay to the next level, consider adding electronics or accessories such as LED lights, prop replicas, or fabric components.
Adding LED Lights
LED lights can add a dynamic element to your cosplay. Choose a suitable LED strip or individual LEDs and wire them to a power source, such as a battery pack or USB connector.
Drill holes or create channels to route the wires and secure the LEDs in place. Apply a diffuser or translucent material to soften the light and create a more subtle effect.
Conclusion and Tips for Success
Crafting a hyper-realistic Destiny Guardian cosplay requires patience, creativity, and attention to detail. By following these steps and experimenting with different techniques, you can create a stunning and realistic cosplay that showcases your skills and dedication.
Some final tips for success:
- Plan and design your project carefully to ensure a smooth workflow.
- Experiment with different materials and techniques to achieve a unique look.
- Pay attention to detail and take your time to achieve a high level of quality.
- Join online communities or forums to connect with other cosplayers and learn from their experiences.
With practice and perseverance, you can create a hyper-realistic cosplay that will impress and inspire others.