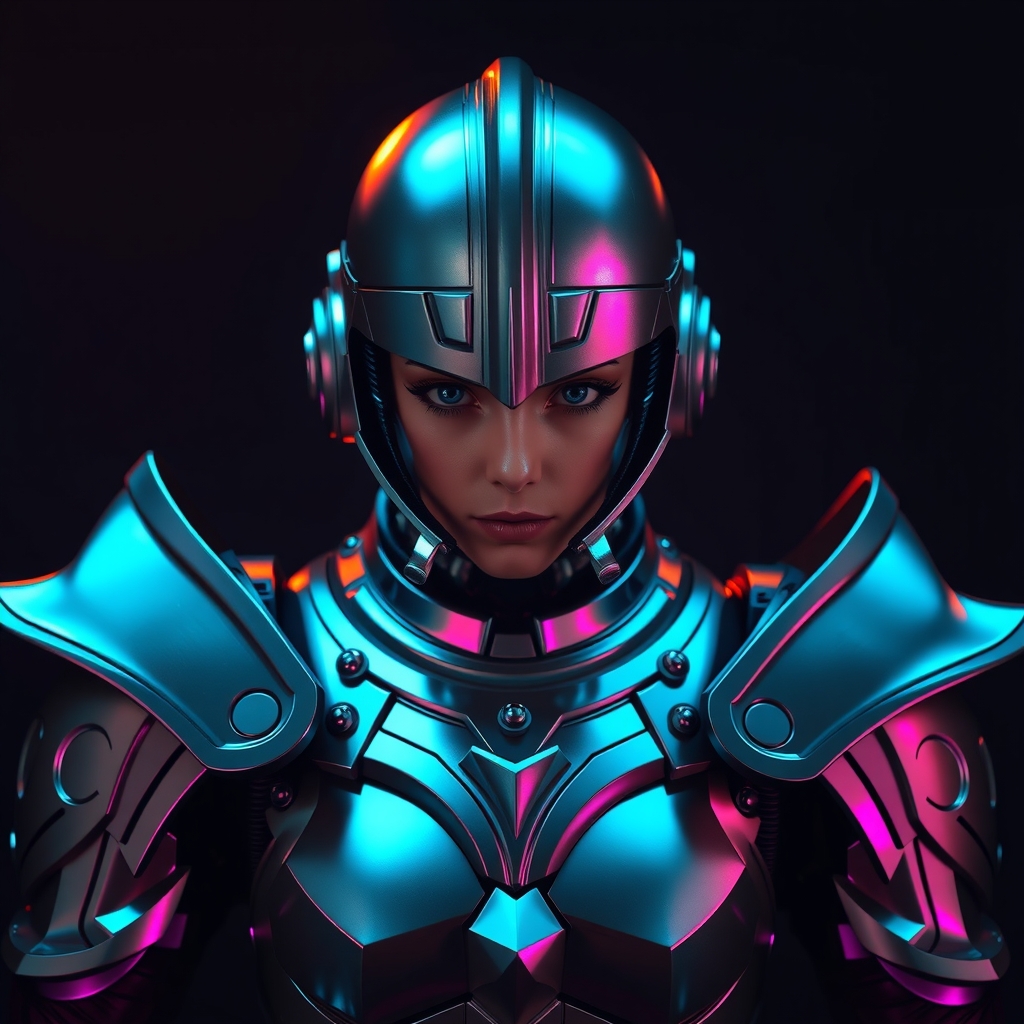
Introduction to Interactive Props
As cosplayers, we're always looking for ways to take our craft to the next level. One way to do this is by creating interactive props that respond to sound, touch, or other environmental factors. In this guide, we'll explore how to use Raspberry Pi and LED lighting to create immersive and interactive gaming cosplay props.
Getting Started with Raspberry Pi
Raspberry Pi is a small, affordable computer that's perfect for DIY projects. To get started, you'll need a Raspberry Pi board, a power source, and a few basic components like a keyboard, mouse, and monitor. You'll also need to install an operating system, such as Raspbian, and familiarize yourself with the Linux command line interface.
- Hardware Requirements:
- Raspberry Pi board
- Power source
- Keyboard
- Mouse
- Monitor
- Software Requirements:
- Raspbian operating system
- Python programming language
LED Lighting Basics
LED lighting is a crucial component of interactive props. To get started, you'll need to understand the basics of LED lighting, including voltage, current, and resistance. You'll also need to choose the right type of LED for your project, such as a through-hole or surface-mount LED.
- LED Types:
- Through-hole LEDs
- Surface-mount LEDs
- LED Characteristics:
- Voltage
- Current
- Resistance
Creating Interactive Props with Raspberry Pi and LED Lighting
Now that you have a basic understanding of Raspberry Pi and LED lighting, it's time to create your first interactive prop. In this section, we'll walk you through a simple project that uses a Raspberry Pi and LED lighting to create a flashing sword prop.
- Step 1: Plan Your Prop
Before you start building, take some time to plan your prop. Think about the design, the materials you'll need, and the electronics you'll use.
- Step 2: Build Your Prop
Once you have a plan, it's time to start building. Use materials like foam, Worbla, or 3D printing to create the body of your prop.
- Step 3: Add LED Lighting
Cut a channel in the prop to run your LED strip, and solder the LEDs to a breadboard or PCB.
- Step 4: Program Your Prop
Use Python to program your Raspberry Pi and create a simple script that flashes the LEDs.
Tips and Tricks
Here are a few tips and tricks to keep in mind when creating interactive props with Raspberry Pi and LED lighting:
- Keep it Simple
Don't try to create a prop that's too complex for your skill level. Start with simple projects and work your way up.
- Use Online Resources
There are many online resources available to help you learn Raspberry Pi and LED lighting, including tutorials, forums, and YouTube videos.
- Test and Iterate
Test your prop regularly and make adjustments as needed. This will help you catch any problems early on and ensure that your prop works as intended.
Conclusion
Creating interactive gaming cosplay props with Raspberry Pi and LED lighting is a fun and rewarding experience. With a little practice and patience, you can create immersive and interactive props that will take your cosplay to the next level. Remember to keep it simple, use online resources, and test and iterate regularly.
For more information on Raspberry Pi and LED lighting, check out the following resources: