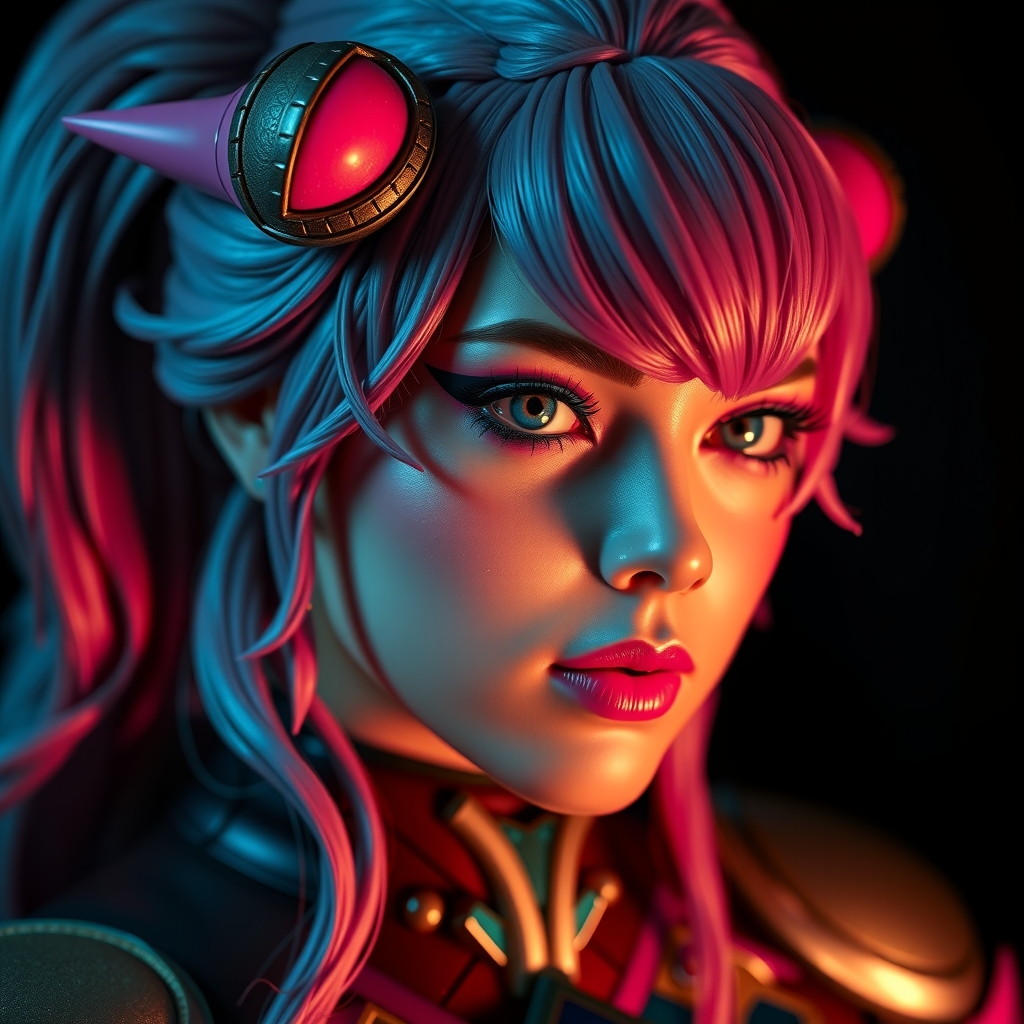
Introduction to Hyper-Realistic 3D Printed Details
As a cosplayer, you're constantly looking for ways to take your craft to the next level. One of the most effective ways to elevate your cosplay is by incorporating hyper-realistic 3D printed details. These intricate details can add a level of realism and authenticity to your costume that's hard to achieve with traditional crafting methods. In this tutorial, we'll show you how to use Worbla, a versatile thermoplastic material, to create stunning 3D printed details for your cosplay.
Materials and Tools Needed
Before we dive into the tutorial, make sure you have the following materials and tools:
- 3D printer and filament (PLA or ABS)
- Worbla thermoplastic material
- Heat gun or Worbla heat gun
- Thermoplastic shaping tools (e.g., Worbla modeling tools)
- Sandpaper and files
- Paint and primer (optional)
Designing and 3D Printing Your Details
The first step in creating hyper-realistic 3D printed details is to design and print your parts. Use your preferred 3D modeling software to create a detailed model of the part you want to replicate. Keep in mind that the level of detail and complexity will depend on your 3D printer's capabilities and the desired level of realism.
Once you have your design, export it as an STL file and send it to your 3D printer. Make sure to adjust your printer settings according to the filament manufacturer's recommendations.
Post-Processing Your 3D Printed Parts
After printing, remove the part from the print bed and sand it to smooth out any rough edges or layer lines. Use a file or sandpaper to refine the details and achieve a smooth finish.
If necessary, use a primer and paint to add color and texture to your part. Make sure to follow the manufacturer's instructions for application and drying times.
Shaping and Forming Worbla Details
Now it's time to work with Worbla. Cut a piece of Worbla material into a manageable size, depending on the size of your 3D printed part. Use a heat gun or Worbla heat gun to heat the Worbla until it becomes pliable and can be shaped.
Place the Worbla over the 3D printed part, using a modeling tool or your hands to shape and form it to the desired shape. Make sure to apply even heat and pressure to avoid bubbles or wrinkles.
Adding Texture and Details with Worbla
To add texture and details to your Worbla part, use a modeling tool or a texture tool to create patterns and shapes. You can also use a heat gun to soften the Worbla and create subtle texture and details.
For more intricate details, use a Worbla pellet or a small piece of Worbla to build up details such as bolts, rivets, or small mechanisms.
Finishing and Assembling Your Details
Once you've shaped and formed your Worbla part, use a heat gun to set the shape and make it more rigid. Allow the Worbla to cool completely before handling it.
If necessary, use a strong adhesive such as epoxy or super glue to attach the Worbla part to your cosplay costume or prop. Make sure to follow the manufacturer's instructions for application and drying times.
Tips and Tricks for Achieving Hyper-Realism
To achieve hyper-realistic details, pay attention to the following:
- Study reference images to get a sense of texture, color, and details.
- Use a range of tools and techniques to create subtle texture and details.
- Experiment with different Worbla colors and textures to achieve a realistic look.
- Pay attention to scale and proportion to ensure your details look realistic.
By following these steps and tips, you can create stunning, hyper-realistic 3D printed details for your cosplay using Worbla. With practice and patience, you'll be able to take your cosplay to the next level and create truly show-stopping costumes and props.