Introduction
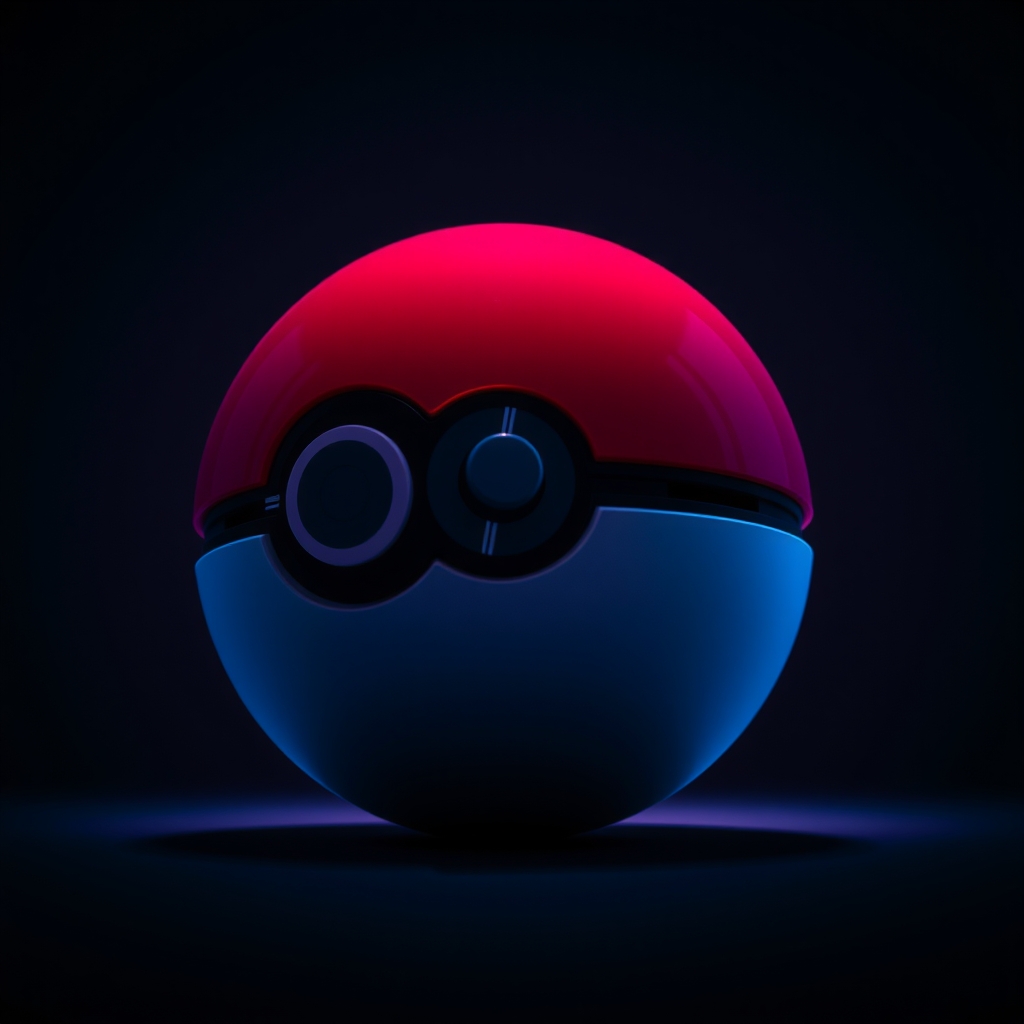
For Pokémon fans and cosplayers, replicating the iconic Poké Ball is a coveted project. With advancements in 3D printing and painting techniques, creating a realistic and detailed Poké Ball prop has become more accessible than ever. In this guide, we'll walk you through the process of designing, 3D printing, and painting a stunning Poké Ball that will elevate your cosplay or collection.
Designing Your Poké Ball
Before diving into 3D printing, you'll need a digital model of your Poké Ball. You can either create your own design using computer-aided design (CAD) software or source a pre-made model from online repositories like Thingiverse or MyMiniFactory. When selecting a design, consider the level of detail, size, and complexity you desire.
For a standard Poké Ball, you'll want to ensure the design includes the following features:
- Smooth, spherical shape
- Equatorial seam
- Button and button indentation
- Release mechanism details (optional)
If you're new to 3D modeling, consider starting with a simple design and gradually adding details as you gain experience.
Preparing for 3D Printing
Once you have your design, it's time to prepare it for 3D printing. This involves:
- Scaling the model to your desired size
- Orienting the model for optimal printing
- Adding supports (if necessary)
- Exporting the model in a suitable format (e.g., STL)
Familiarize yourself with your 3D printer's settings and adjust them according to the manufacturer's guidelines for optimal results.
3D Printing Your Poké Ball
With your design prepared, it's time to start printing. Depending on the size and complexity of your Poké Ball, this process can take anywhere from a few hours to several days. Monitor your print's progress, and be prepared to make adjustments as needed.
Some common 3D printing techniques and considerations for Poké Balls include:
- FDM (Fused Deposition Modeling) for a more textured finish
- SLA (Stereolithography) for a smoother finish
- Using a heated chamber or enclosure for improved print quality
- Post-processing techniques (e.g., sanding, filling) for a seamless finish
Painting and Finishing Your Poké Ball
With your Poké Ball printed, it's time to bring it to life with paint and additional details. Here's a step-by-step guide to achieving a realistic finish:
- Clean and prepare the surface for painting
- Apply a primer coat to ensure adhesion and uniform color
- Use acrylic paints to achieve the iconic red and white color scheme
- Add shading and depth with subtle gradient effects
- Seal with a clear coat to protect the finish
For added realism, consider adding weathering effects, such as:
- Subtle scratches or scuffs
- Fading or discoloration
- Dust or dirt accumulation
Additional Tips and Variations
To take your Poké Ball to the next level, consider experimenting with:
- Alternative materials (e.g., resin, metal)
- Electronic components (e.g., LED lights, sound effects)
- Custom designs or regional variations
- Display cases or stands
Join online communities or forums to share your work, learn from others, and stay inspired.
Conclusion
Crafting a 3D printed and painted Pokémon Poké Ball is a rewarding project that requires patience, creativity, and attention to detail. By following this guide, you'll be well on your way to creating a stunning prop that will delight fellow fans and elevate your cosplay or collection. Happy building!