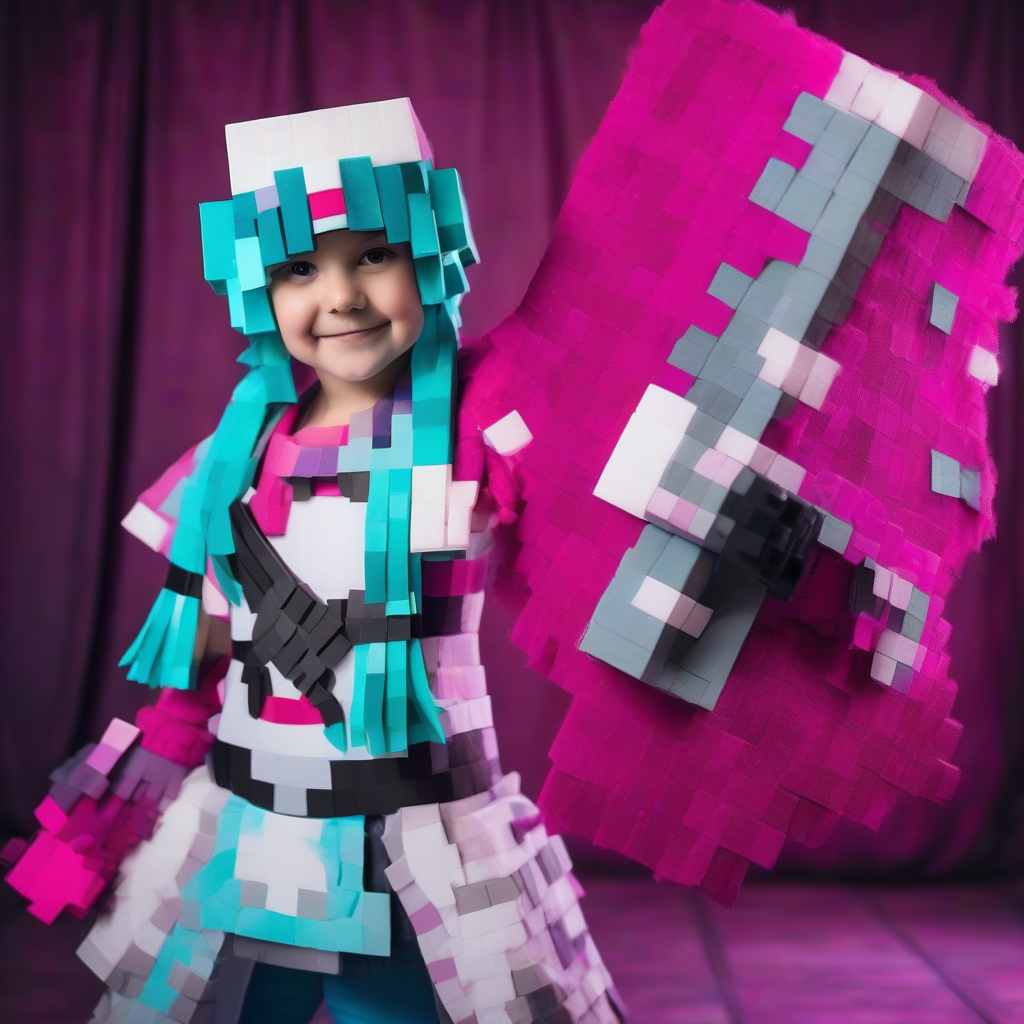
The challenge of a Minecraft cosplay lies in the contradiction of its design: while the aesthetic is simple, the execution requires extreme precision. To achieve a convincing "pixelated" look, you cannot rely on organic shapes or draped fabrics. Instead, you must treat your costume as a series of interlocking cubes and rectangles. When the alignment is off by even a fraction of an inch, the illusion of a digital grid breaks, and the costume looks like a collection of boxes rather than a character from a voxel world.
Selecting Your Materials for Structural Integrity
Because Minecraft characters are essentially walking rectangles, you need materials that hold a rigid 90-degree angle without sagging. High-density EVA foam is the industry standard for this type of build. For the main body and head, a thickness of 10mm to 20mm is recommended to provide the necessary structural support. Thinner foam, such as 2mm or 5mm, should be reserved for adding surface details or creating smaller "pixel" overlays.
Beyond the foam, the adhesive you choose is critical. Contact cement is the most effective option for these builds because it creates a permanent bond that resists the tension created by the foam's natural desire to curve. When working with large flat panels, ensure you apply the adhesive to both surfaces, let it tack up, and then press them together firmly. This prevents the seams from peeling during the movement of a convention floor.
The Blueprint: Calculating Your Grid
Before cutting any foam, you must establish your "pixel scale." Decide how large a single Minecraft block will be relative to your body. For example, if you are creating a Steve or Alex costume, you might decide that one pixel equals a 2-inch square. This measurement must remain consistent across the entire costume to maintain the visual logic of the game.
Create a template using cardstock or a digital design tool. Map out the front, back, and sides of each costume piece. Remember to account for "joint gaps." Because foam does not bend like fabric, you cannot create a seamless box that you can still move in. You will need to build the costume in separate segments—such as a torso box, two arm boxes, and two leg boxes—connected by flexible fabric or elastic straps. This allows for a range of motion while maintaining the rigid exterior appearance.
Cutting and Assembly for Sharp Edges
The hallmark of a professional Minecraft build is the sharpness of the corners. To achieve this, you must use a brand-new utility blade or a rotary cutter. Dull blades tend to "drag" through the foam, creating rounded edges or jagged tears that ruin the geometric effect.
- The 45-Degree Miter: To avoid bulky seams where two panels meet, cut the edges of your foam at a 45-degree angle. This creates a miter joint, allowing the panels to fit together flush and creating a crisp, seamless corner.
- Squaring the Panels: Use a metal T-square or a framing square to ensure every cut is perfectly perpendicular. Even a slight tilt in your cut will accumulate over the length of the costume, resulting in a slanted box.
- Reinforcing the Core: For larger pieces like the head or torso, consider gluing a lightweight PVC pipe frame or a cardboard inner skeleton to the foam. This prevents the foam from bowing inward under its own weight.
Achieving the Pixelated Paint Effect
Painting a Minecraft costume is where the character truly comes to life. You have two primary options: the "Grid Method" and the "Stencil Method."
The Grid Method
This involves painting the base color of the character first and then using a ruler and painter's tape to mask off individual pixels. This is the most precise method but the most time-consuming. Apply thin layers of acrylic paint or spray paint, ensuring you remove the tape while the paint is slightly tacky to avoid peeling the edges of your pixels.
The Stencil Method
For characters with complex patterns, create a reusable stencil from acetate or thin plastic. Cut out the pixel shapes and lay the stencil over the foam. Use a high-density sponge to "pounce" the paint onto the surface. This prevents paint from bleeding under the stencil and creates a flat, matte finish that mimics the in-game textures.
Regardless of the method, always seal your foam with a primer such as Plasti Dip or a dedicated foam sealer. Foam is porous and will soak up paint, leading to a streaky finish and potentially causing the paint to crack when the foam flexes.
Solving the Visibility and Ventilation Problem
The most difficult part of a Minecraft build is the head. A solid cube of foam limits peripheral vision and traps heat rapidly. To solve this, integrate "hidden vents" into the design. You can cut small holes in areas that are naturally dark in the character's texture—such as the pupils of the eyes or the shadows of the mouth—and cover them with a fine black mesh. This allows air to flow and provides a discreet vantage point for the wearer.
For visibility, consider installing a wide-angle mirror or a small camera system inside the helmet if the eye-holes are too small. If you prefer a low-tech solution, ensure the head box is slightly larger than your own, allowing you to shift your head inside the cube to see through the gaps.
Final Finishing and Wearability
Once the painting is complete, focus on the interior. Long-term wearability depends on how the costume is anchored to your body. Instead of relying on the foam's own structure, build a harness system using nylon webbing and buckles. This distributes the weight of the foam boxes across your shoulders and hips rather than letting them slide or shift.
Add padding to the interior of the boxes using upholstery foam or adhesive-backed felt. This prevents the rigid edges of the EVA foam from digging into your skin and helps the costume maintain its shape by filling the void between your body and the outer shell. With these structural and aesthetic refinements, your Minecraft cosplay will transition from a simple costume to a high-fidelity, wearable piece of digital art.