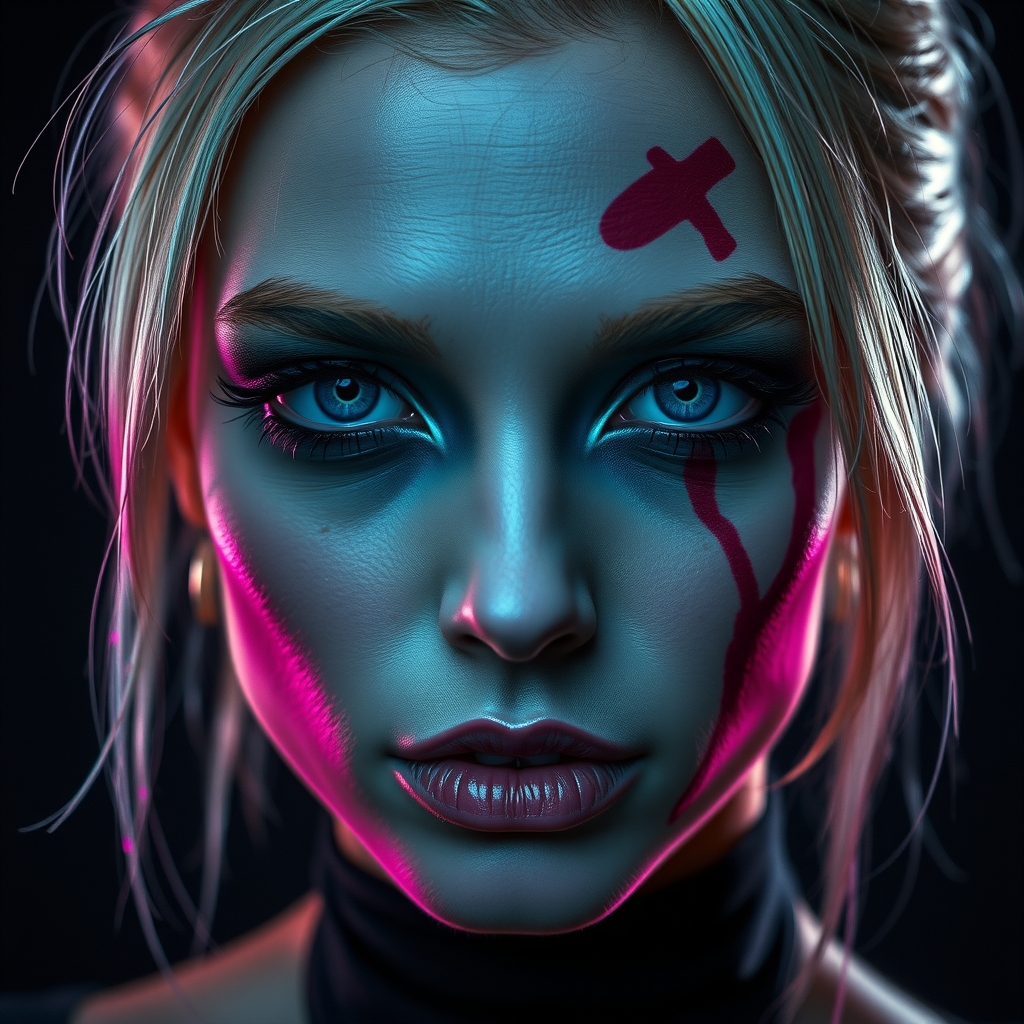
Introduction to Prosthetic Makeup for Cosplay
Creating realistic cosplay scars can elevate a costume from good to great, but it requires a combination of artistic skill and technical knowledge. Prosthetic makeup is a versatile tool that can be used to create a wide range of effects, from subtle scars to elaborate wounds. In this guide, we'll walk you through the step-by-step process of creating realistic cosplay scars using prosthetic makeup techniques.
Preparation is Key
Before you begin, make sure you have a clear understanding of the character's design and the type of scar you want to create. Study reference images and gather inspiration from various sources. It's also essential to prepare your skin and workspace.
- Clean and moisturize your skin to create a smooth surface for makeup application.
- Choose a well-ventilated workspace and cover your work surface with a protective layer.
- Familiarize yourself with the prosthetic makeup products and tools you'll be using.
Choosing the Right Prosthetic Makeup Products
Prosthetic makeup products come in various forms, including liquid latex, gelatin, and foam latex. Each type has its own unique characteristics and uses.
- Liquid latex is a popular choice for creating flexible, realistic scars.
- Gelatin is often used for creating more rigid, three-dimensional effects.
- Foam latex is a versatile material that can be used for a wide range of applications.
Creating the Scar
Now it's time to create the scar. Follow these steps to achieve a realistic result:
- Apply a thin layer of liquid latex or gelatin to the area where you want to create the scar.
- Use a brush or sponge to shape and texture the latex or gelatin, creating a natural-looking scar.
- Allow the latex or gelatin to dry completely before adding additional layers or details.
Adding Color and Shading
Once the scar is in place, it's time to add color and shading. Use a combination of makeup paints and powders to create a natural-looking color palette.
- Start with a base color that matches your skin tone.
- Add shading and depth to the scar using darker shades of makeup paint.
- Use a powder to set the makeup and prevent smudging.
Finishing Touches
The final step is to add any finishing touches to the scar. This may include adding texture, creating a subtle sheen, or attaching additional details.
- Use a texture paste or gel to add a realistic texture to the scar.
- Apply a thin layer of clear coat or sealant to protect the makeup and give it a subtle sheen.
- Attach any additional details, such as fake blood or scabbing, using a small amount of spirit gum or adhesive.
Removing Prosthetic Makeup
When you're finished wearing the scar, it's essential to remove the prosthetic makeup carefully to avoid damaging your skin.
- Use a gentle makeup remover to dissolve the adhesive.
- Carefully peel off the prosthetic makeup, working from one edge to the other.
- Clean and moisturize your skin to prevent irritation or dryness.
By following these steps and practicing your skills, you can create realistic cosplay scars that will take your costume to the next level. Remember to always follow proper safety precautions and use high-quality products to achieve the best results.
For more information on prosthetic makeup techniques, check out [resources on special effects makeup](https://www.google.com/search?q=special+effects+makeup+ tutorials).