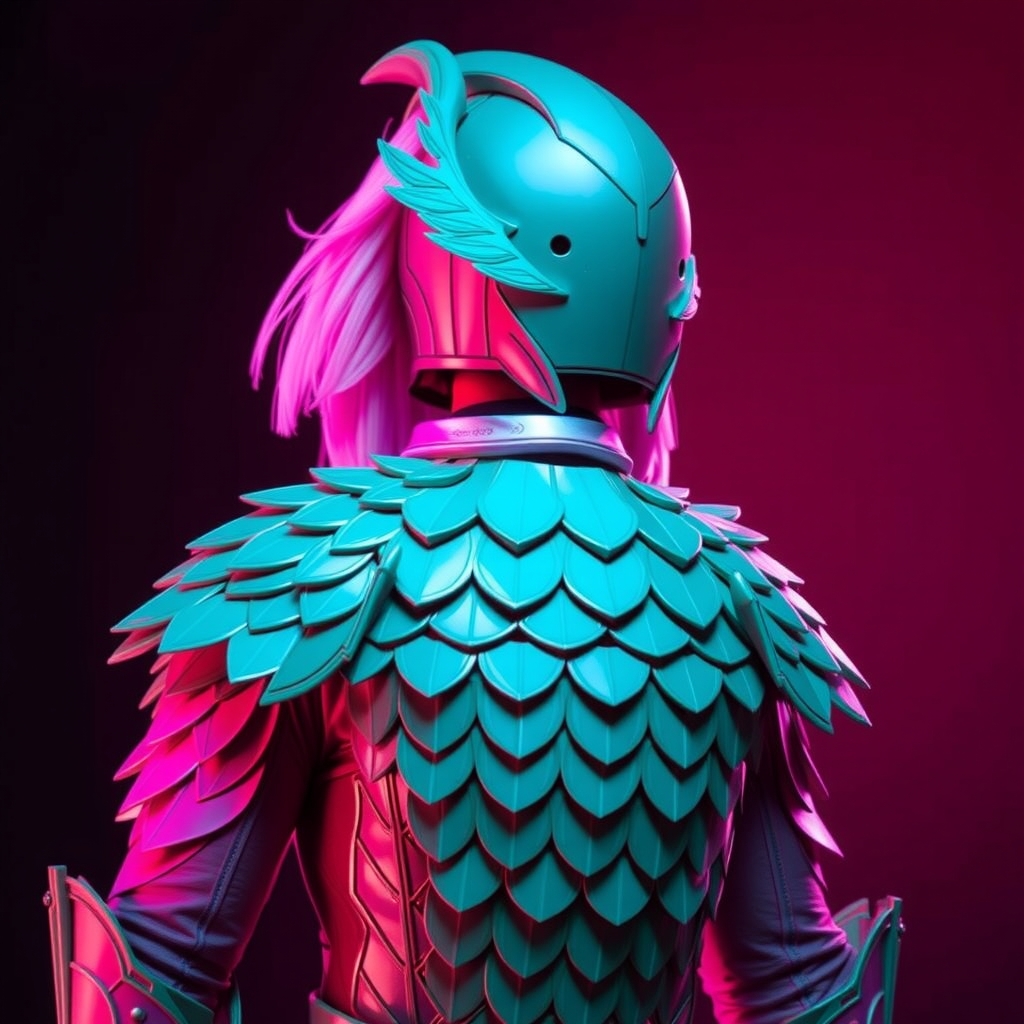
Achieving "photo-accuracy" in cosplay often feels like an elusive goal. Many builders struggle with the gap between a prop that looks great from a distance and one that holds up under the scrutiny of a high-resolution macro lens. The secret to bridging this gap often lies in the specific materials and meticulous approach used by professional prop makers and hobbyists in Japan. By shifting your focus from bulk construction to precision refinement, you can transform a standard prop into a museum-quality replica.
The Foundation of Precision: Choosing the Right Base
While EVA foam is the global standard for its versatility and weight, photo-accurate props often require a more rigid foundation to avoid the "pillowy" look common in foam builds. To achieve the sharp edges and perfectly flat planes seen in anime concept art, consider integrating high-density plastics and specialized boards.
Utilizing Styrene and ABS Sheets
Styrene (polystyrene) sheets are a staple in Japanese garage kit and model building. Unlike foam, styrene can be scored and snapped to create perfectly crisp 90-degree angles. For structural components that must remain rigid—such as the hilt of a sword or the casing of a futuristic gadget—layering thin styrene sheets with plastic cement creates a bond that is chemically fused, eliminating the visible seams often left by contact cement.
The Role of High-Density XPS Foam
For larger organic shapes, high-density extruded polystyrene (XPS) is preferred over standard craft foam. XPS can be sanded to a mirror-smooth finish. The key to accuracy here is the sanding progression: starting with a coarse grit to establish the form and moving through progressively finer grits until the surface is tactilely smooth. This prevents the "orange peel" texture that often plagues painted foam props.
Refining the Surface: The Secret of Gap Filling
The difference between a "costume" and a "prop" is often found in the seams. In anime, objects are often depicted as seamless, monolithic pieces. To replicate this, you must move beyond simple gluing and embrace the art of surface filling.
Putty Application and Leveling
Using a combination of polyester putty and lacquer-based fillers allows you to erase the joints between your base materials. Apply the putty slightly higher than the surrounding surface to account for shrinkage. Once cured, use a sanding block—rather than your fingers—to ensure the surface remains flat. Using a sanding block prevents you from accidentally creating "divots" in the material, which become glaringly obvious once a primer is applied.
The Guide Coat Technique
To ensure a surface is truly photo-accurate, use a "guide coat." Spray a very thin layer of a contrasting color (such as light grey or white) over your sanded surface. Sand lightly with a high-grit sponge. Any areas where the guide coat remains indicate low spots or scratches that need further filling. This iterative process is essential for achieving that "factory-made" look.
Advanced Painting for Dimensionality
Anime props often feature a specific aesthetic: a blend of vibrant colors and soft, stylized shading. To replicate this, you must move beyond a single coat of flat paint.
Layering and Pre-Shading
Instead of painting a prop one solid color, use pre-shading. Spray darker tones into the recesses and crevices of the prop before applying the primary color. When the main color is applied, the darker tones peek through, creating a sense of depth and weight that mimics the cel-shading seen in high-budget animation. This prevents the prop from looking like a plastic toy under bright convention lights.
Achieving the Perfect Metallic Finish
For armor or weaponry, avoid standard metallic spray paints, which can look grainy. Instead, use a "black base" method. Paint the area a high-gloss black first, then apply a fine-grain metallic lacquer or airbrushed chrome. This creates a mirror-like reflection. To add realism, apply a subtle "wash" of oil paint (burnt sienna or black) into the corners to simulate natural wear and grime, then wipe away the excess from the flat surfaces.
Detailing with Mixed Media
Photo-accuracy is often found in the smallest details—the bolts, the wires, and the textures. Using "greeblies" (small, intricate parts) can add an immense amount of perceived value to a build.
Integrating Model Kit Parts
One of the most effective Japanese techniques is the integration of parts from commercial plastic model kits. Instead of sculpting a small vent or a mechanical joint out of clay, look for a 1/35 scale military model or a mecha kit. These pre-molded parts provide a level of mechanical complexity and scale accuracy that is nearly impossible to achieve by hand. These parts can be glued onto your prop and then painted over to blend seamlessly.
Adding Texture with Masking Tape and Stencils
For props with intricate patterns or circuitry, avoid freehand painting. Use high-quality precision masking tape to create hard edges. For repetitive patterns, creating a custom stencil using a cutting machine or a steady hand with an X-Acto knife ensures that the design is symmetrical and clean. This precision is what separates a hobbyist build from a professional replica.
Final Finishing and Protection
The final step in ensuring your prop is photo-ready is the clear coat. The finish—whether matte, satin, or gloss—defines how the prop interacts with light.
Matching the Finish to the Material
A common mistake is using a single varnish for the entire prop. To achieve accuracy, vary your finishes. Use a flat matte clear coat for fabric-like plastics or rubberized grips, a satin finish for painted metal, and a high-gloss clear coat for glass or gemstones. This contrast in reflectivity tells the viewer's eye that the prop is made of multiple different materials, significantly increasing the realism.
The Importance of UV Protection
To keep your prop from fading or yellowing over time, especially when using light-colored resins or white plastics, apply a UV-resistant clear coat. This not only protects the paint job from the elements during outdoor shoots but also provides a durable layer that protects the prop from the inevitable scuffs of a crowded convention floor.