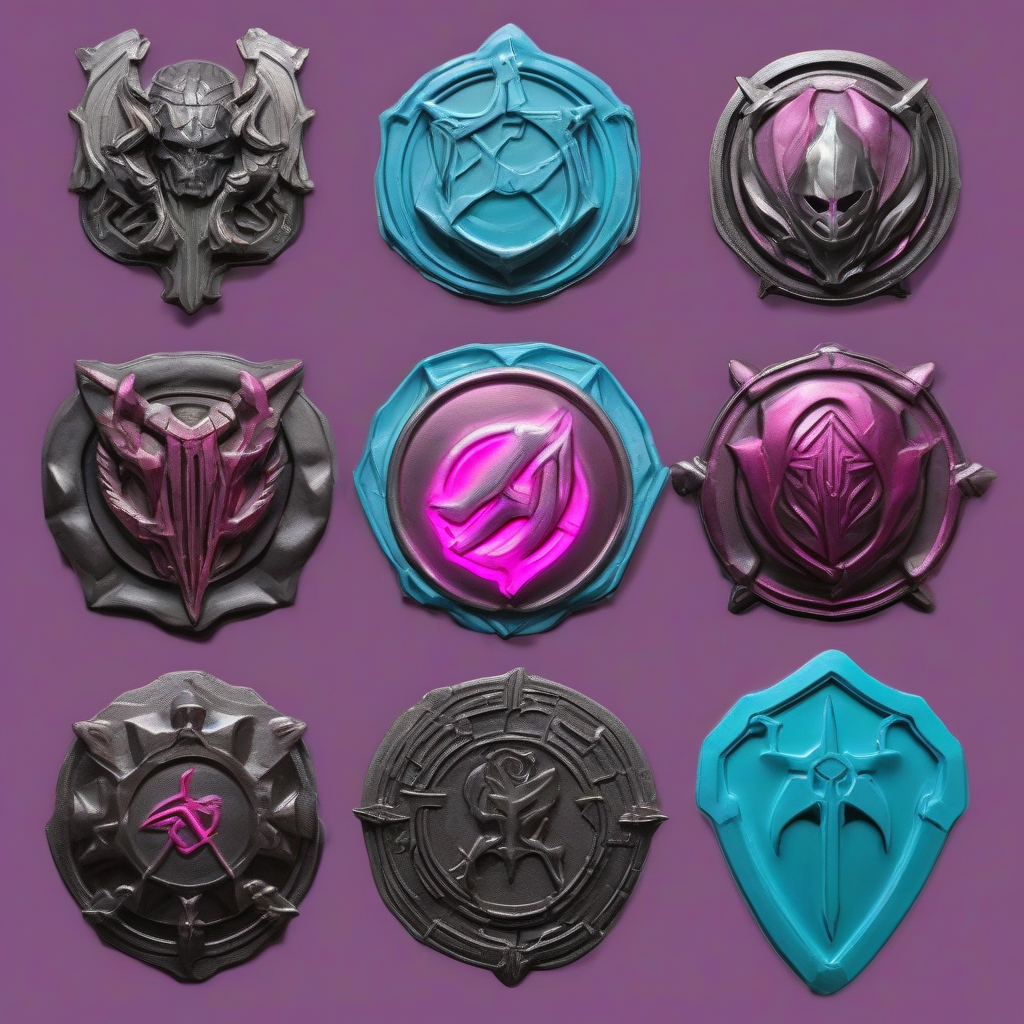
Creating a weathered, battle-worn look for your cosplay armor can elevate your costume from great to truly exceptional. Post-apocalyptic games like Fallout, Horizon Zero Dawn, and The Last of Us have raised the bar for gritty, realistic armor designs. To help you achieve this look, we'll explore various weathering techniques and provide practical tips for adding wear and tear to your cosplay armor.
Preparation is Key
Before you start weathering, make sure your armor is complete and properly primed. This ensures a smooth surface for applying weathering effects and helps prevent damage to the underlying material. If you're using a kit or 3D printed armor, follow the manufacturer's instructions for priming and preparation.Understanding Wear and Tear
To create a realistic weathered look, you need to understand how armor gets worn and damaged. Think about the environment and usage: armor that's been in battles will have scratches, scuffs, and impact marks. Exposed to the elements, it will show signs of rust, corrosion, or decay. Study reference images from games, movies, or real-world examples to get a sense of the types of wear and tear you're trying to replicate.Basic Weathering Techniques
Start with basic techniques like drybrushing, washes, and edge highlighting. Drybrushing involves lightly brushing paint or ink over raised surfaces to create texture and wear. Washes are thin, translucent coats of paint or ink that can be used to add shading and depth. Edge highlighting involves applying a lighter color to raised edges to create a sense of wear and tear.- Drybrushing: Use a stiff-bristled brush to apply paint or ink to raised surfaces.
- Washes: Mix paint or ink with a solvent to create a thin, translucent coat.
- Edge highlighting: Apply a lighter color to raised edges using a small brush.
Advanced Weathering Techniques
For more advanced weathering, try using chemicals, heat, or texture additives. Chemicals like rust converters or acidic solutions can create realistic rust and corrosion effects. Heat can be used to distress materials or create texture. Texture additives like sand, grit, or flocking can be used to add roughness and depth to your armor.Adding Realistic Damage
To add realistic damage, use a combination of tools and techniques. For impact marks, use a Dremel or drill to create small dents and scratches. For scratches and scuffs, use a sanding block or sandpaper to smooth out rough edges. For tears and holes, use a craft knife or saw to carefully cut and shape the material.Sealing and Protecting
Once you've achieved the desired level of weathering, seal and protect your armor with a clear coat. This prevents further damage and makes cleaning easier. Choose a clear coat that's compatible with your materials and follow the manufacturer's instructions for application.Tips and Tricks
Finally, here are some tips and tricks to keep in mind when weathering your cosplay armor:- Start small and build up gradually – it's easier to add more weathering than it is to remove it.
- Use reference images to get a sense of the types of wear and tear you're trying to replicate.
- Experiment with different techniques and materials to find what works best for you.
By mastering these weathering techniques and adding realistic wear and tear to your cosplay armor, you'll be able to create a gritty, post-apocalyptic look that's sure to turn heads. Happy crafting!