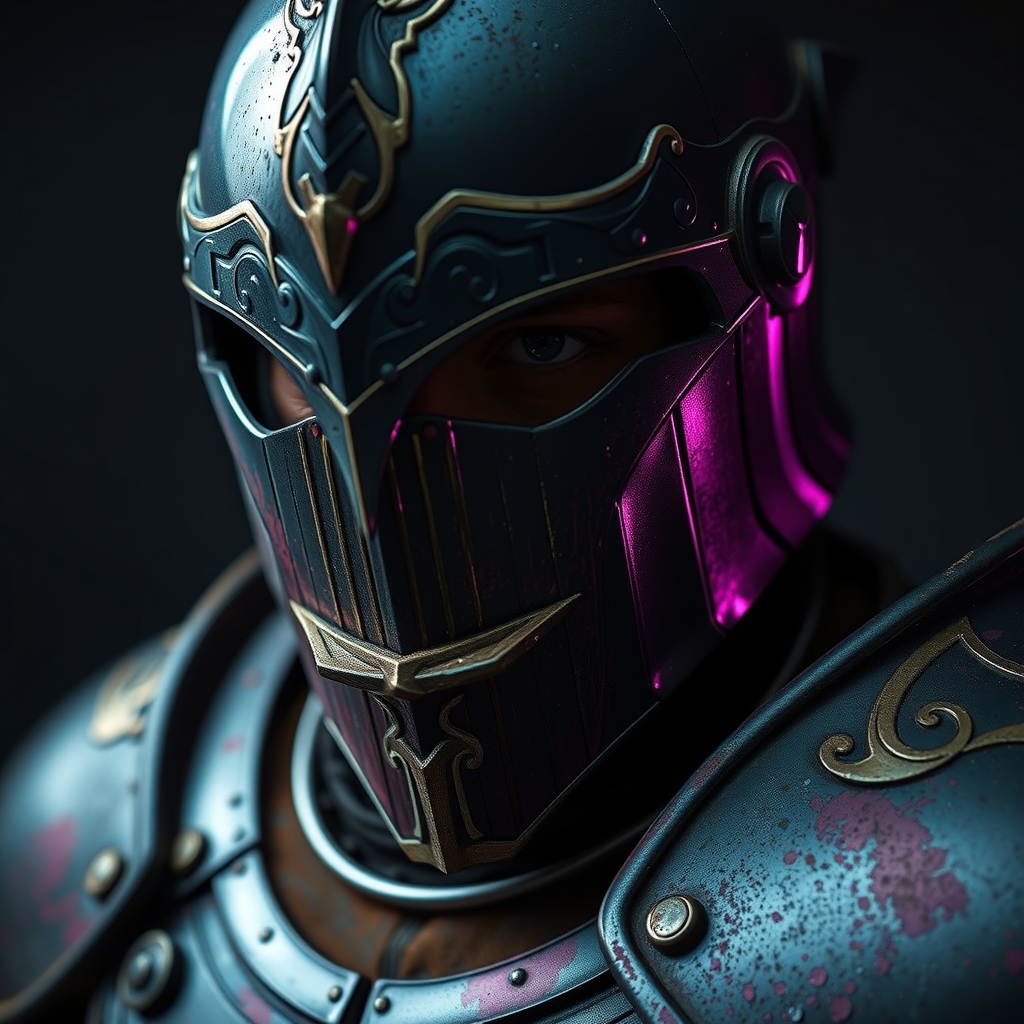
Introduction to Weathering
Weathering is a crucial step in creating realistic cosplay armor. It adds depth, character, and a sense of history to your prop, making it stand out from a plain, out-of-the-box piece. Weathering techniques involve simulating the effects of wear and tear, rust, dirt, and other environmental factors that can make your armor look like it's been battle-tested. In this article, we'll focus on using acrylic paints and washes to achieve a weathered look.
Preparing Your Armor for Weathering
Before you start weathering, make sure your armor is complete, clean, and dry. Remove any dirt, oils, or residue from the manufacturing process, as these can interfere with paint adhesion. If your armor has a glossy finish, lightly sand it to create a surface for the paint to grip.
It's also essential to prime your armor, especially if it's made of a material that's prone to staining or has a smooth surface. Use a primer specifically designed for plastics or metals, and apply it according to the manufacturer's instructions.
Choosing the Right Acrylic Paints and Washes
Acrylic paints are a popular choice for weathering because they're versatile, easy to use, and dry quickly. Look for paints that are specifically designed for miniature or model work, as they're usually formulated to adhere well to a variety of surfaces.
Washes are thinned acrylic paints that can be used to add subtle shading and depth to recessed areas. They're especially useful for creating a sense of volume and dimensionality. You can buy pre-made washes or make your own by thinning out acrylic paint with water or a specialized medium.
Basic Weathering Techniques
- Drybrushing: Use a almost-dry brush to apply paint to raised edges and details. This technique creates a textured, worn look.
- Washes: Apply a wash to recessed areas to create shading and depth.
- Stippling: Use a small brush to apply small dots of paint, creating a mottled, textured look.
- Edge highlighting: Use a fine brush to apply a lighter color to the edges of raised details, creating a sense of wear and tear.
Advanced Weathering Techniques
Once you've mastered the basics, you can move on to more advanced techniques.
- Rust and corrosion: Use a combination of paints and washes to create a rusty, corroded look. Apply a base coat of rust-colored paint, then add washes and drybrushing to create texture and depth.
- Dirt and grime: Use a mixture of paint and texture paste to create a dirty, grimy look. Apply it to recessed areas and details using a brush or a texture tool.
- Blood and mud: Use a combination of paints and washes to create a bloody or muddy look. Apply a base coat of color, then add washes and texture to create a realistic effect.
Tips and Tricks
Here are a few tips to keep in mind when weathering your cosplay armor:
- Start small and build up gradually. It's easier to add more weathering than it is to remove it.
- Test your paints and washes on a small, inconspicuous area first to make sure they adhere well and don't damage the surface.
- Use reference images to get a sense of how your armor should look. Study the way light falls on the surface, and try to replicate that in your weathering.
- Don't be afraid to experiment and try new things. Weathering is an art, and there's no one "right" way to do it.
Conclusion
Mastering weathering techniques takes time and practice, but with acrylic paints and washes, you can achieve a realistic, battle-worn look for your cosplay armor. Remember to start small, test your materials, and have fun experimenting with different techniques. With patience and practice, you'll be able to create a truly show-stopping piece that will impress at any cosplay event.