Introduction to Custom Cosplay Shoes
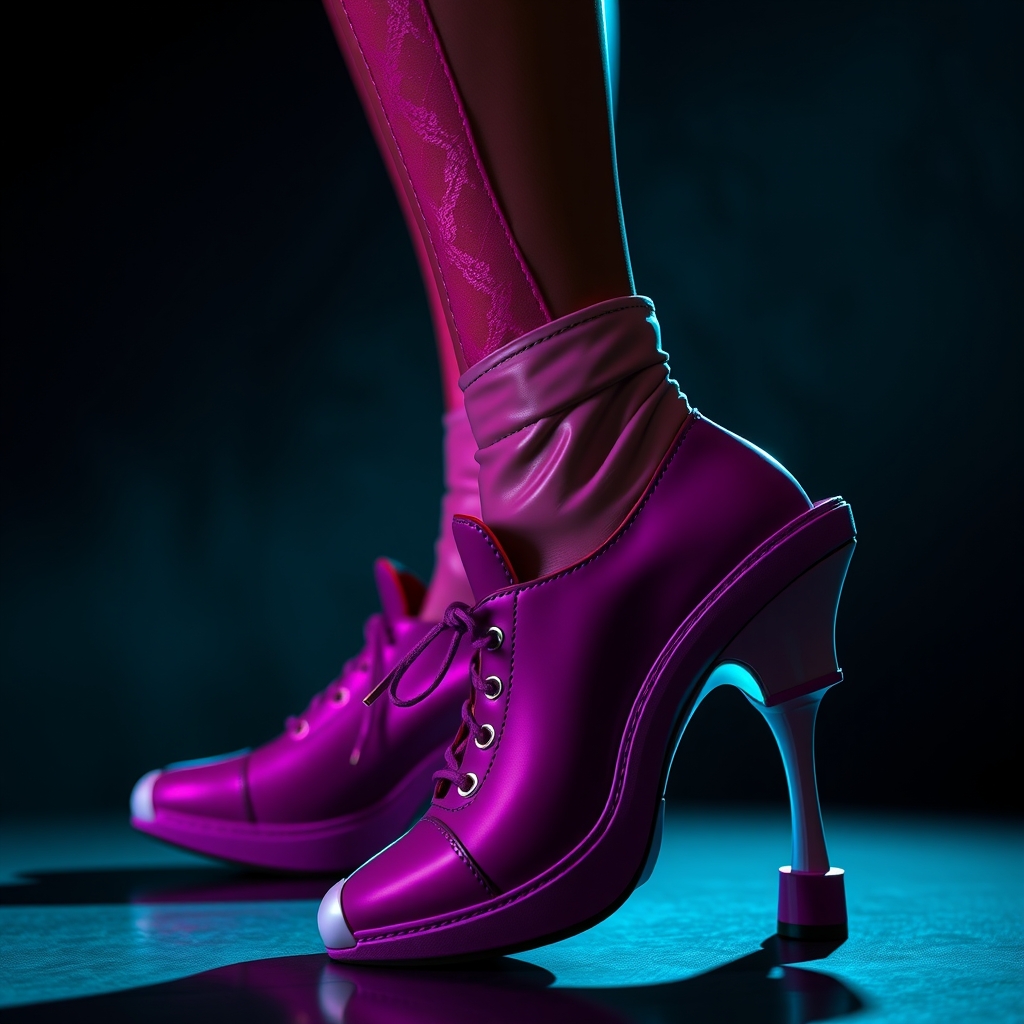
When it comes to creating an immersive cosplay experience, attention to detail is key. One often-overlooked aspect of costume design is footwear. Store-bought shoes can be generic, uncomfortable, or simply not fitting with the character's aesthetic. By crafting custom cosplay shoes using 3D printing and finishing techniques, you can achieve a more authentic look, ensure a comfortable fit, and showcase your creativity.
Designing Your Custom Shoes
Before diving into 3D printing, it's essential to have a solid design concept. Start by researching your character's footwear, gathering reference images from various angles. Consider the character's personality, the world they inhabit, and the story they tell. You can sketch your design ideas by hand or use computer-aided design (CAD) software to create a digital model.
When designing your shoes, keep in mind the following factors:
- Comfort: Ensure the shoes will be comfortable to wear for extended periods.
- Durability: Choose materials and designs that can withstand regular wear and tear.
- Accuracy: Stay true to the character's design while considering practicality.
3D Printing Your Shoes
3D printing is an excellent way to bring your custom shoe design to life. There are various 3D printing technologies and materials available, each with its strengths and limitations. For cosplay shoes, you'll want to choose a material that balances durability, flexibility, and surface finish.
Some popular 3D printing materials for cosplay shoes include:
- PLA (Polylactic Acid): A biodegradable, plant-based plastic suitable for detailed prints.
- ABS (Acrylonitrile Butadiene Styrene): A strong, impact-resistant plastic often used for functional parts.
- Resin: A versatile material offering high detail resolution and a smooth finish.
When 3D printing your shoes, make sure to:
- Optimize your design for the chosen material and printing technology.
- Use proper support structures to prevent warping or collapsing.
- Post-cure or post-process the print as needed to achieve the desired finish.
- Sanding: Smooth out layer lines, bumps, or imperfections.
- Painting: Apply acrylic or enamel paints to achieve the desired color and texture.
- Sealing: Apply a clear coat to protect the finish and enhance durability.
- Adding details: Use materials like fabric, foam, or Worbla to add texture, straps, or other embellishments.
- Use suitable adhesives or fastening methods to secure parts together.
- Test the fit and comfort of the shoes.
- Add any final details, such as weathering effects or decals.
- Start with simple designs and gradually experiment with more complex shapes.
- Research and test different materials and printing techniques.
- Join online communities or forums to share knowledge and learn from others.
Post-Printing Finishing Techniques
Once your shoes are 3D printed, it's time to refine the finish. This step is crucial in transforming your printed parts into a polished, professional-looking product.
Some common finishing techniques for 3D printed cosplay shoes include:
Assembly and Final Touches
With your shoes printed and finished, it's time to assemble the final product. This may involve attaching straps, buckles, or other hardware. Make sure to:
Conclusion and Tips for Beginners
Crafting custom cosplay shoes using 3D printing and finishing techniques can seem daunting, but with practice and patience, you can achieve professional-looking results. As a beginner, remember to:
By following this guide and continuing to hone your skills, you'll be able to create stunning, one-of-a-kind cosplay shoes that will elevate your costume game and leave a lasting impression.