Introduction
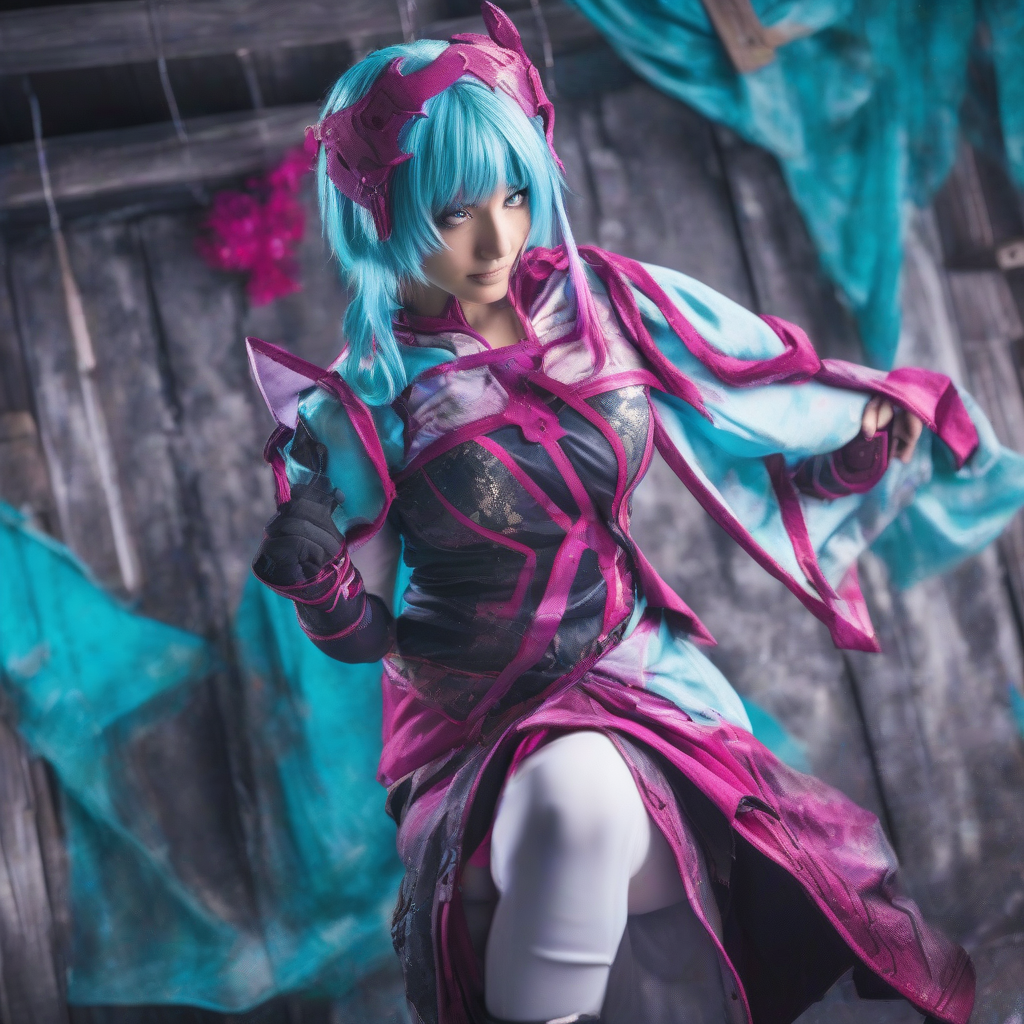
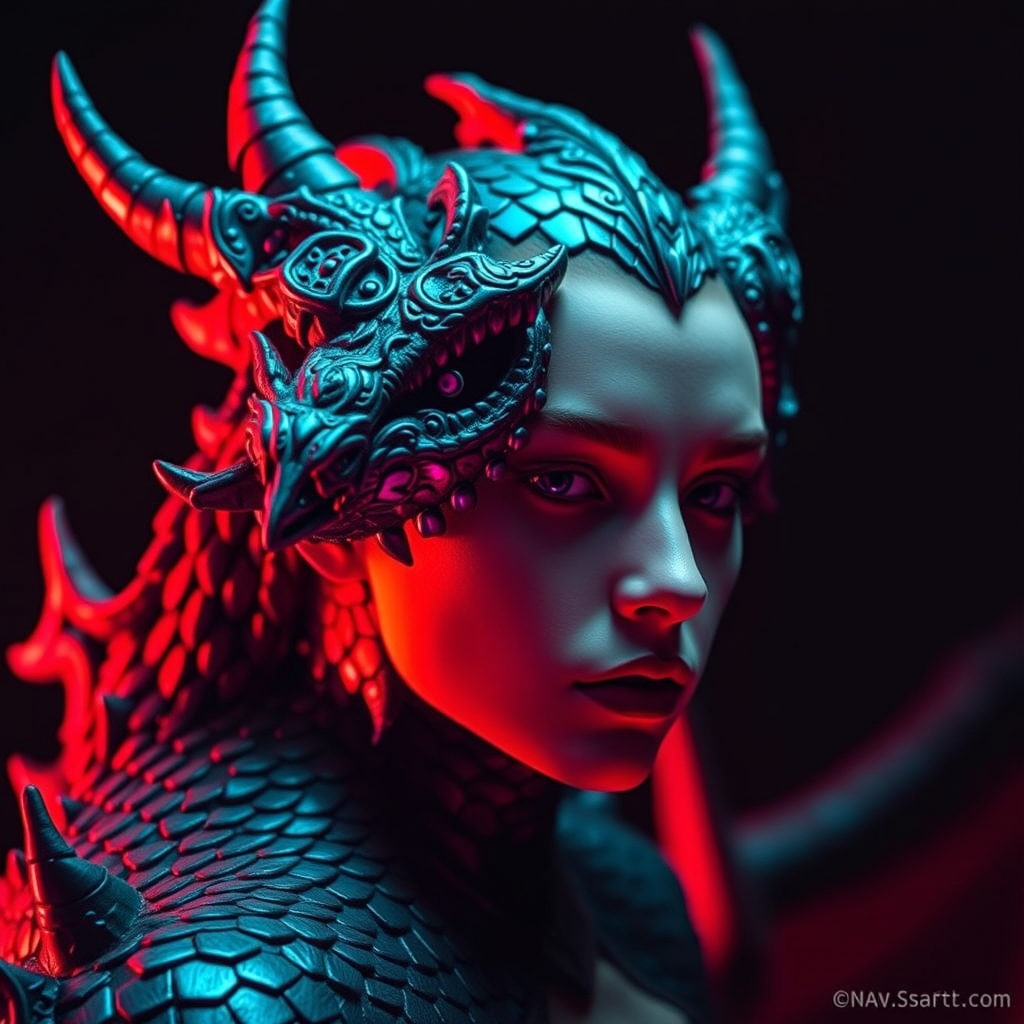
For cosplayers and prop makers, creating realistic and intricate details can make or break a costume. One of the most iconic and awe-inspiring elements in the Elder Scrolls universe is the dragon scales. These armored plates are not only a testament to the dragons' formidable strength but also a visual feast for fans. In this article, we'll dive into the world of 3D printing and resin casting to create hyper-realistic Elder Scrolls dragon scales that will elevate your cosplay to new heights.
Designing the Dragon Scales
The first step in creating realistic dragon scales is to design the individual plates. You can find 3D models of Elder Scrolls dragon scales online or create your own using 3D modeling software like Blender or Tinkercad. For a more accurate representation, study reference images of dragon scales from the Elder Scrolls games or official artwork.
When designing the scales, consider the following factors:
- Shape: Dragon scales are typically curved and overlapping, with a smooth, rounded edge.
- Size: Scales vary in size, but most are around 2-5 inches (5-13 cm) in length.
- Texture: The scales have a rough, bumpy texture, with a subtle sheen.
3D Printing the Scales
Once you have your design, it's time to 3D print the scales. You can use any 3D printer, but for this project, a resin printer is recommended for its high level of detail and smooth finish. When printing, make sure to:
- Use a suitable resin: Choose a resin that's specifically designed for 3D printing and suitable for casting. Some popular options include Elegoo, Monoprice, or Prusa.
- Adjust print settings: Experiment with different print settings, such as layer height and exposure time, to achieve the desired level of detail.
- Post-cure: After printing, post-cure the scales with UV light to ensure they're fully cured and stable.
Resin Casting the Scales
Resin casting is a crucial step in creating realistic dragon scales. You'll need a few specialized materials and tools:
- Resin: For casting, you'll need a high-quality casting resin, such as Smooth-Cast or Mold Star.
- Mold material: Create a mold using a flexible material like silicone or alginate.
- Pressure pot: A pressure pot or vacuum chamber can help eliminate air bubbles and ensure a smooth finish.
To cast the scales:
- Prepare the mold: Apply a release agent to the mold and mix the casting resin according to the manufacturer's instructions.
- Cast the resin: Pour the resin into the mold and allow it to cure.
- Demold and clean: Carefully remove the scale from the mold and clean it with soap and water.
Finishing and Painting
The final step is to finish and paint the scales. Use a combination of sanding, filing, and painting to achieve a realistic look:
- Sand and file: Smooth out any rough edges or bumps.
- Prime and paint: Apply a primer and paint the scales using acrylic or enamel paints.
- Weathering: Add weathering effects, such as dirt, grime, or bloodstains, to give the scales a battle-worn look.
Conclusion
Creating hyper-realistic Elder Scrolls dragon scales using 3D printing and resin casting requires patience, attention to detail, and practice. By following these steps and experimenting with different materials and techniques, you'll be able to craft stunningly realistic dragon scales that will take your cosplay to the next level. Happy crafting!
For more information on 3D printing and resin casting, check out the following resources: