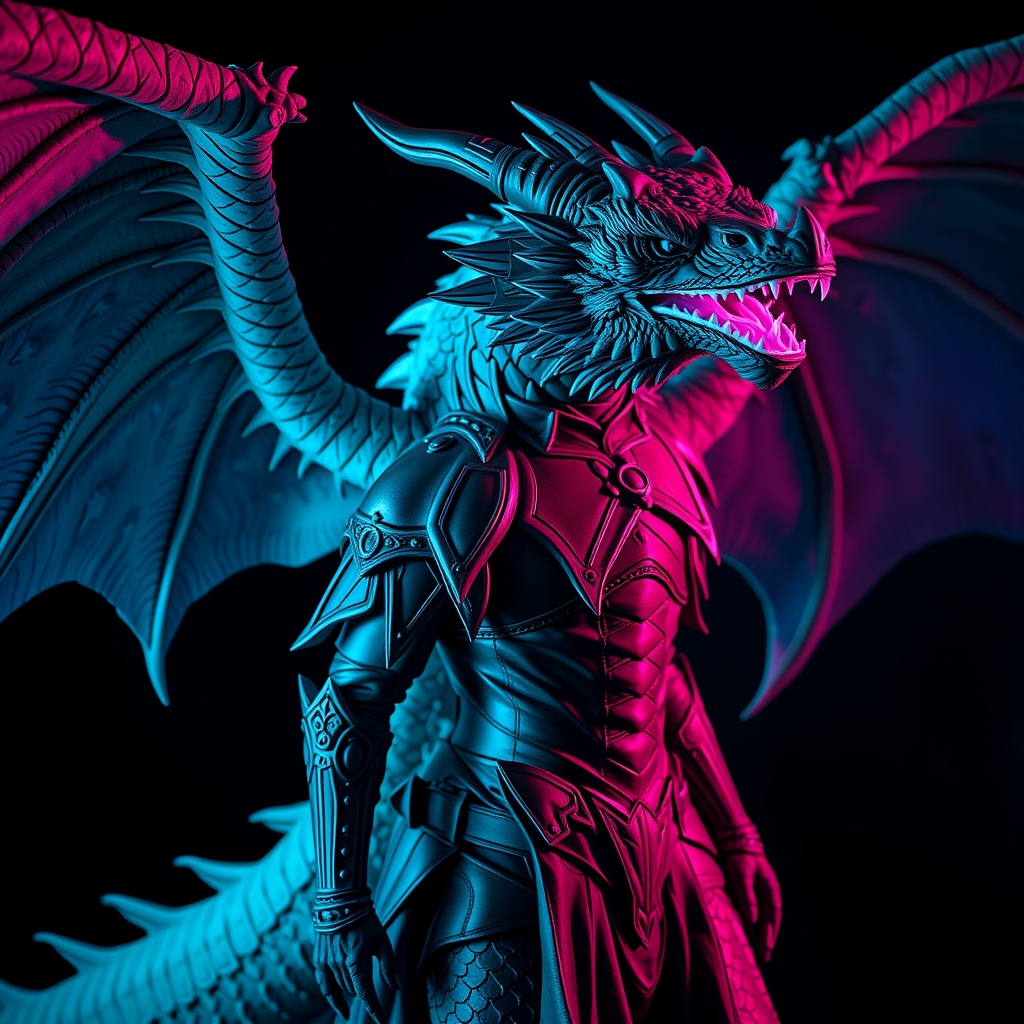
The Elder Scrolls series is defined by its tactile world-building. From the heavy, ornate plating of Imperial Legion armor to the rugged, organic textures of Nordic gear, the aesthetic relies on a mix of hard metals, weathered leather, and mythical creature remains. For a cosplayer, replicating this look presents a challenge: 3D printed armor is often too heavy and rigid for all-day wear, while EVA foam can sometimes lack the crisp, intricate detail required for dragon-bone carvings or ornate engravings.
The solution is a hybrid approach. By using 3D printing for high-detail focal points and EVA foam for the primary structural components, you can achieve a professional, "museum-quality" look without sacrificing mobility or comfort. This guide explores the technical workflow for blending these two mediums to create a realistic Elder Scrolls ensemble.
Planning the Hybrid Layout
Before starting your build, you must decide which parts of the armor require the precision of a 3D print and which benefit from the flexibility of foam. In the context of Elder Scrolls, this usually follows a pattern of "Ornamentation vs. Structure."
3D Print Candidates: These are the "hero" pieces. Think of the dragon-head pauldrons, intricate belt buckles, gemstones, or the specific filigree found on Ebony armor. These elements are typically small, rigid, and require deep undercuts or complex geometry that would be nearly impossible to carve by hand in foam.
Foam Candidates: These are the large surface areas. Breastplates, greaves, gauntlets, and the base of the pauldrons should be foam. Foam allows for the natural curve of the body and provides the necessary "give" when you move, preventing the armor from digging into your skin or snapping during transit.
Preparing 3D Prints for Foam Integration
The biggest hurdle in hybrid builds is the transition point where the hard plastic meets the soft foam. If you simply glue a heavy print to a thin piece of foam, the weight will cause the foam to sag or the bond to fail.
Optimizing the Model
When slicing your 3D models, use a low infill percentage (10-15%) and a gyroid pattern to keep the weight down. For larger pieces, consider "hollowing" the model in your CAD software. This not only saves material but creates an internal cavity that you can use to anchor the piece to the foam.
Creating Mechanical Anchors
Avoid relying solely on adhesive. Instead, design "tabs" or "sockets" into your 3D print. A small plastic protrusion that can be pushed through a pre-cut hole in the EVA foam creates a mechanical bond. Once the tab is through the foam, you can secure it on the backside with a washer or a dab of high-strength contact cement, ensuring the piece cannot be pulled off by accident.
Building the Foam Foundation
To make the foam look as realistic as the 3D printed elements, you must focus on surface preparation and structural integrity.
Selecting the Right Density
For Elder Scrolls armor, use high-density EVA foam (around 100kg/m3) for the base plates. This prevents the armor from looking "squishy" and provides a stable platform for your 3D prints. For straps and under-layers, a lower density foam or synthetic leather is preferable for comfort.
Creating "Organic" Texture
Elder Scrolls armor is rarely perfectly smooth. To mimic the look of hammered metal or weathered leather, use a dremel tool to create subtle imperfections. For Nordic-style armor, use a soldering iron to etch faux-leather grain or battle scars into the foam. When these "distressed" foam areas surround a crisp 3D printed dragon scale or buckle, the contrast makes the 3D print look even more realistic.
The Art of the Seamless Blend
The "tell" of a hybrid build is a visible seam where the plastic meets the foam. To hide this, you need to employ blending techniques.
- Overlapping Layers: Instead of placing a print flush against the foam, design the print to slightly overlap the foam edge. This hides the joint and mimics the way real armor is layered.
- Filler Materials: Use a flexible gap-filler or a mix of acrylic caulk and paint to fill the hairline fracture between the two materials. Once dried and sanded, this creates a monolithic look.
- Weathering as a Mask: Use "gunk" (a mixture of paint, glue, and cinnamon or coffee grounds) to create faux dirt and grime around the joints. In the world of Tamriel, armor is rarely clean; a bit of strategic mud or rust at the connection points makes the transition invisible.
Painting for Material Unity
The final step is making the PLA or PETG plastic and the EVA foam look like they are made of the same material. This is achieved through a unified priming and painting process.
The Base Coat
Apply a flexible primer to the foam (such as Plasti Dip) and a high-build filler primer to the 3D prints. This levels the surface of the prints and seals the foam. Once both are primed, apply a consistent base coat of acrylic or spray paint across the entire piece.
Layering and Depth
To achieve the metallic sheen of Steel or the matte darkness of Ebony armor, use the following layering technique:
- Base Layer: A dark metallic or matte black.
- Dry Brushing: Use a lighter silver or gold on the raised edges of both the foam and the 3D prints. This ties the two materials together visually.
- Washing: Apply a thin, dark oil wash or acrylic glaze over the entire piece. The wash will settle into the crevices of the 3D prints and the etched lines of the foam, creating a shared sense of depth and age.
Final Assembly and Comfort
Because 3D prints add localized weight, you must re-evaluate your strapping system. Ensure that the weight of a 3D printed dragon head on a shoulder is distributed across the chest and back, rather than resting entirely on the shoulder foam. Use heavy-duty nylon webbing hidden beneath the foam layers to create a hidden harness. This ensures that your Elder Scrolls creation remains a wearable piece of art rather than a cumbersome sculpture.