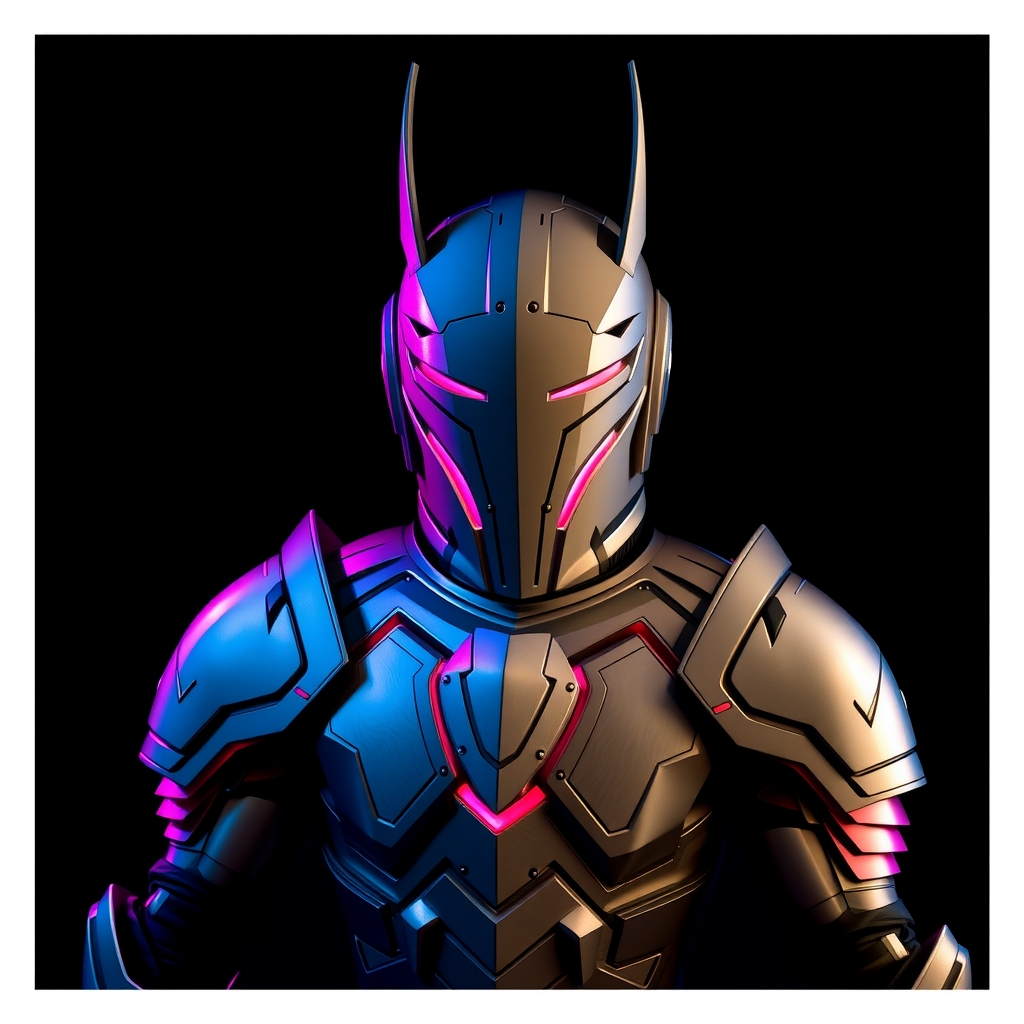
Introduction to Foam Crafting
Foam crafting has become a staple in the cosplay community, allowing creators to produce intricate, lightweight, and durable pieces that bring their characters to life. With its versatility and accessibility, foam crafting has opened up new possibilities for cosplayers and prop makers to experiment with innovative designs and techniques. In this guide, we'll cover the basics of foam crafting and provide you with the knowledge to start creating your own impressive cosplay armor pieces.
Choosing the Right Foam
When it comes to foam crafting, selecting the right type of foam is crucial for achieving the desired results. There are several types of foam available, each with its unique characteristics and applications.
- Expanded Polypropylene (EPP) Foam: A popular choice for cosplay armor, EPP foam is lightweight, flexible, and resistant to impact. It's ideal for creating pieces that require some give, such as shoulder armor or chest plates.
- Expanded Polystyrene (EPS) Foam: A more rigid and dense foam, EPS is perfect for creating detailed, intricate designs and pieces that require a lot of structure, like helmets or greaves.
- High-Density Foam: As the name suggests, high-density foam is a denser and heavier option, often used for creating props and pieces that require a lot of weight and stability.
When choosing a foam, consider the intended use, weight, and flexibility requirements of your project.
Tools and Materials Needed
To get started with foam crafting, you'll need a few essential tools and materials.
- Hot Wire Foam Cutter: A hot wire foam cutter is a crucial tool for cutting and shaping foam. It uses a heated wire to melt and slice through the foam, allowing for precise cuts and smooth edges.
- Foam Glue: A strong adhesive specifically designed for bonding foam, foam glue is essential for assembling and attaching pieces.
- Sandpaper and Files: For smoothing out rough edges and surfaces, sandpaper and files are must-haves.
- Paint and Finishing Materials: Once your piece is shaped and assembled, you'll need paint and finishing materials to add color, texture, and protection.
Basic Foam Crafting Techniques
With your materials and tools in hand, it's time to learn some basic foam crafting techniques.
Cutting and Shaping Foam
Using a hot wire foam cutter, carefully cut out your foam piece, following the desired shape and design. For more intricate cuts, use a serrated knife or a craft knife.
To shape and smooth out the foam, use sandpaper and files to remove excess material and achieve a seamless finish.
Assembling and Bonding Foam Pieces
Apply foam glue to the edges of the pieces and press them together firmly. Use clamps or weights to hold the pieces in place while the glue dries.
For added stability and strength, you can also use a combination of foam glue and mechanical fasteners, such as screws or rivets.
Finishing and Painting Foam Armor
The final step in creating your foam cosplay armor is to add color, texture, and protection.
Priming and Painting
Apply a coat of primer to the foam surface, ensuring better paint adhesion and a uniform finish.
Choose a paint specifically designed for plastics or foams, and apply multiple thin coats, allowing each coat to dry before adding the next.
Adding Texture and Details
Use a variety of techniques, such as drybrushing, washes, or texture paints, to add depth and visual interest to your foam armor.
For added realism, you can also add details like bolts, rivets, or seams using paint, markers, or small pieces of foam.
Conclusion and Tips for Mastery
Mastering the art of foam crafting takes time, patience, and practice. Don't be discouraged by initial failures or setbacks – they're an opportunity to learn and improve.
Some final tips for achieving success with foam crafting:
- Experiment and innovate: Try new techniques, materials, and designs to push the boundaries of what's possible with foam crafting.
- Pay attention to detail: Small details can make a big difference in the overall appearance and quality of your foam armor.
- Join the community: Connect with other cosplayers, prop makers, and foam crafters to share knowledge, resources, and inspiration.
With dedication and practice, you'll be creating stunning, professional-grade cosplay armor pieces that will take your costumes to the next level.