Introduction to Malenia's Winged Armor
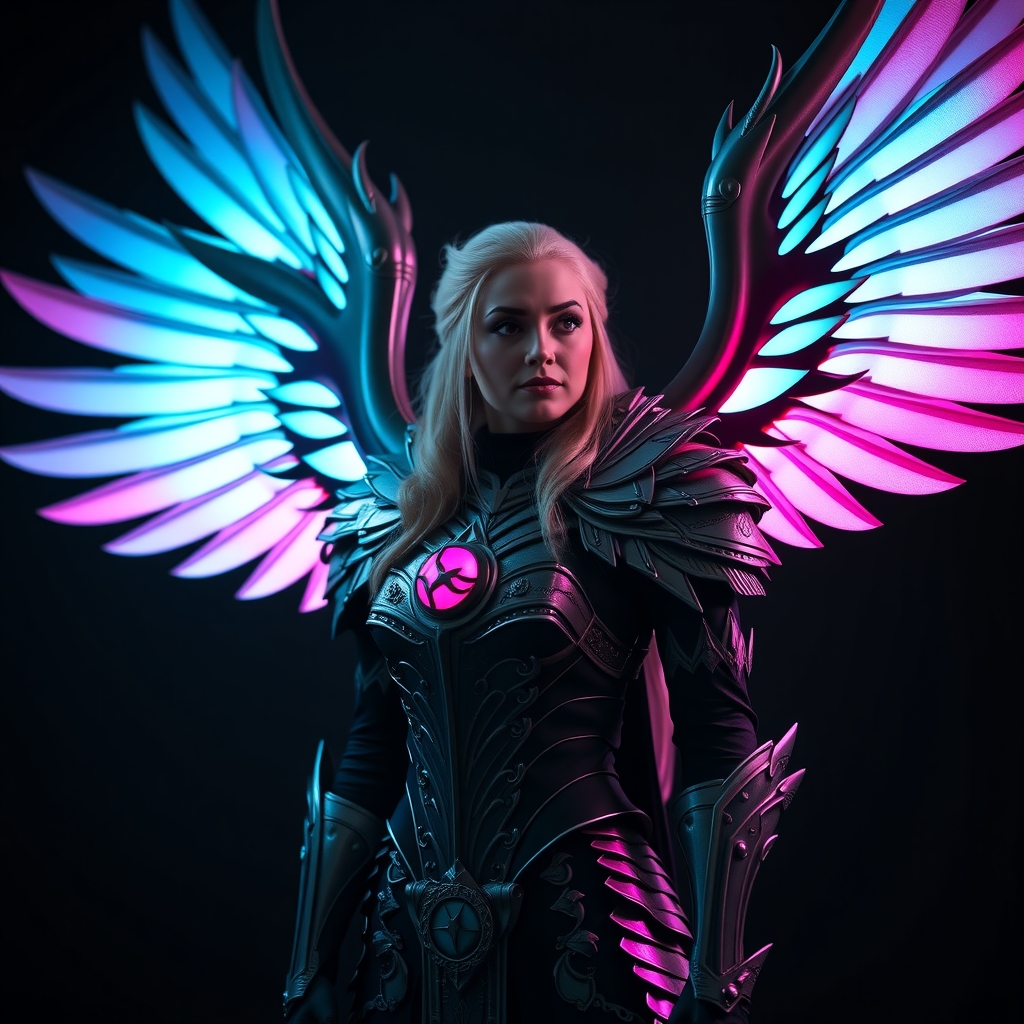
Malenia, Blade of Miquella, from the Elden Ring universe, boasts an iconic and intimidating appearance, with her winged armor being a standout feature. For cosplayers aiming to bring this fearsome character to life, crafting Malenia's winged armor can seem like a daunting task. However, with the right materials and techniques, it's achievable. This guide will walk you through creating Malenia's winged armor using EVA foam and Worbla, focusing on durability, accuracy, and visual impact.
Materials and Tools Needed
- EVA foam sheets (various thicknesses)
- Worbla (for armor plating and heat shaping)
- Hot wire foam cutter or a sharp utility knife
- Heat gun
- Adhesives (super glue, epoxy, or hot glue gun)
- Sandpaper and files (for smoothing and shaping)
- Paint and primer (acrylic or specialized metallic paints)
- Reference images of Malenia's armor
Design and Pattern Making
Before diving into crafting, gather reference images of Malenia's winged armor from various angles. This step is crucial for understanding the armor's complex design and structure. Use these references to create a detailed pattern or blueprint. You can use paper or digital tools for this purpose. Break down the armor into manageable sections, such as the wings, breastplate, and greaves, to simplify the crafting process.
Transfer your patterns onto the EVA foam sheets. For intricate designs, consider using a projector to project images onto the foam or drawing directly with a marker. Keep in mind that EVA foam comes in different thicknesses, so choose the appropriate thickness for each part based on the required durability and shape.
Crafting with EVA Foam
Cut out the EVA foam pieces using a hot wire foam cutter for smooth edges or a sharp utility knife. For more complex shapes, use a combination of both tools. Assemble the pieces using adhesives like super glue or hot glue. For larger pieces, like the wings, consider reinforcing the joints with internal supports made from PVC pipes, wire, or additional EVA foam.
Shape and smooth the edges of the foam pieces. Sanding is essential for creating a seamless surface for further finishing. Start with coarse grit sandpaper and move to finer grits for a smooth finish.
Applying Worbla for a Metallic Finish
Worbla is a thermoplastic material that can be molded and shaped with heat. It's perfect for adding a metallic sheen and durability to your armor pieces. Begin by cutting Worbla into manageable sheets. Apply the Worbla to your EVA foam pieces using a heat gun. It's crucial to work in a well-ventilated area and use protective gear.
For detailed areas or to achieve specific textures, use Worbla's versatility to your advantage. You can heat and stretch it, or use Worbla pellets for filling gaps and creating textures. Once applied, shape and smooth the Worbla while it's still warm. Use a heat-resistant tool or gloves to avoid burns.
Finishing Touches: Painting and Assembly
Once the Worbla has cooled and hardened, your pieces are ready for painting. Use acrylic or specialized metallic paints to achieve the desired colors and effects. Primer can help with adhesion and coverage. For a more realistic look, consider using weathering techniques such as dry brushing, washes, or applying metallic powders.
Assemble all the pieces, including the wings, breastplate, and greaves. Use a combination of adhesives and mechanical fasteners (like screws or clips) for secure attachment. Ensure that the armor is wearable and comfortable, with considerations for mobility and safety.
Tips for Display and Wear
Malenia's winged armor is not only visually striking but also a piece that commands presence. For display, consider a mannequin or a stand that can support the armor's weight and showcase its details. If you plan to wear the armor, ensure it's balanced and secure. Adding padding or a harness system can distribute the weight and make it more comfortable to wear.
Conclusion
Crafting Malenia's winged armor from Elden Ring using EVA foam and Worbla is a rewarding project that requires patience, creativity, and attention to detail. By following this guide, cosplayers can create a stunning and durable piece that captures the essence of Malenia's character. Whether for display or wear, this armor is sure to make a statement at any cosplay event.