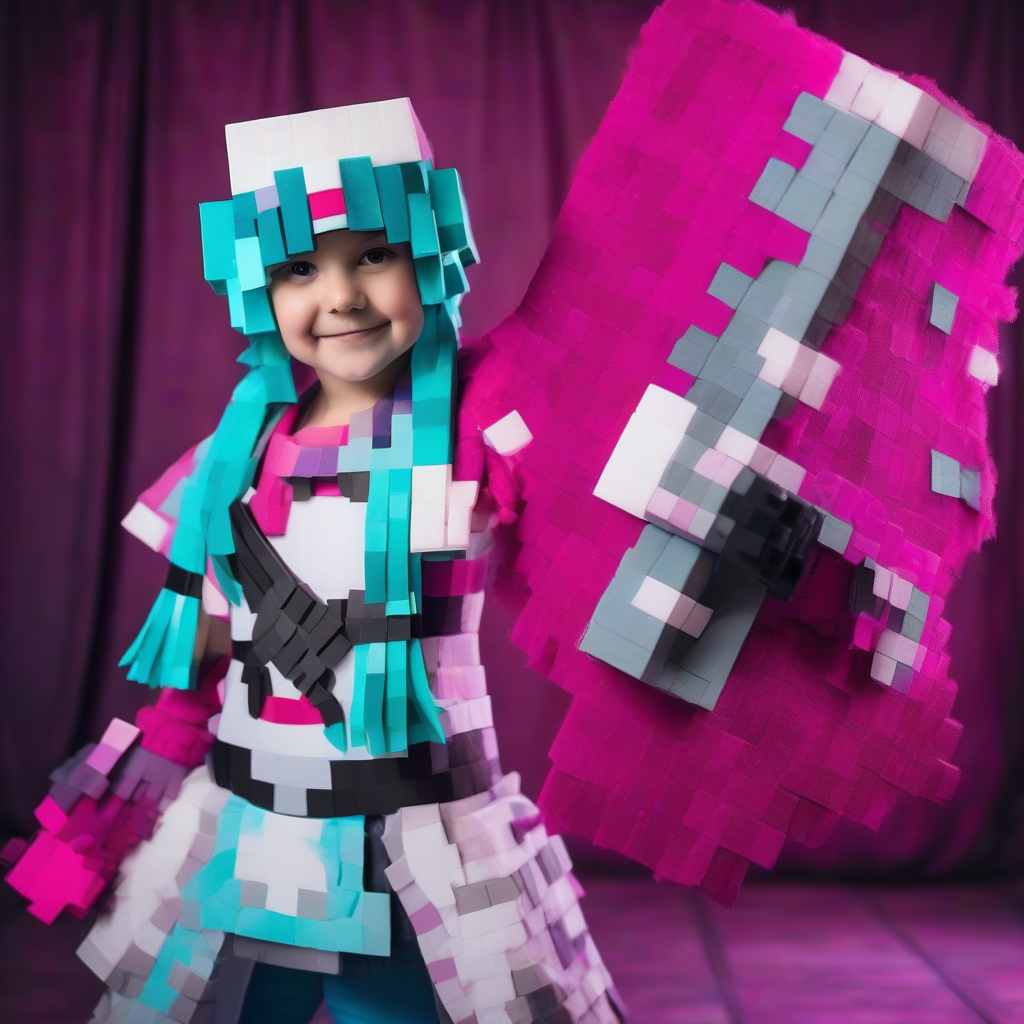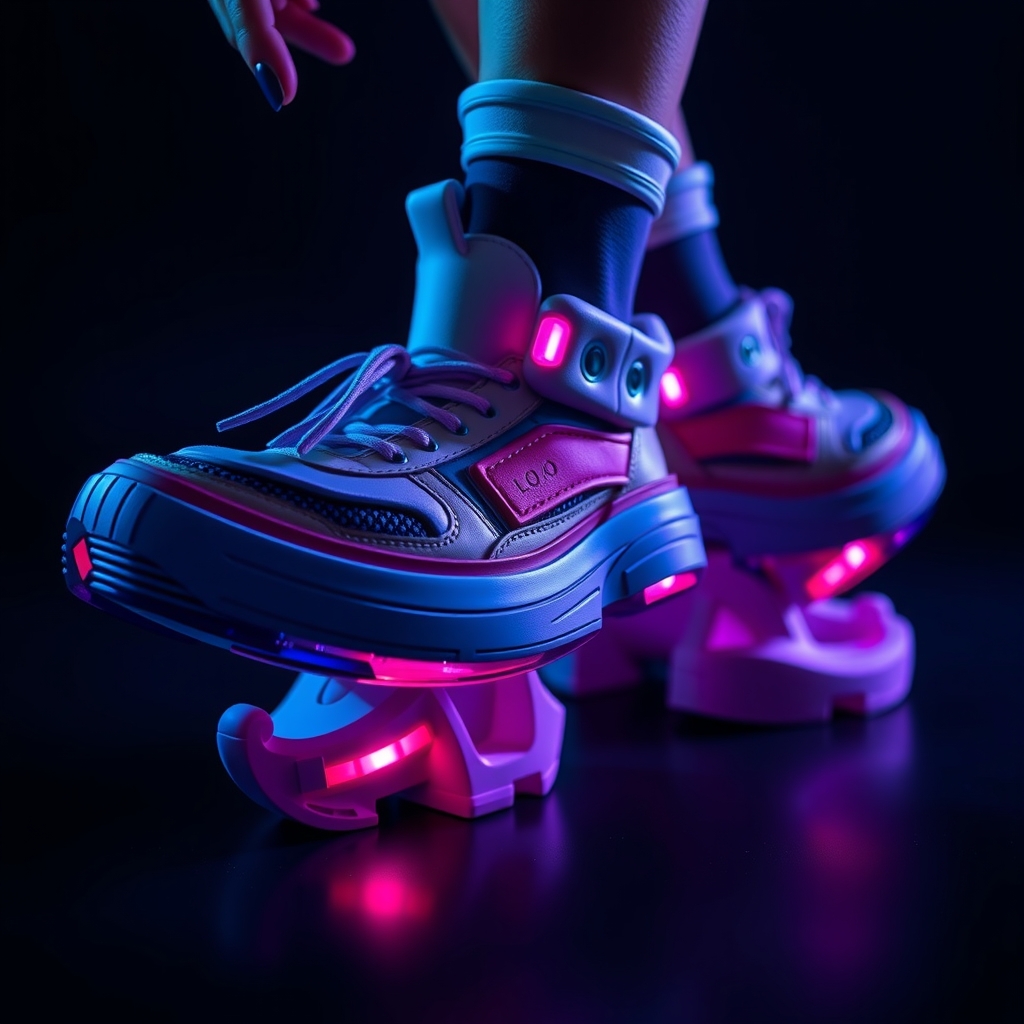
Footwear is often the most overlooked aspect of a cosplay build. Many creators rely on store-bought boots that almost match the character's palette, but for anime characters with exaggerated silhouettes, integrated armor, or otherworldly textures, standard shoes rarely suffice. The challenge lies in balancing aesthetic accuracy with the physical demands of walking a convention floor. By combining the precision of 3D printing with traditional hand-painting and weathering techniques, you can create footwear that looks like a movie prop but functions like a shoe.
Selecting the Right Base Shoe
The foundation of any modified shoe is the base. You should never 3D print a full shoe from scratch; printed plastics lack the flexibility, breathability, and shock absorption required for long-term wear. Instead, look for a "blank canvas" shoe that mimics the general shape of the character's footwear.
- Material Choice: Synthetic leather or smooth vinyl bases are ideal because they provide a stable surface for adhesives and can be painted more easily than fabric or mesh.
- Sole Height: If the character wears platform boots, start with a platform base rather than trying to print a 3D extension for the sole, which can lead to structural failure and instability.
- Fit: Choose a shoe that is slightly snug. Once you add 3D printed overlays and padding, the overall volume of the shoe increases.
Designing and Printing for the Feet
When designing 3D components for shoes, you must account for the natural movement of the foot. A rigid shell that covers the ankle or the bridge of the foot will cause discomfort or crack during movement.
Strategic Segmentation
Avoid printing one large piece. Instead, break your design into segments: the toe cap, the heel guard, and the ankle cuff. By leaving small gaps at the natural flex points of the foot (the ball of the foot and the ankle crease), you ensure the wearer can walk naturally without the plastic digging into the skin or snapping under tension.
Material Selection
While PLA is common, PETG or TPU are superior for footwear. PETG offers better heat resistance and slightly more flex, preventing the pieces from shattering if you accidentally kick a wall. TPU, a flexible filament, is excellent for soles or gaskets that need to bend, though it is more challenging to sand and paint.
Secure Attachment Methods
The most common failure point in cosplay shoes is the bond between the plastic print and the shoe material. Because shoes undergo constant flexing, a simple drop of superglue is insufficient.
- Surface Preparation: Sand the contact points of your 3D prints with 120-grit sandpaper to create a mechanical bond. Simultaneously, scuff the surface of the shoe with sandpaper and wipe it clean with isopropyl alcohol to remove factory waxes.
- Adhesive Selection: Use a high-strength contact cement for large surface areas. Apply a thin layer to both the shoe and the print, let it cure until tacky, and then press them together firmly. For small, intricate details, a two-part epoxy provides a rigid, permanent hold.
- Mechanical Reinforcement: For heavy armor pieces, consider drilling small holes through the print and using discreet rivets or heavy-duty stitching to anchor the plastic directly into the shoe's upper material.
Painting for Realism
The "plastic look" is the biggest giveaway of a 3D printed prop. To make your shoes look like leather, metal, or futuristic composites, you must move beyond a single coat of spray paint.
Priming and Smoothing
Start with a filler primer to hide layer lines. Sand the primer with progressively finer grits (220, 400, then 600) until the surface is glass-smooth. This is critical for shoes, as the curves of the foot highlight every imperfection in the print.
Layering Colors
Avoid using a single flat color. Even "solid" colors in anime have highlights and shadows. Use an airbrush or a sponge to apply a base coat, followed by a slightly darker shade in the recesses. For metallic finishes, apply a gloss black base before adding your metallic paint; this increases the depth and reflectivity of the final coat.
Weathering and Texture
Perfectly clean shoes often look like toys. Real footwear accumulates wear, especially on the toes and heels. Adding "story" to your shoes through weathering makes them feel integrated into the character's world.
- Dry Brushing: Use a stiff brush with a tiny amount of light-colored acrylic paint. Lightly flick the brush across the raised edges of your 3D prints to simulate worn edges or scuffed leather.
- Wash Techniques: Mix a highly diluted dark brown or black acrylic paint (a "wash") and apply it to the crevices of the design. Wipe away the excess with a cloth, leaving the dark pigment in the cracks to simulate accumulated grime.
- Texture Mimicry: If the character's shoes are leather, use a leather-textured spray or a stippling brush to break up the smoothness of the plastic.
Final Finishing and Protection
Because shoes are in constant contact with the ground and other people's feet, your paint job is vulnerable. A professional finish requires a multi-stage sealing process.
First, apply a clear matte or satin varnish depending on the material you are mimicking. Metal should be high-gloss, while leather should be satin. Once the varnish is dry, apply a heavy-duty acrylic sealer or a specialized shoe protector spray. This creates a sacrificial layer that protects the paint from scratches and moisture.
For the soles, avoid painting the part of the shoe that actually touches the ground. Instead, use a durable rubberized dip or a permanent marker for small details on the bottom. This prevents the paint from peeling off within the first hour of the convention, ensuring your craft remains intact from the first photo to the final exit.