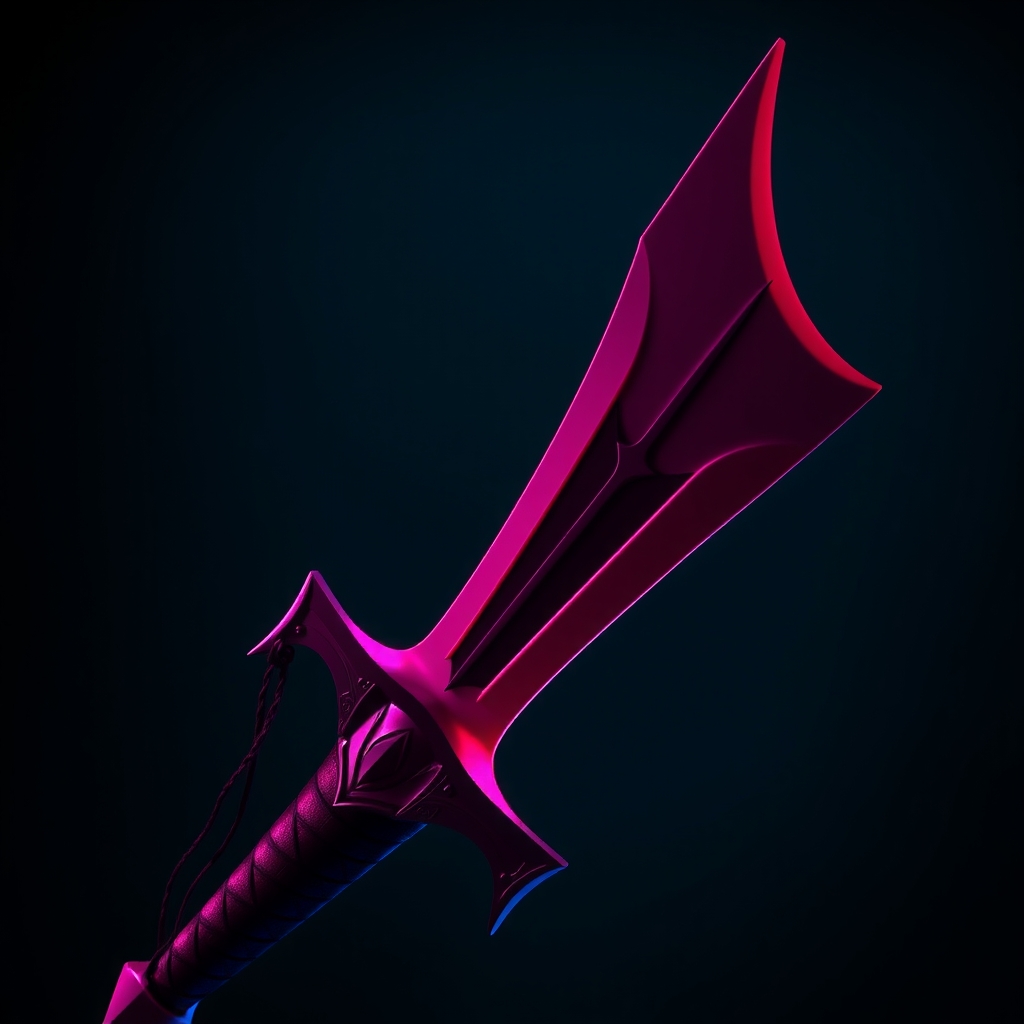
The barrier to entry for high-level prop making often seems to be the cost of materials. Between high-density EVA foam, industrial-grade thermoplastics, and professional resin casting kits, a single weapon or armor set can easily cost more than the rest of a costume combined. However, the secret to professional-looking cosplay isn't the price tag of the raw materials, but the technique used to manipulate and finish them.
Many "industry standard" materials have affordable counterparts that, when treated correctly, provide nearly identical visual results. By shifting your focus from brand-name supplies to functional alternatives, you can allocate your budget toward the tools that truly matter, such as a quality heat gun or a steady set of sanding blocks.
Replacing High-Density EVA Foam
EVA foam is the gold standard for armor because of its flexibility and weight. However, specialized cosplay foam can be expensive, especially when shipping large sheets. For those on a budget, look toward home improvement and craft stores for these alternatives.
Exercise and Yoga Mats
Closed-cell foam exercise mats are often made of the same EVA material as professional cosplay foam. While they are usually thinner, they are ideal for detail work, layering, and smaller armor pieces. To achieve the thickness of armor plating, glue multiple layers together using contact cement. This method allows you to control the exact thickness of your piece while spending a fraction of the cost.
Floor Tiles
Interlocking foam floor tiles, often found in children's play areas or gym sections, are an excellent substitute for thick armor bases. These are typically 1/2 inch to 1 inch thick and provide a rigid structure for chest plates and pauldrons. The only drawback is the "puzzle piece" edge, which must be trimmed off with a sharp utility knife before assembly.
Affordable Alternatives to Thermoplastics
Thermoplastics like Worbla or Kydex are prized for their ability to be molded with heat and hold a permanent shape. While effective, they are prohibitively expensive for large projects. You can achieve similar structural rigidity using these budget-friendly methods.
Cardboard and Wood Glue Laminates
High-grade corrugated cardboard is free and readily available. While it lacks the durability of plastic, you can create "composite" panels by laminating layers of cardboard with wood glue or white glue. Once the glue dries, the material becomes surprisingly rigid. To hide the cardboard texture, coat the piece in a mixture of glue and water or a lightweight joint compound, then sand it smooth before painting.
PVC Pipe and Heat-Forming
For long weapons or structural supports, avoid expensive acrylic rods. PVC piping is affordable, durable, and can be bent using a heat gun. To create flat surfaces from PVC, you can slit the pipe lengthwise, flatten it out, and heat-set it. This creates a lightweight, plastic-like sheet that can be shaped into curved armor or weapon guards.
Low-Cost Filling and Sculpting Mediums
Creating organic shapes, muscles, or ornate filigree often requires expensive epoxy clays or professional-grade fillers. You can replicate these effects using common household and hardware store items.
Paper Clay and Flour Paste
Instead of buying expensive sculpting clays, you can make a basic paper clay by blending soaked scrap paper, white glue, and a small amount of joint compound. This mixture is lightweight and can be sculpted over a foam or cardboard base. Once dry, it can be sanded to a mirror-smooth finish, making it perfect for stone textures or ornate carvings.
Hot Glue Texturing
Before reaching for expensive 3D sculpting mediums, utilize a hot glue gun. By layering hot glue in thin lines or dots, you can create organic textures like veins, scales, or weathered stone. Once the glue is cool, you can sand the peaks down or paint over them to create depth and dimension without the need for expensive additives.
Budget-Friendly Finishing and Painting
The difference between a "homemade" look and a "professional" look is almost always the finish. You do not need an airbrush or expensive automotive paints to achieve a high-end result.
The Priming Secret: Gesso and PVA Glue
One of the biggest mistakes budget builders make is painting directly onto foam or cardboard, which absorbs the paint and leaves a porous texture. Instead, create a homemade primer. A mixture of PVA glue (white school glue) and acrylic paint, or a few coats of cheap acrylic gesso, will seal the material. This creates a non-porous surface that allows your final paint layers to glide on smoothly.
Achieving Metallic Effects
Instead of buying expensive metallic spray paints, which can sometimes look "plastic," try the dry-brushing technique. Use a matte black base coat, then lightly brush a small amount of silver or gold acrylic paint onto the raised edges of your prop. This mimics the look of worn metal and adds realistic depth that flat metallic paint cannot achieve.
Essential Budget Tool Kit
While materials can be swapped, your tools are where you should be most strategic. You do not need a full workshop, but a few key items will make budget materials look expensive.
- Sharp Utility Knives: Always keep your blades fresh. A dull blade will tear foam and cardboard, leaving jagged edges that are difficult to hide.
- Sandpaper Variety Pack: Invest in a range of grits (from 80 to 400). Sanding is the primary way to remove the "budget" look from your materials.
- Contact Cement: While glue sticks are cheaper, contact cement is essential for a permanent bond that won't peel during a convention.
- A Basic Heat Gun: This is the most important investment. Heat allows you to curve foam and PVC, transforming flat budget materials into organic shapes.
Summary of Material Swaps
To keep your project on track, remember these quick substitutions when shopping:
- Instead of Pro EVA Foam: Use yoga mats or interlocking floor tiles.
- Instead of Thermoplastics: Use laminated cardboard or flattened PVC.
- Instead of Epoxy Clay: Use homemade paper clay or hot glue.
- Instead of Expensive Primers: Use a PVA glue and acrylic mix.
Cosplay is fundamentally an art of illusion. The viewer does not see the cardboard or the yoga mat; they see the finished paint job and the silhouette. By mastering these affordable alternatives, you can focus your energy on the creativity of your build rather than the cost of your supplies.