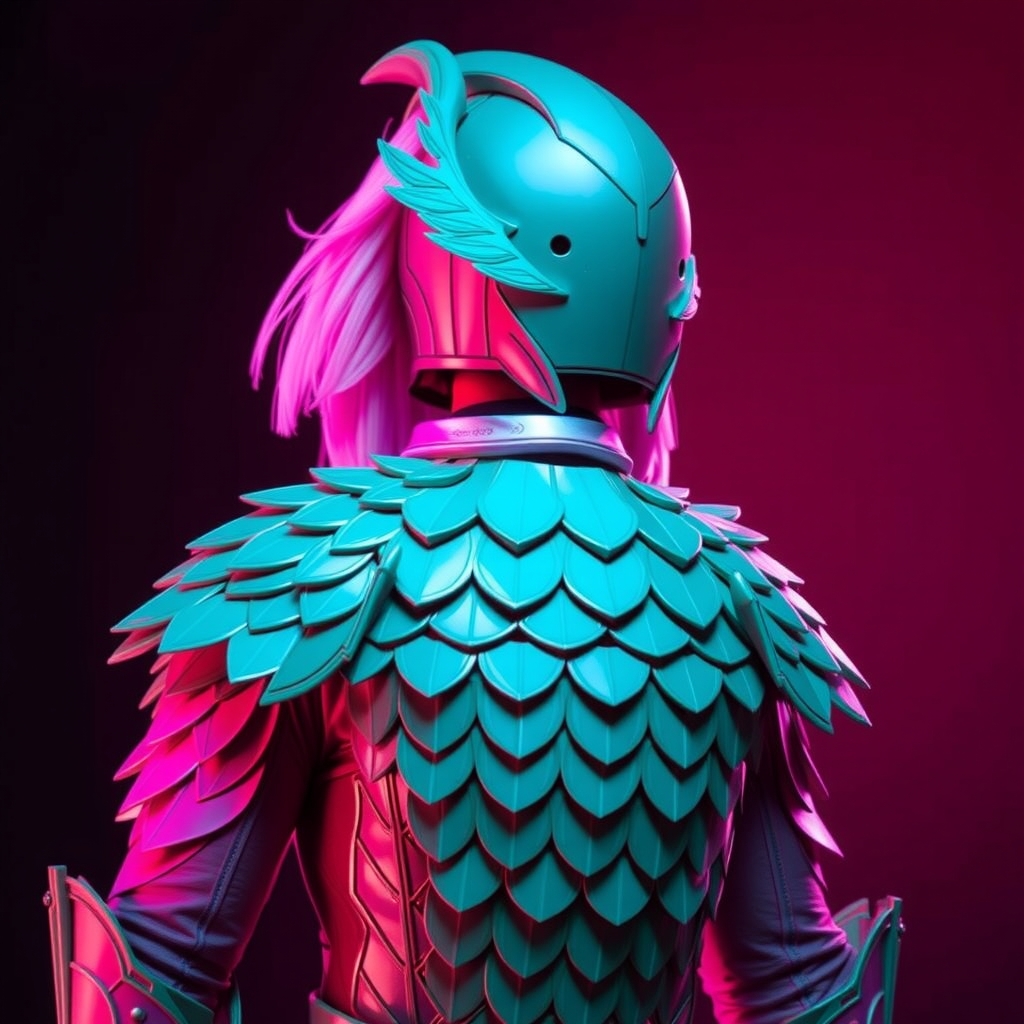
For years, high-end thermoplastics like Worbla have been the gold standard for cosplayers tackling complex, organic armor curves. The ability to heat a sheet of plastic and mold it directly to a form is undeniably convenient. However, the cost of these specialty materials can be prohibitive, often eating up a significant portion of a build budget before a single drop of paint is applied. For the budget-conscious creator, the challenge is finding a material that offers the same structural integrity and "moldability" without the premium price tag.
The secret to achieving professional-grade curves on a budget is not finding a single "magic" replacement, but rather employing a combination of materials and techniques that mimic the properties of expensive thermoplastics. By shifting your focus from "molding" to "structuring and surfacing," you can achieve the same aesthetic results for a fraction of the cost.
The Versatility of High-Density EVA Foam
EVA foam is the most accessible alternative to Worbla, but many beginners struggle to achieve the sharp, rigid curves associated with thermoplastics. The key is selecting the correct density. While low-density "craft foam" is too squishy, high-density EVA (typically 100kg/m³ or higher) provides the necessary support for armor plates.
Achieving Complex Curves with Heat and Scoring
To mimic the organic flow of Worbla, you must utilize a heat gun. By heating the foam until it becomes pliable, you can bend it into a curve and hold it until it cools, effectively "setting" the shape. For sharper, more complex angles, use the scoring technique: cut 45-degree slits into the foam on the side that will be the "inside" of the curve. This removes material and allows the foam to fold tightly without buckling.
Adding Rigidity via Sealants
One common complaint about foam is that it lacks the "hard shell" feel of plastic. You can solve this by using a rigid sealant. Instead of expensive specialty primers, a diluted mixture of PVA glue (white glue) and water, or a budget-friendly acrylic gesso, can create a hard surface layer that prevents the armor from flexing too much during wear.
The "Cardboard and Resin" Hybrid Method
When a curve is too complex for foam to hold without warping, returning to a fundamental material—cardboard—can be surprisingly effective. This is not about making a "cardboard costume," but using cardboard as a structural armature.
- Prototyping: Use thin cereal-box cardboard to create a "mock-up" of the armor piece. Because it is thin, it can be curved and taped easily to fit the body.
- Reinforcement: Once the curve is perfected, reinforce the interior of the cardboard with a thin layer of wood glue or a budget-grade epoxy resin.
- Surface Smoothing: To hide the corrugation or seams of the cardboard, apply a layer of lightweight joint compound (used in home wall repair) or a mixture of sawdust and glue. Sand this smooth to create a seamless, plastic-like finish.
Utilizing Recycled HDPE Plastics
If you truly miss the "melt and mold" experience of Worbla, look no further than your recycling bin. High-Density Polyethylene (HDPE), often found in milk jugs and detergent bottles (marked with the #2 recycling symbol), can be repurposed into armor components.
While you cannot easily "glue" HDPE because of its chemical properties, you can use a heat gun to warp and shape the plastic into organic curves. Because these materials are free, you can afford to experiment with "torturing" the plastic—heating it until it almost melts and stretching it into a specific shape. To join these pieces, avoid adhesives and instead use "mechanical fastening": drill small holes and use zip-ties or small bolts, which can then be covered with foam or putty.
The Role of Budget-Friendly Fillers and Putties
The difference between a "budget" build and a "professional" build often comes down to the finish. Worbla is prized because it leaves a smooth surface. When using foam or cardboard, you will inevitably have seams and gaps. This is where budget-friendly fillers become essential.
Homemade "Cosplay Putty"
Instead of buying expensive automotive fillers, you can create a highly effective putty using a mix of acrylic caulk and lightweight joint compound. This mixture is easy to sand, fills gaps efficiently, and provides the smooth transition needed for complex curves. Apply the putty in thin layers, sanding between each application to avoid creating "blobs" that distort the intended curve of the armor.
Sanding for Precision
The secret to the "plastic look" is a progressive sanding sequence. Start with a coarse 80-grit sandpaper to remove the bulk of the filler, move to 120-grit for smoothing, and finish with 400-grit for a polished surface. This process transforms a rough foam or cardboard piece into something that looks like it was cast from a mold.
Comparing Material Performance
To help you decide which budget alternative to use for a specific part of your costume, consider the following criteria:
- For Large, Broad Curves (Chestplates, Pauldrons): High-density EVA foam is the best choice due to its weight and ease of heat-shaping.
- For Sharp, Geometric Angles (Gauntlets, Greaves): The cardboard-and-resin hybrid method provides the most structural rigidity.
- For Small, Organic Details (Filigree, Gems): Recycled HDPE plastic or air-dry clay (sanded smooth) offers the best precision.
Final Tips for Budget Armor Success
The most important part of budget building is the willingness to iterate. When you aren't spending $50 on a single sheet of thermoplastic, you have the freedom to fail. If a foam curve collapses or a cardboard seam rips, you can simply start over without financial stress.
Always remember that the "magic" of Worbla is simply its ability to hold a shape. By combining heat-set foam, reinforced cardboard, and a disciplined sanding routine, you can achieve the same high-fidelity results. The goal is not to find a perfect substitute, but to master the tools and materials already available to you.