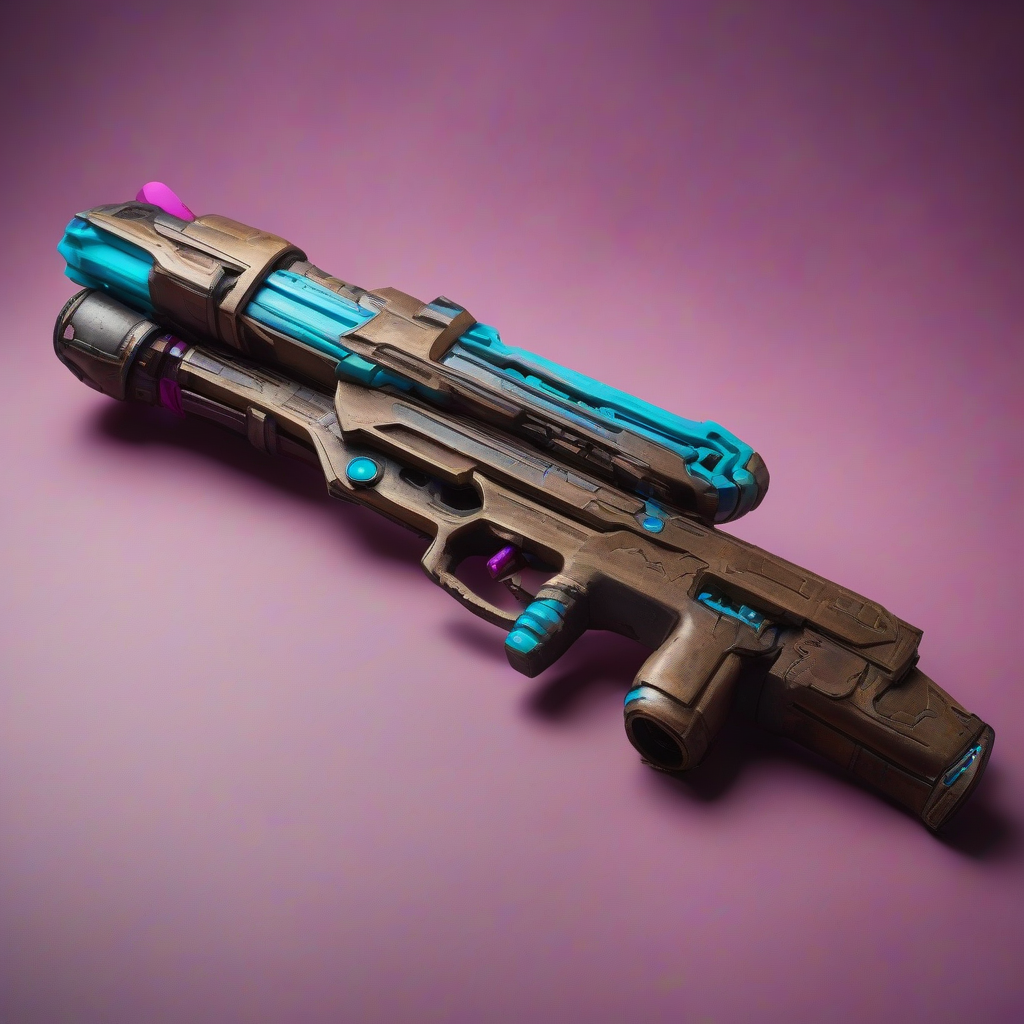
Introduction to the Vex Mythoclast
The Vex Mythoclast is one of the most iconic and sought-after exotic armor pieces in the Destiny universe. This versatile and powerful fusion rifle has become a staple of the series, coveted by players and cosplayers alike. With its intricate design and complex shape, crafting a Vex Mythoclast prop can be a daunting task. However, with the combination of 3D printing and Worbla, you can bring this legendary piece to life.
Designing the Vex Mythoclast
To start, you'll need a 3D model of the Vex Mythoclast. You can either create your own design or find a reliable source online. When selecting a model, ensure it is accurate, detailed, and optimized for 3D printing. Consider the following factors:
- Resolution: A high-resolution model will yield a more detailed print.
- Scale: Choose a model that fits your desired size, taking into account the complexity of the design.
- Format: Opt for a model in STL or OBJ format, compatible with most 3D printing software.
Once you have your model, use 3D modeling software to prepare it for printing. This may involve repairing any errors, adding supports, or making adjustments to the design.
Slicing and 3D Printing
With your model prepared, it's time to slice and print. Choose a suitable 3D printing material, such as PLA or ABS, and adjust your printer settings accordingly. For a prop like the Vex Mythoclast, consider using a sturdy material that can withstand handling.
When slicing, balance print quality and speed. A higher layer height will speed up the process, but may compromise on detail. For a prop of this complexity, aim for a layer height of 0.1-0.2mm.
Post-Processing and Worbla Application
Once your print is complete, remove any supports and perform basic post-processing, such as sanding and filling any imperfections. The Vex Mythoclast's design features a mix of smooth and textured surfaces, so be sure to preserve these details.
Worbla is an excellent material for adding a durable, high-gloss finish to your prop. Apply Worbla using a heat gun or Worbla's heat-activated adhesive, following these steps:
- Cut a Worbla sheet to size, leaving some excess material.
- Apply the Worbla to the prop, smoothing out any air bubbles or wrinkles.
- Use a heat gun to shape and mold the Worbla, ensuring a seamless bond.
- Trim excess Worbla and sand the edges for a smooth finish.
Finishing Touches
To complete your Vex Mythoclast, add any final details, such as paint or additional textures. Use acrylic paints or weathering powders to achieve a battle-worn look, or opt for a more polished finish.
Consider adding electronics, such as LED lights or a USB-powered interior, to enhance the prop's visual appeal. Secure any moving parts or components, ensuring the prop is durable and safe to handle.
Conclusion
Crafting a Vex Mythoclast with 3D printing and Worbla requires patience, dedication, and attention to detail. By following these steps and techniques, you'll be able to create an accurate and visually stunning prop that showcases your craftsmanship. Whether you're a seasoned cosplayer or prop maker, this guide provides a comprehensive foundation for bringing Bungie's bounty to life.