Introduction to Vtuber Microphones
The world of virtual YouTubers, or Vtubers, has taken the internet by storm, with Hololive being one of the most popular virtual idol groups. As fans, we often look for ways to express our creativity and showcase our love for these virtual personalities. One way to do this is by crafting props inspired by their iconic designs, such as their microphones. In this article, we'll guide you through the process of creating a Hololive Vtuber inspired microphone using 3D printing and resin casting techniques.
Designing the Microphone
Before we dive into the crafting process, we need to find a design to work with. You can either create your own design or find a 3D model online that resembles a Hololive Vtuber microphone. Some popular 3D modeling software for beginners include Tinkercad, Fusion 360, and Blender. If you're not comfortable creating your own design, you can search for 3D models on websites like Thingiverse, MyMiniFactory, or GrabCAD.
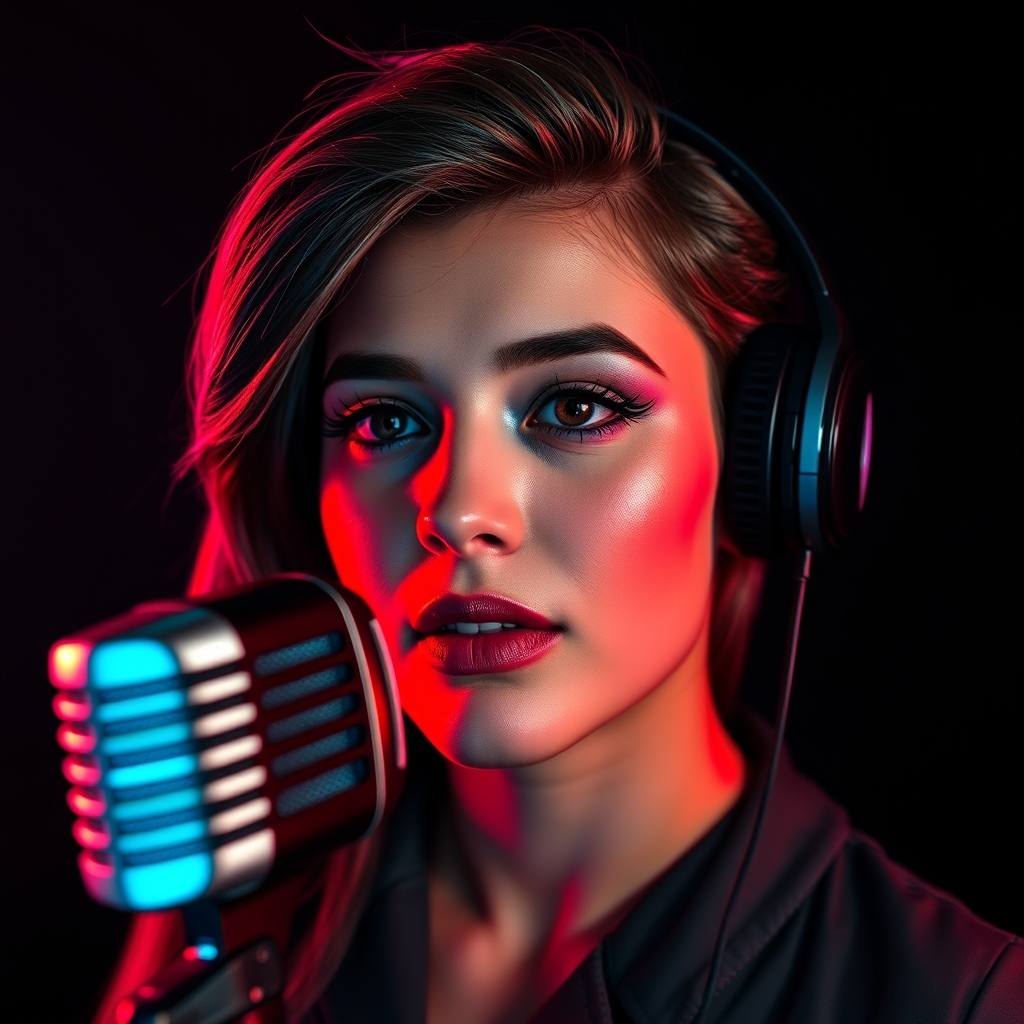
For this example, let's use a 3D model of a microphone inspired by Hololive's Tokino Sora. You can find various 3D models of her microphone online or create your own based on reference images.
3D Printing the Microphone
Once you have your design, it's time to 3D print the microphone. You'll need a 3D printer, such as an Ender 3 or Prusa i3, and a suitable filament material. For a more durable print, consider using PLA+ or ABS filament.
- Make sure to adjust the print settings according to your 3D printer's specifications and the filament material you're using.
- Use a layer height of 0.1mm to 0.2mm for a smooth finish.
- Apply a support material if your design requires it.
Print time will vary depending on the complexity of your design and the 3D printer's speed. Be patient, as a detailed microphone model can take several hours to print.
Resin Casting the Microphone
After 3D printing, you can either paint and finish the print or create a resin cast for a more realistic look. For resin casting, you'll need a resin material, such as epoxy or polyurethane, and a mold release agent.
- Prepare your 3D printed model by applying a mold release agent to ensure the resin doesn't stick to the model.
- Mix the resin according to the manufacturer's instructions.
- Pour the mixed resin into a mold or directly onto the 3D printed model.
- Allow the resin to cure and harden completely.
Resin casting can be a bit tricky, so make sure to follow safety precautions and work in a well-ventilated area.
Finishing Touches
Once you have your resin cast microphone, it's time to add the finishing touches. You can paint and weather the microphone to give it a more realistic look.
- Use acrylic paints or metallic paints to achieve the desired color and texture.
- Add decals or stickers to give the microphone a more detailed look.
- Apply a clear coat to protect the paint and give it a glossy finish.
You can also add electronics, such as LED lights or a functional microphone component, to make your prop more interactive.
Conclusion
Crafting a Hololive Vtuber inspired microphone using 3D printing and resin casting techniques can be a fun and rewarding experience. With patience and practice, you can create a stunning prop that showcases your creativity and love for the Vtuber community.
For more information on 3D printing and resin casting, check out online resources like 3D Printing and Resin Lab.