Introduction
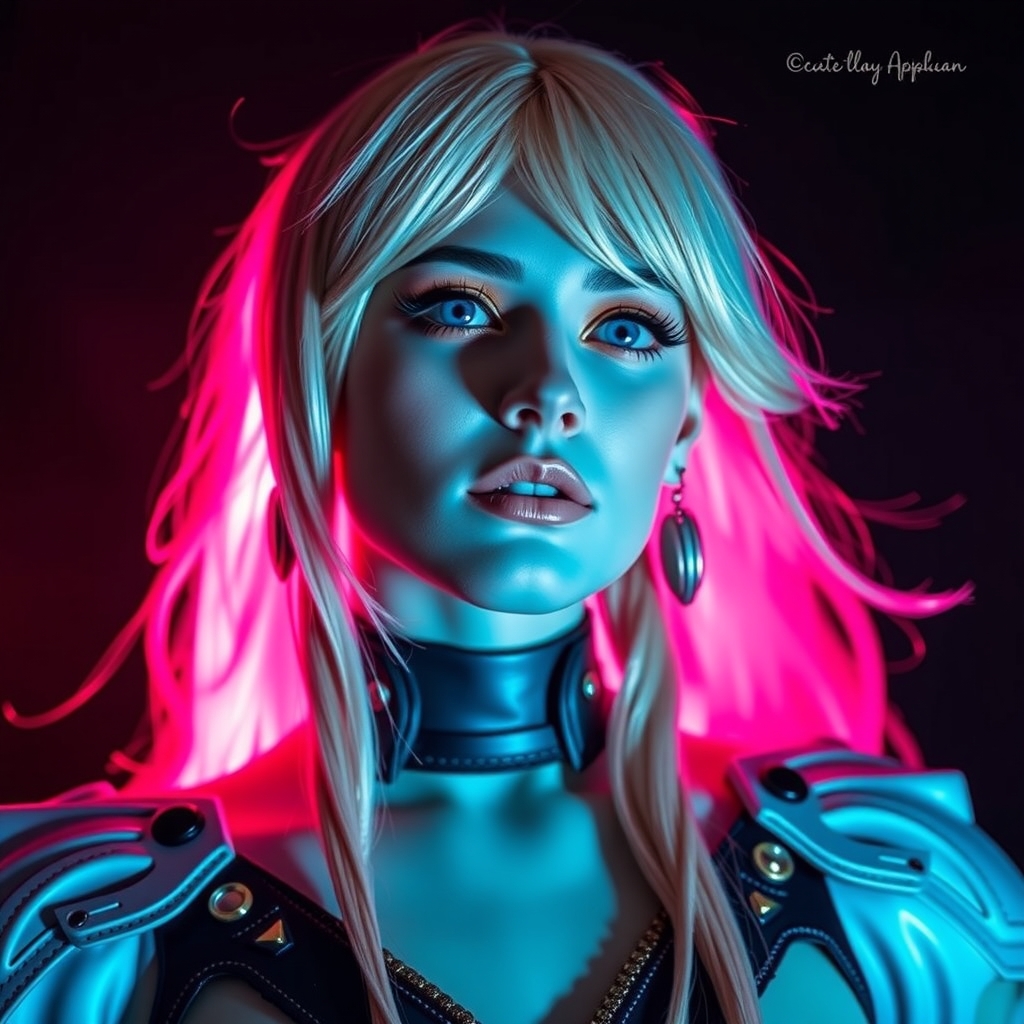
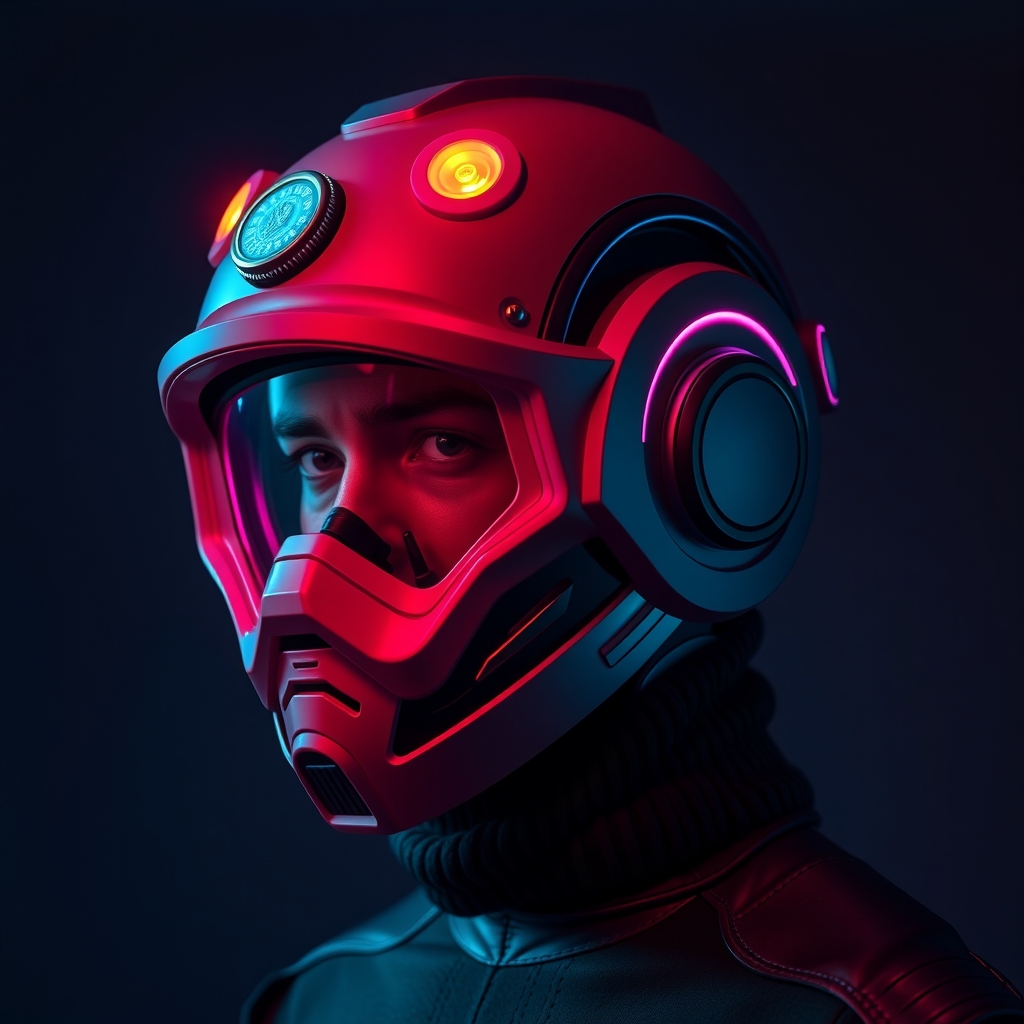
Cyberpunk Edgerunner, a popular anime series, has captivated audiences with its futuristic world and intricate details. One of the most iconic props from the show is the NCPD (Night City Police Department) scanner helmet worn by the main characters. In this tutorial, we'll guide you through the process of creating a detailed, wearable NCPD scanner helmet using Worbla and 3D printing techniques.
Design and 3D Printing
To start, you'll need a 3D model of the NCPD scanner helmet. You can find various models online or create your own using 3D modeling software. For this tutorial, we'll assume you have a 3D model ready for printing.
Print the helmet shell, visor, and other components using a suitable 3D printing material, such as PLA or ABS. Make sure to adjust the print settings for a high level of detail and a smooth finish.
Post-Printing Processing
- Sand the printed components to smooth out any rough edges or layer lines.
- Apply a primer to the components to create a uniform base coat for painting.
- Paint the components using acrylic or enamel paints, following the color scheme from the anime series.
Worbla Thermoforming
Worbla is a versatile thermoforming material ideal for creating detailed, durable props. For the NCPD scanner helmet, we'll use Worbla to create the distinctive scanner details and reinforce the helmet shell.
To work with Worbla, you'll need a heat gun, Worbla sheets, and a surface to shape the material.
Worbla Application
- Cut a Worbla sheet to size, leaving some excess material for trimming.
- Apply heat to the Worbla sheet using a heat gun, until it becomes pliable and slightly melted.
- Shape the Worbla sheet over the helmet shell or scanner details, using a combination of heat and pressure to secure it in place.
- Trim the excess Worbla material using a craft knife or scissors.
Assembly and Finishing
Once the Worbla details are attached, assemble the helmet components, including the visor, earpieces, and scanner details.
Use a combination of adhesives, such as super glue or epoxy, to secure the components in place.
Apply a finish coat to the helmet, such as a clear acrylic spray or a polyurethane varnish, to protect the Worbla and paint.
Tips and Variations
- To add an extra layer of realism, you can add LED lights or fiber optics to the scanner details.
- Experiment with different Worbla colors or textures to create a unique look for your NCPD scanner helmet.
- Consider adding a wearable mechanism, such as a headband or straps, to make the helmet more comfortable to wear.
Conclusion
Crafting a detailed, wearable NCPD scanner helmet from Cyberpunk Edgerunner requires a combination of 3D printing, Worbla thermoforming, and painting techniques. With patience and practice, you can create an iconic prop that showcases your creativity and attention to detail. Happy crafting!