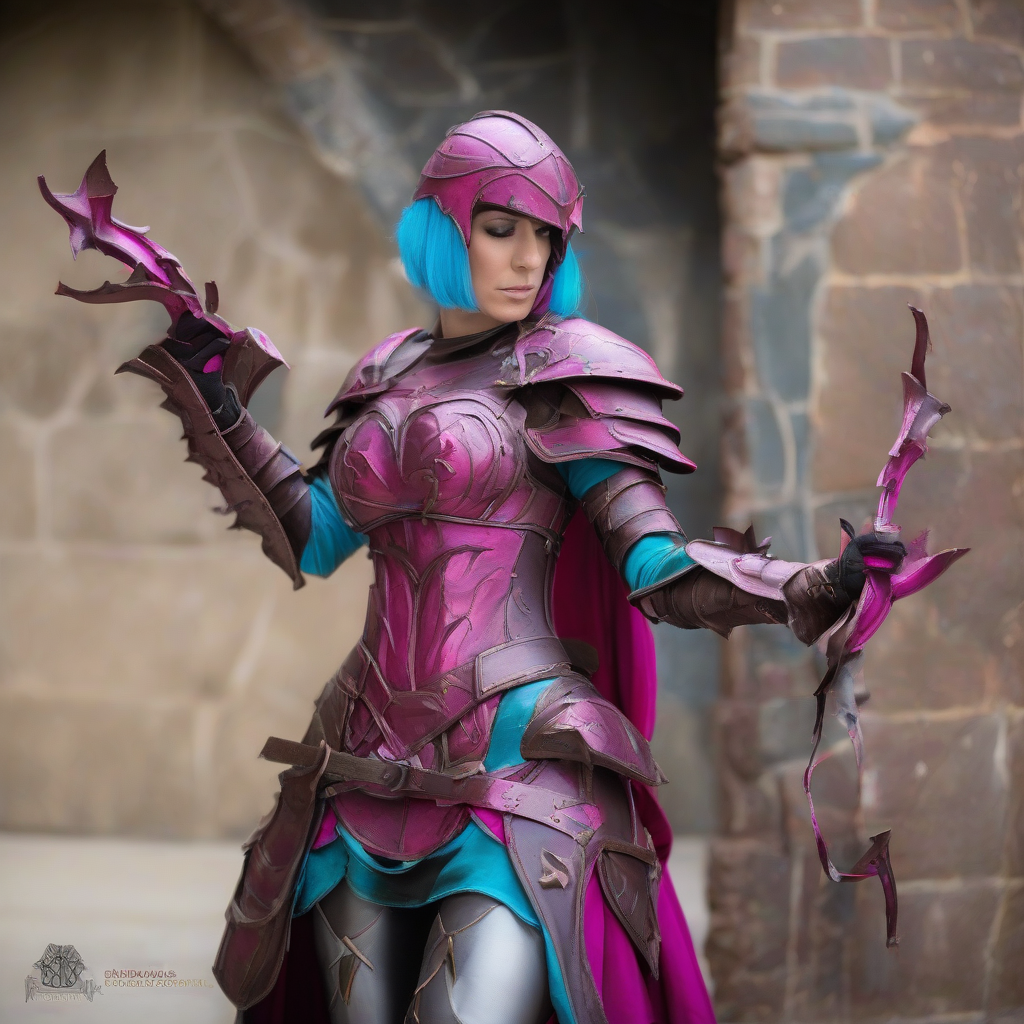
The aesthetic of the Elder Scrolls' Daedric designs is defined by a contradiction: it is simultaneously metallic and organic. Whether you are crafting the jagged plates of Daedric Mail or the chitinous protrusions of a Dremora, the goal is to move beyond the "plastic look" that often plagues foam-based builds. To achieve a hyper-realistic finish, builders must embrace a hybrid workflow that combines the structural versatility of Worbla with the high-fidelity detail of resin casting.
Phase 1: Structural Foundations with Worbla
While many cosplayers use EVA foam for base shapes, Worbla (and its various iterations like Black Worbla) is superior for Daedric props because of its rigidity and ability to hold deep, organic creases. Daedric armor is characterized by sharp angles and "growth" patterns that mimic bone or obsidian.
Start by creating a paper pattern of your armor piece. Instead of simply gluing flat sheets, use a heat gun to manipulate the Worbla into compound curves. To achieve the "grown" look of Daedra gear, avoid perfectly smooth surfaces. Use the "sculpting" method: while the material is hot, use your fingers or a sculpting tool to push and pull the plastic, creating ridges and faux-veins that look like biological growth.
Pro Tip: To prevent the "orange peel" texture common with thermoplastic, lightly sand the surface with 220-grit sandpaper after the first heat-set, then apply a thin layer of wood filler or automotive glaze to the areas where you want a smooth, metallic transition.
Phase 2: Creating Organic Detail via Resin Casting
The secret to hyper-realism in Elder Scrolls props is the integration of cast resin elements. While Worbla provides the bulk, resin allows you to create repeating, intricate details—such as runes, spikes, or scales—that are nearly impossible to sculpt by hand on every single piece of armor.
The Master Sculpt
Create one "master" detail piece using a high-density polymer clay. For a Dremora-inspired build, this might be a singular, ornate spinal spike or a curved horn. Focus on asymmetrical, organic lines. Once the clay is sculpted, cure it (bake or air-dry) and sand it to a mirror finish. Any imperfection on the master will be magnified in the final cast.
Molding and Casting
Use a high-tear strength silicone for your mold. This is critical because Daedric designs often feature "undercuts" (deep crevices) that can tear cheaper silicones during demolding. For the casting material, opt for a clear or tinted urethane resin. If you want the prop to feel lighter but maintain a hard edge, use a resin mixed with a small amount of glass microspheres to reduce weight without sacrificing structural integrity.
Phase 3: The Hybrid Integration
The most common mistake in hybrid builds is treating the resin and Worbla as separate entities. To make the prop look like one cohesive organism, you must "blend" the transition points.
- Mechanical Bonding: Do not rely on glue alone. When attaching resin spikes to Worbla armor, drill a small hole into the resin piece and insert a metal pin or a piece of thick gauge wire. Heat the Worbla, push the pin through, and let the plastic cool around the metal. This creates a permanent mechanical bond.
- Filling the Seams: Use a two-part epoxy putty to fill the gap where the resin meets the Worbla. Sculpt the putty to look like skin or muscle stretching from the armor into the spike.
- Sanding the Transition: Once the epoxy is cured, sand the transition area until the line between the two materials disappears completely.
Phase 4: Advanced Texturing and "Greebling"
To move from "costume" to "movie prop," you need to add micro-textures. Daedric materials often look like a mix of volcanic glass and scorched bone.
Apply a "stipple" effect using a coarse sponge or a crumpled piece of aluminum foil dipped in a mixture of acrylic medium and PVA glue. Dab this over the Worbla surfaces to create a porous, stone-like texture. For areas that should look like obsidian, apply a thin layer of clear epoxy resin over the finished paint job to give it a wet, glassy depth. This creates a visual contrast between the matte "bone" sections and the glossy "void" sections of the armor.
Phase 5: The Daedric Paint Masterclass
Color is where most Daedric builds fail. Avoid using a single shade of black or red. Realism comes from color variance and "atmospheric" weathering.
The Base Layer
Start with a dark metallic base, such as "Gunmetal" or "Burnt Iron." Avoid pure black, as it swallows the detail you worked so hard to sculpt. Use a primer that is compatible with both resin and thermoplastic to ensure the paint doesn't peel off the non-porous resin surfaces.
The Depth Layer
Apply a deep burgundy or crimson wash into the recesses of the armor. Use a "wet-on-wet" technique where you blend a brighter orange-red into the center of the recessed areas, mimicking the glow of the Oblivion plane. This creates an illusion of internal heat.
The Final Highlights
Dry-brush the highest edges of the Worbla and resin pieces with a silver or pale gold acrylic. This simulates "edge wear," where the dark Daedric material has been scratched away during combat. Finally, apply a matte varnish to the organic sections and a high-gloss varnish to the "crystal" or "obsidian" sections to finalize the material contrast.
Final Assembly and Comfort
Hyper-realistic props are often heavy. Because Worbla and resin are denser than foam, ensure your internal strapping is robust. Use nylon webbing and heavy-duty buckles rather than elastic, as the weight of resin-heavy armor can cause the pieces to sag or shift during a convention. If the armor is particularly heavy, consider adding small pieces of neoprene foam to the interior of the Worbla shells to distribute the weight and prevent the rigid edges from digging into your skin.