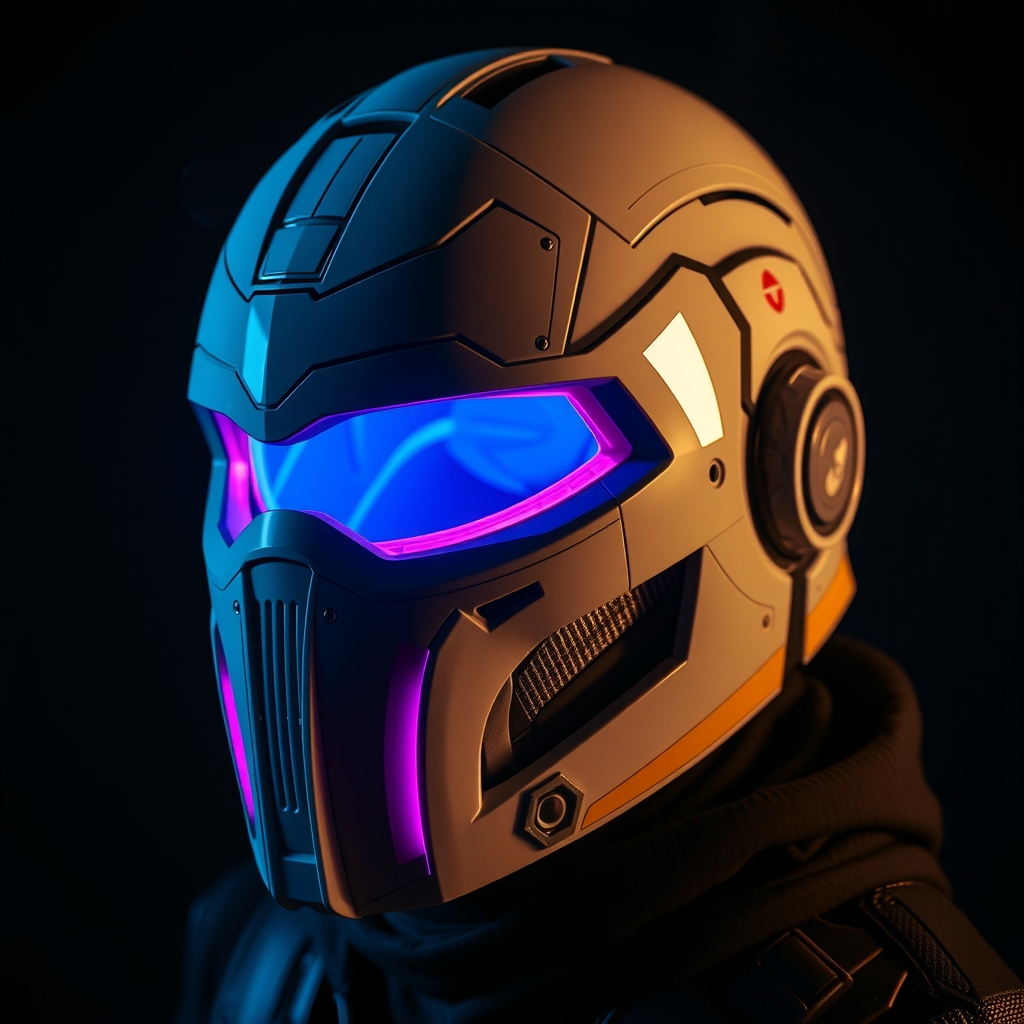
Introduction to Hyper-Realistic Cosplay
Crafting hyper-realistic cosplay pieces requires a combination of technical skills, attention to detail, and a passion for bringing fictional characters to life. In this guide, we'll focus on creating detailed Destiny 2 helmets using 3D printing and painting techniques. Whether you're a seasoned cosplayer or just starting out, this step-by-step tutorial will provide you with the knowledge and confidence to tackle complex projects.
Designing and Sourcing 3D Models
The first step in creating a hyper-realistic Destiny 2 helmet is to obtain a 3D model. You can either design your own model using computer-aided design (CAD) software or source one from online repositories, such as Thingiverse or GrabCAD. When sourcing a model, ensure it is compatible with your 3D printing technology and is designed for printing.
- Choose a model that is specifically designed for cosplay or prop-making, as these models are often optimized for printing and assembly.
- Consider the level of detail and complexity you want to achieve, as more intricate models may require additional support or specialized printing techniques.
3D Printing the Helmet
Once you have a 3D model, it's time to print your helmet. The choice of 3D printing technology and materials will depend on your budget, skill level, and desired finish. Popular options for printing cosplay pieces include:
- Fused Deposition Modeling (FDM) printers, which use melted plastic to create objects layer by layer.
- Stereolithography (SLA) printers, which use a laser to cure liquid resin.
When printing, consider the following:
- Choose a suitable print resolution and layer height to achieve the desired level of detail.
- Use supports and rafts to ensure the model prints correctly and can be easily removed.
Post-Processing and Assembly
After printing, your helmet may require post-processing to achieve a smooth finish. This can include:
- Sanding and filling to remove layer lines and imperfections.
- Applying a primer to create a uniform base coat for painting.
If your helmet consists of multiple parts, assemble them using adhesives, such as epoxy or super glue.
Painting and Finishing
Painting is a crucial step in bringing your Destiny 2 helmet to life. To achieve a screen-accurate finish:
- Study reference images to understand the character's color scheme and weathering.
- Use a combination of acrylic paints and specialized finishes, such as metallic or weathering powders.
Apply thin coats of paint, allowing each layer to dry before adding additional coats. This will help prevent pooling and ensure a smooth finish.
Adding Final Details
The final details can make or break a cosplay piece. Consider adding:
- Decals or stickers to replicate intricate designs or logos.
- LED lights or electronics to create a more immersive experience.
Take your time and be patient, as adding final details can be a time-consuming process.
Conclusion
Crafting a hyper-realistic Destiny 2 helmet using 3D printing and painting techniques requires dedication, patience, and practice. By following this guide and continually honing your skills, you'll be able to create stunning cosplay pieces that showcase your creativity and attention to detail. Remember to stay up-to-date with the latest tools, techniques, and best practices in the cosplay community to continually improve your craft.