Introduction to Cosplay Horns
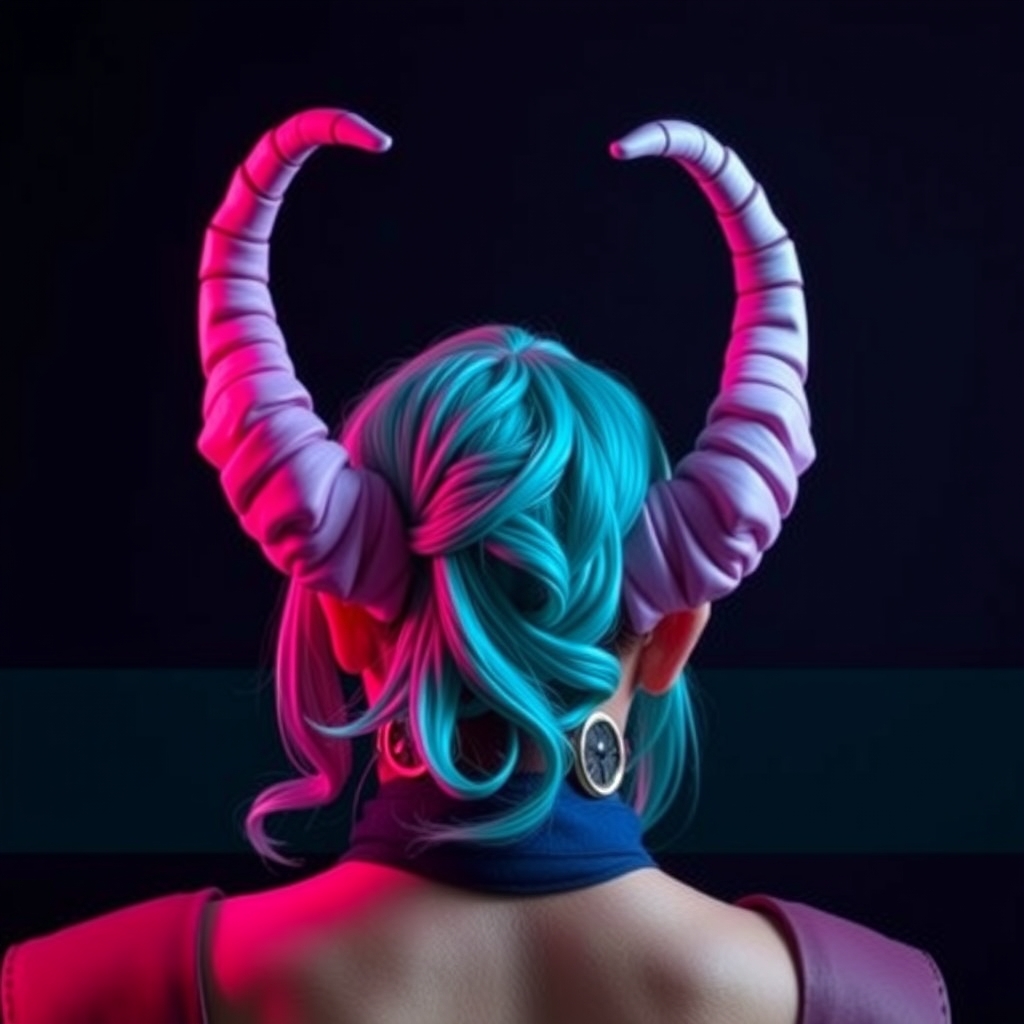
Cosplay horns are a popular accessory for many fantasy and mythical characters, adding a dramatic touch to costumes and bringing characters to life. With the right materials and techniques, you can create your own custom cosplay horns that are both durable and visually stunning. In this guide, we'll walk you through the process of creating custom cosplay horns using Worbla and resin.
Materials and Tools Needed
- Worbla: A versatile thermoplastic material ideal for creating complex shapes and structures.
- Resin: A liquid material that hardens into a rigid, durable finish.
- Resin mold or cast: A shape or form to create your horn design.
- Heat gun or torch: For shaping and molding Worbla.
- Sandpaper and files: For smoothing and refining surfaces.
- Paint and primer: For adding color and finish to your horns.
- Protective gear: Gloves, safety glasses, and a mask for working with resin and Worbla.
Designing Your Horns
Before you begin crafting your horns, it's essential to have a clear design in mind. Research your character's horn design, and consider the size, shape, and material you want to use. You can sketch out your design on paper or use 3D modeling software to create a digital prototype. This will help you visualize your design and make any necessary adjustments before starting the crafting process.
Creating the Horn Base with Worbla
Worbla is an excellent material for creating the base structure of your horns due to its flexibility and durability. To create the base:
- Heat the Worbla with a heat gun or torch until it becomes pliable and can be molded.
- Shape the Worbla into the desired horn shape, using a combination of molding and shaping techniques.
- Allow the Worbla to cool and harden completely before handling.
Once the Worbla base is complete, you can refine the shape and smooth out any rough edges using sandpaper and files.
Adding Resin for a Durable Finish
Resin is a fantastic material for adding a durable, long-lasting finish to your horns. To apply resin:
- Prepare your resin according to the manufacturer's instructions.
- Apply a thin layer of resin to the Worbla base, using a brush or pouring technique.
- Allow the resin to harden completely, following the manufacturer's instructions.
Depending on the type of resin you're using, you may need to apply multiple layers to achieve the desired thickness and finish.
Finishing Touches: Painting and Priming
Once your horns are complete, you can add color and finish using paint and primer. To achieve a realistic, durable finish:
- Prime the horns with a coat of primer, allowing it to dry completely.
- Apply multiple coats of paint, allowing each coat to dry before adding additional layers.
- Seal the paint with a clear coat or varnish to protect it from damage.
With these steps, you can create stunning, custom cosplay horns that are sure to impress at your next convention or photoshoot.
Tips and Variations
To take your cosplay horns to the next level, consider adding additional details, such as:
- Texture: Use texture paste or sandpaper to add a rough, organic texture to your horns.
- Color: Experiment with different colors and shading techniques to create a unique, realistic finish.
- Lighting: Add LED lights or glow-in-the-dark paint to create an otherworldly effect.
With Worbla and resin, the possibilities are endless – don't be afraid to experiment and try new things!