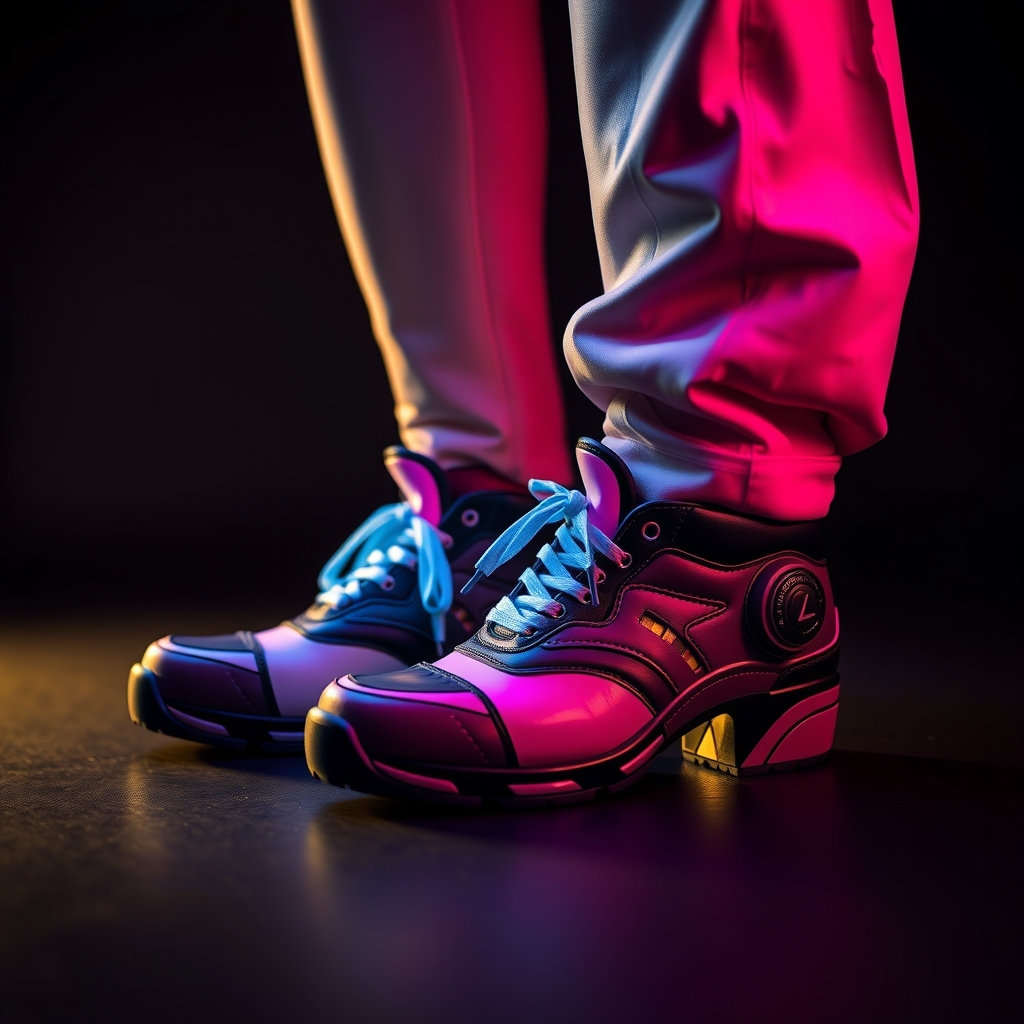
Footwear is often the most overlooked element of a cosplay build. Many creators rely on "close enough" store-bought shoes or struggle with the instability of foam builds. However, the integration of 3D printing allows cosplayers to create structural, dynamic shoe modifications that maintain the comfort of a standard shoe while achieving the complex geometry of game or anime designs. By treating the shoe as a chassis and the 3D prints as armor, you can achieve a professional, seamless look.
Selecting the Right Base Shoe
The success of a 3D-printed shoe modification depends entirely on the foundation. You cannot print a functional shoe from scratch without specialized industrial materials; instead, focus on finding a "donor" shoe that matches the silhouette of your character's footwear.
When selecting a base, prioritize these three factors:
- Material: Synthetic leather or smooth plastics are ideal because they provide a stable surface for adhesives. Avoid high-texture fabrics or mesh, as these can cause 3D-printed shells to peel away during movement.
- Sole Profile: Look for a sole that mimics the thickness of the character's shoe. It is significantly easier to add height via a 3D-printed platform or heel cover than it is to subtract material from a chunky sole.
- Fit: Ensure the shoe is comfortable for long-term wear. Remember that adding 3D-printed overlays can slightly alter the fit or add weight, so a shoe that fits perfectly out of the box is essential.
Designing for Movement and Durability
Printing a static shell for a shoe is a common mistake. Shoes flex, bend, and compress with every step. If you glue a rigid plastic piece across a natural crease in the shoe, the print will eventually crack or detach.
The Modular Approach
Instead of printing one large piece to cover the entire shoe, break your design into modules. Create separate pieces for the toe cap, the heel, and the ankle guards. By leaving small gaps (hidden by seams or decorative trim) where the shoe naturally bends, you allow the footwear to move without stressing the plastic.
Material Selection
While PLA is common, it is often too brittle for footwear. PETG offers better impact resistance and a slight amount of flex, making it less likely to shatter if you accidentally kick a wall. For parts that require high flexibility, such as straps or ankle wraps, TPU (Thermoplastic Polyurethane) is the gold standard. TPU prints are rubbery and durable, blending seamlessly with the organic movement of a shoe.
Preparing the Surface for Paint
3D prints are characterized by layer lines, which are the enemy of a professional finish. To make a printed attachment look like leather, metal, or organic material, you must execute a rigorous sanding and priming workflow.
- Dry Sanding: Start with a coarse grit (around 120 to 220) to knock down the largest layer lines. Gradually move to 400 grit.
- Filler Primer: Apply a high-build filler primer. This is a thick paint that fills in the microscopic gaps between layers. Once dry, sand the primer with 600 grit.
- Wet Sanding: For a mirror-like finish, perform wet sanding with 800 to 1000 grit sandpaper. This removes the remaining scratches and creates a surface that feels like factory-molded plastic.
- Degreasing: Wipe the surface with isopropyl alcohol to remove skin oils and sanding dust. Any residue left on the surface will cause the final paint to bubble or peel.
Advanced Hand-Painting Techniques
To make your shoes look like they belong in a cinematic universe, you must move beyond flat colors. Real-world objects have depth, wear, and light interaction.
Layering and Base Coating
Start with a primer that matches your final color family. Use an acrylic-based spray or airbrush for the base coat to ensure an even, streak-free application. If you are aiming for a metallic look, use a high-quality metallic lacquer or a chrome-effect paint, but ensure you seal it with a clear coat to prevent scratching.
Adding Dimension with Weathering
Pristine shoes often look "costumy." To elevate the craft, add realistic weathering:
- The Wash: Use a highly diluted black or brown acrylic paint (a "wash"). Apply it into the recessed areas of your 3D print and the seams of the shoe. While the paint is still wet, wipe the surface clean with a rag. The dark pigment will remain in the crevices, creating artificial depth.
- Dry Brushing: Dip a stiff brush into a lighter shade of your base color, wipe almost all of it off on a paper towel, and lightly flick it across the raised edges of the shoe. This simulates wear and tear where the "paint" would naturally rub off.
- Texture Accents: Use a sponge to dab small amounts of dark brown or grey near the soles to simulate road grime and dust.
Secure Attachment and Final Sealing
The most frustrating part of shoe modifications is when a piece falls off mid-convention. Standard superglue is often too brittle for the constant vibration and flex of walking.
For the strongest bond, use a combination of contact cement and mechanical fasteners. Apply contact cement to both the shoe and the 3D print, let it get tacky, and then press them together. For heavy pieces, consider drilling small holes through the print and using discreet zip ties or sewing the pieces directly into the shoe's fabric using heavy-duty nylon thread.
Finally, protect your hard work. Shoes encounter the harshest environment of any cosplay piece. Apply a flexible clear sealant or a matte/gloss varnish depending on the desired finish. A flexible sealant is crucial because it will move with the shoe, preventing the paint from cracking over time.
Maintenance and Care
Once your dynamic shoes are complete, maintenance is key to longevity. Avoid walking through deep puddles or salt-treated winter roads, as these can degrade the adhesives and paint. If the shoes become dirty, use a damp microfiber cloth rather than harsh chemicals, which could strip the varnish. Store your shoes with shoe trees or stuffing to maintain the shape of the 3D-printed shells and prevent them from warping over time.