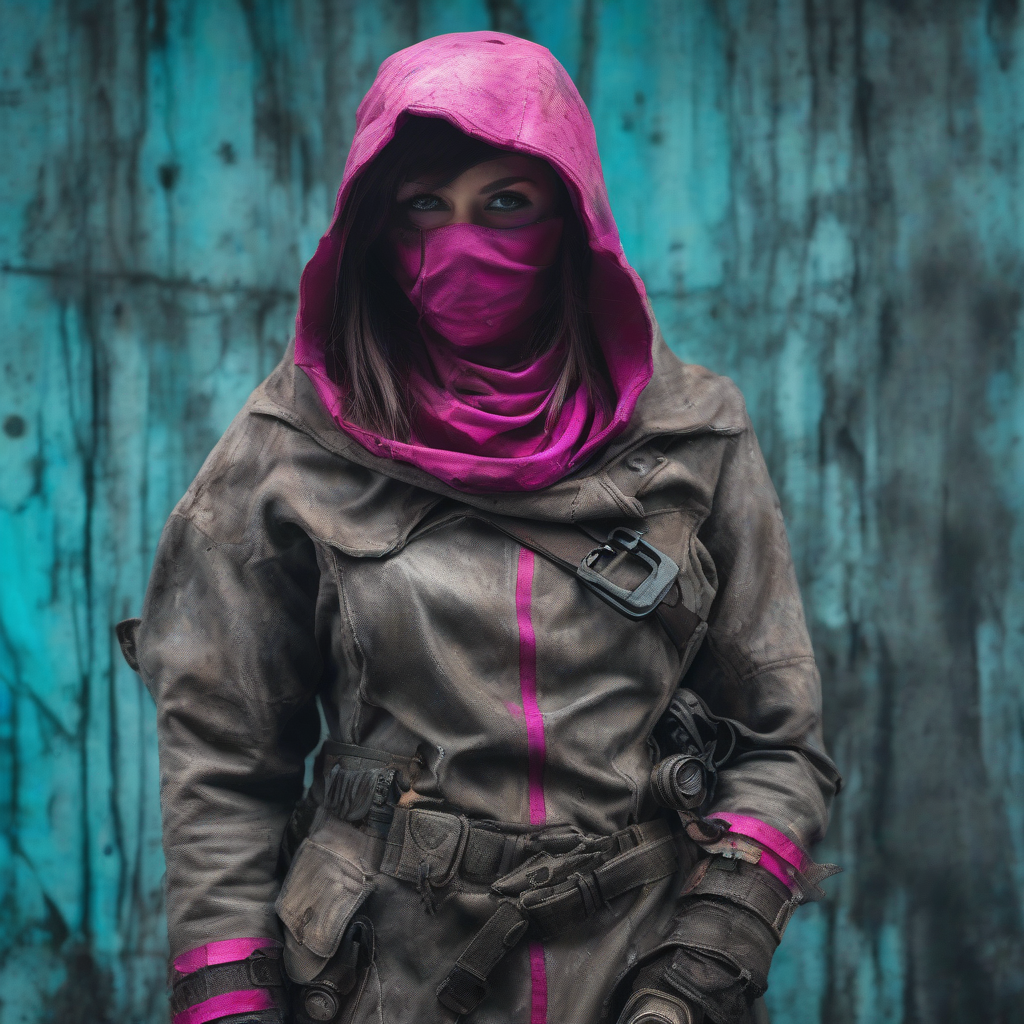
The difference between a costume that looks like a "costume" and a character that looks like they have survived a decade in a wasteland is weathering. In post-apocalyptic aesthetics, the environment is a character itself. Your clothing should tell a story: where has the character slept? What hazards have they encountered? How long has it been since they had access to clean water?
Weathering is the process of intentionally adding wear, tear, and grime to a garment to simulate age and use. While it may feel counterintuitive to destroy a piece of clothing you just spent hours sewing, strategic distressing adds depth, realism, and a professional finish to any build.
The Philosophy of Logical Wear
Before picking up a paintbrush or a cheese grater, you must analyze the "logic" of the wear. Randomly adding holes or stains can make a costume look messy rather than realistic. Instead, focus on high-friction areas and environmental exposure.
High-Friction Zones
Consider where the fabric rubs against other surfaces. Common areas include:
- Cuffs and Hems: The edges of sleeves and the bottoms of pants naturally fray first due to constant contact with the ground and surfaces.
- Knees and Elbows: These areas experience the most stretching and abrasion.
- Collars and Waistbands: Sweat and skin oils cause these areas to darken and fade over time.
- Contact Points: If your character carries a heavy bag or a weapon strap, the fabric underneath those straps should be more compressed and worn.
Environmental Storytelling
Decide on your character's environment. A desert survivor will have bleached-out colors from the sun and fine, light-colored dust in the creases. A swamp or urban ruin survivor will have darker, damp-looking stains, algae greens, and heavy oil splatters.
Mechanical Distressing: Creating Physical Wear
Mechanical distressing involves physically altering the fibers of the fabric. Always perform these actions from the inside of the garment if possible, or use a backing board to avoid cutting through to the other side.
Abrasion Techniques
To create realistic fraying and thinning, use tools that mimic natural wear:
- Sandpaper: Coarse-grit sandpaper is excellent for thinning out fabric on knees and elbows. Rub in a circular motion to create a "worn-down" look.
- Cheese Graters and Wire Brushes: These are ideal for creating "snags" and small holes. Use them sparingly on the edges of hems to create a shredded effect.
- Pumice Stones: These are gentler than sandpaper and are great for softening the overall texture of a new garment, making it look lived-in.
Creating Realistic Tears
Avoid using scissors to cut clean holes; natural tears are jagged. Instead, use a seam ripper or a utility knife to make a small nick, then pull the fabric apart with your fingers. This breaks the weave of the fabric, creating the fuzzy, irregular edges seen in real-world damage.
Chemical and Color Weathering
Once the physical structure is distressed, you must address the color. New fabric is often too saturated and uniform. The goal is to break up the color and add layers of "dirt."
De-saturating the Base
If your fabric is too bright, consider a light tea or coffee soak. Submerging light-colored fabrics in a strong brew of black tea creates a subtle, yellowish-brown patina that mimics aged sweat and dust. For darker fabrics, a diluted bleach solution can create "sun-bleached" spots, though this must be used cautiously to avoid creating stark white holes.
Layering the Grime
The secret to realistic dirt is layering. Do not rely on a single color of brown paint. Instead, build your grime in stages:
- The Base Wash: Use a highly diluted acrylic paint or fabric ink in a neutral tone (like raw umber or burnt sienna). Apply this as a "wash" over the entire garment, allowing it to settle into the seams and creases.
- The Deep Grime: Use a darker, more concentrated pigment in the high-friction zones mentioned earlier. Focus on the armpits, the inner thighs, and the cuffs.
- The Accent Dirt: Add specific "events" to the clothing. This could be a splash of oil (black/dark brown) near the pockets or a smudge of rust (orange/brown) where a metal accessory touches the fabric.
Advanced Texturing: Adding 3D Elements
Flat paint is a start, but real dirt has texture. To take your weathering to the next level, incorporate materials that add physical depth to the grime.
Adding "Crust" and Mud
For dried mud effects, mix acrylic paint with a thickening agent. A mixture of paint and baking soda or cornstarch creates a gritty paste. Apply this to the lower legs and boots. Once dry, this creates a raised, matte texture that looks like dried earth. You can further refine this by lightly sanding the dried "mud" to create a dusty appearance.
Simulating Grease and Oil
Acrylics are matte, but oil is glossy. To simulate grease stains, use a mixture of black acrylic paint and a clear gloss medium or a small amount of petroleum jelly (though be warned that petroleum jelly never truly dries and can attract actual dust). Apply these in small, concentrated spots around zippers, buttons, or tool belts.
Preserving and Finishing Your Work
Weathering is an additive process, but you must ensure your hard work doesn't rub off on other cosplayers or the venue floor.
Setting the Paint
If you used acrylics, the paint may crack or peel over time. To prevent this, you can heat-set the garment with an iron (using a pressing cloth between the iron and the paint) or spray the finished piece with a matte clear sealant. Be careful not to use a glossy sealant over your "dusty" areas, as this will make the dirt look like plastic.
The Final Review
Step back from your garment and look at it from a distance. Ask yourself: "Does this look like a pattern, or does it look like chaos?" If you see a repeating pattern of stains, break it up by adding a random splatter of a different color. The most realistic weathering is asymmetrical and unpredictable. If one sleeve is heavily distressed, make the other slightly less so, as a character rarely wears both sides of their body identically.